Friday, October 6, 2023

Autumn Leaves Sew Along - Part 3

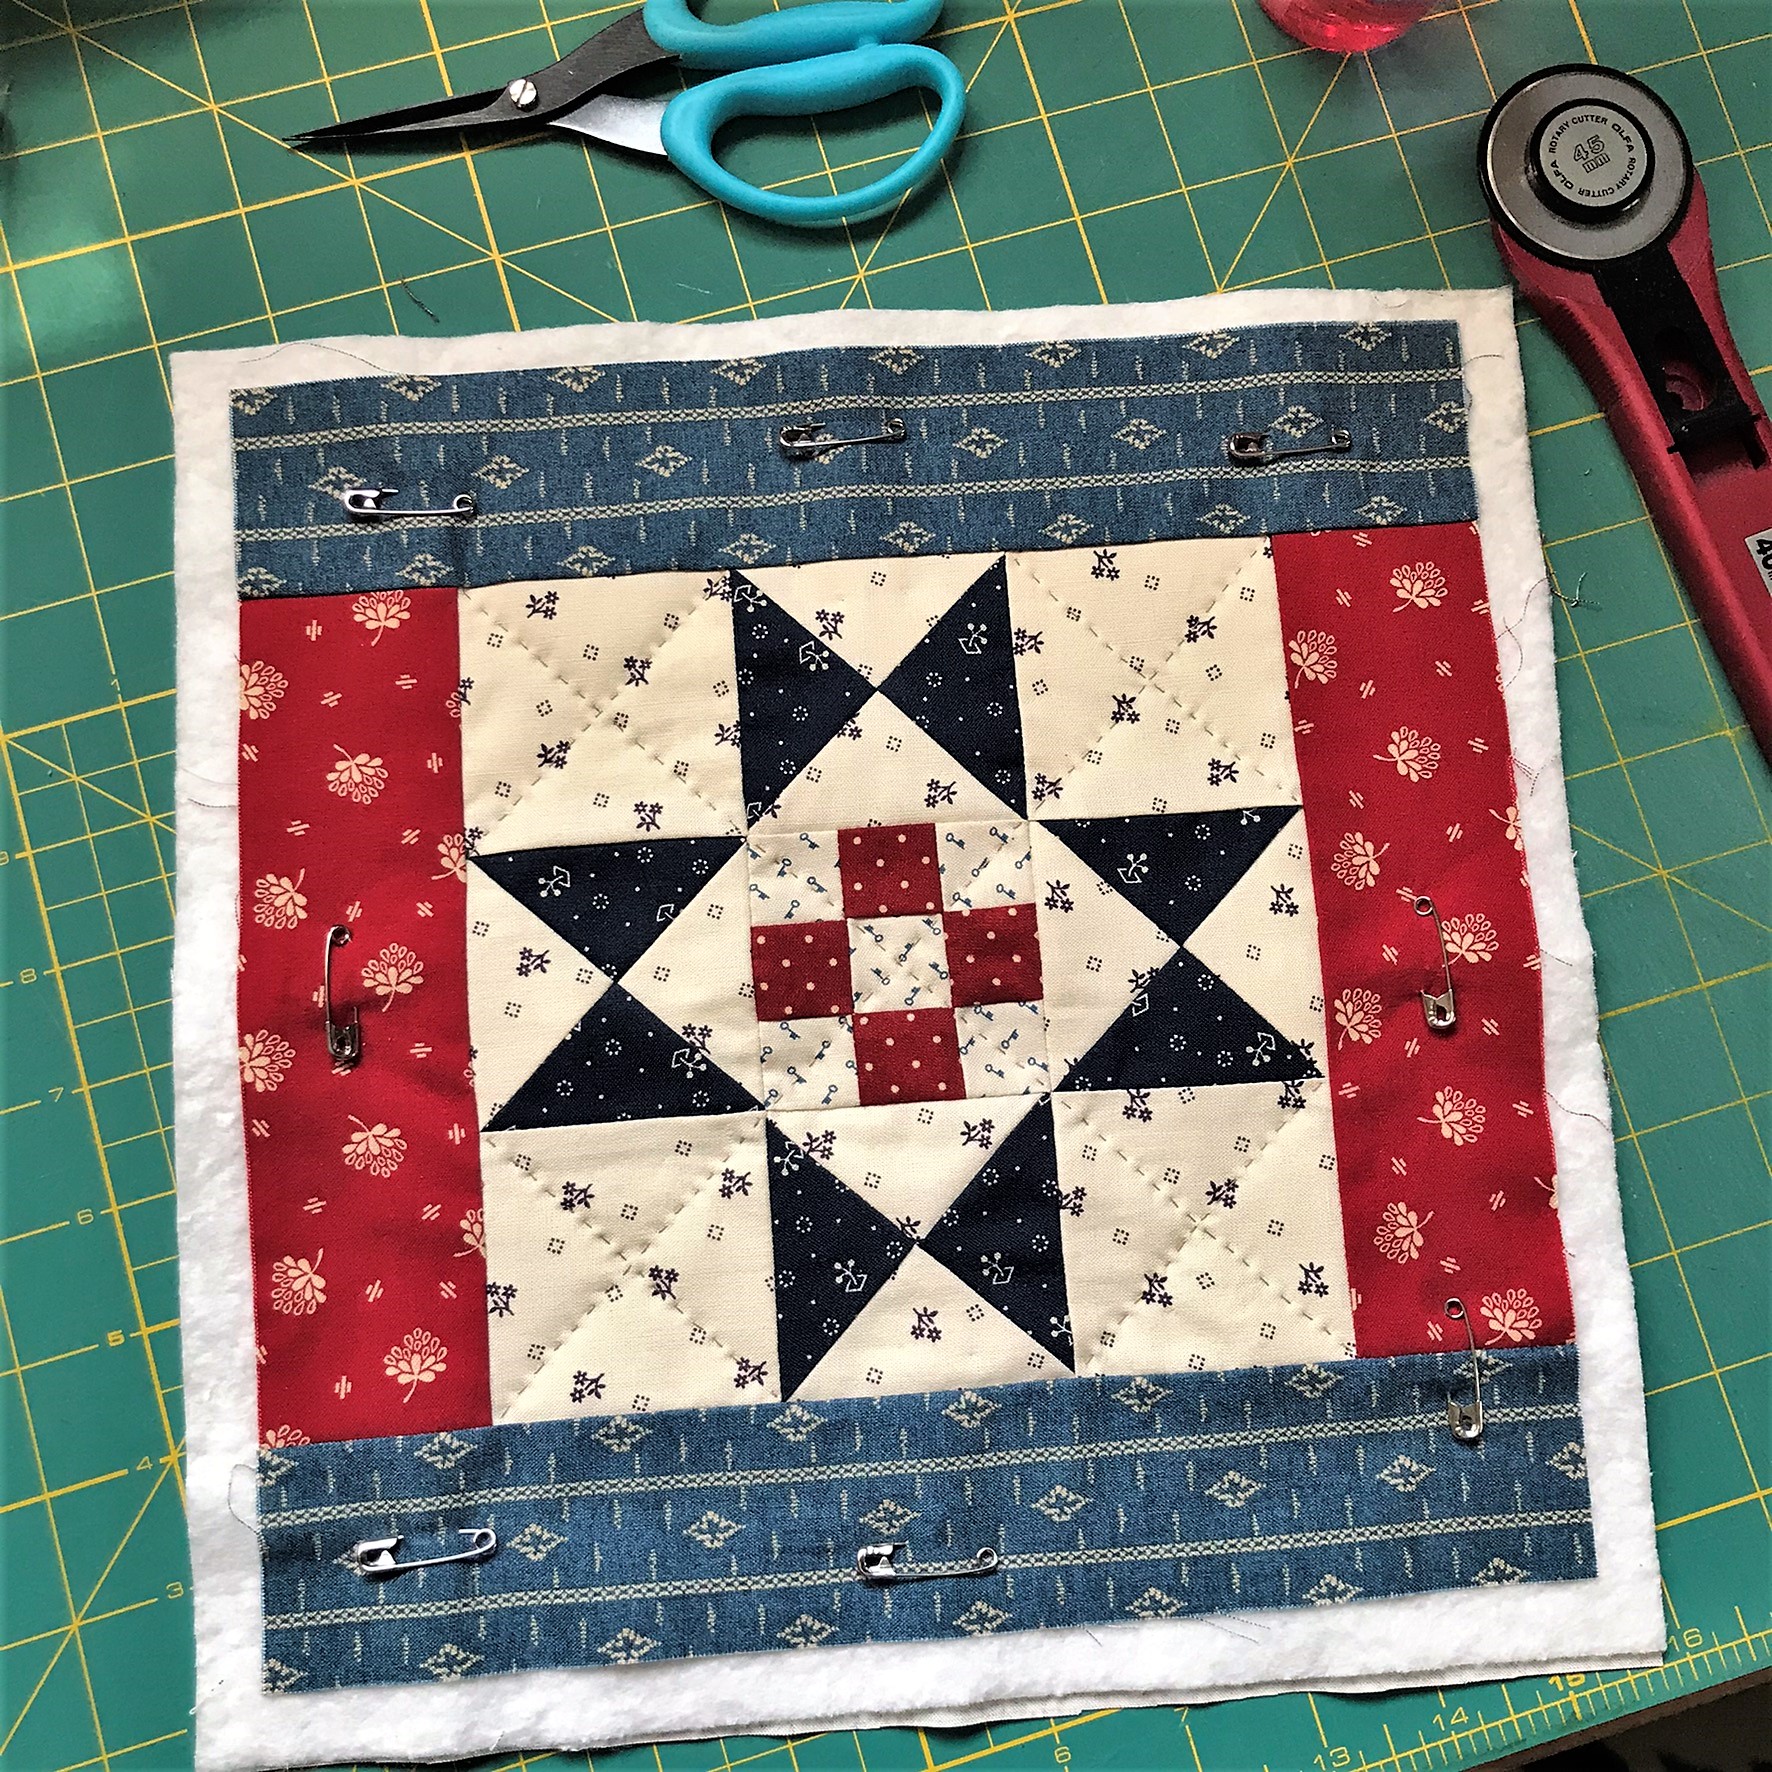
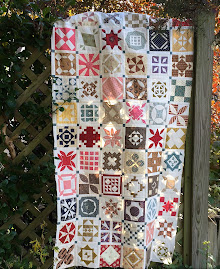
Step 3 of our little Autumn Leaves Sew Along involves making 12 small Turnstile blocks.  Or Spinning Pinwheels as I sometimes call them. Now 12 may seem like a lot but they stitch up quickly.  I still have a few more to go and I did all these in a day. I pick my fabrics and cut out all the pieces one day and sew on another which makes it easy. 


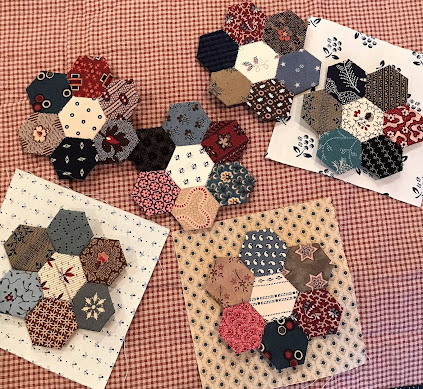
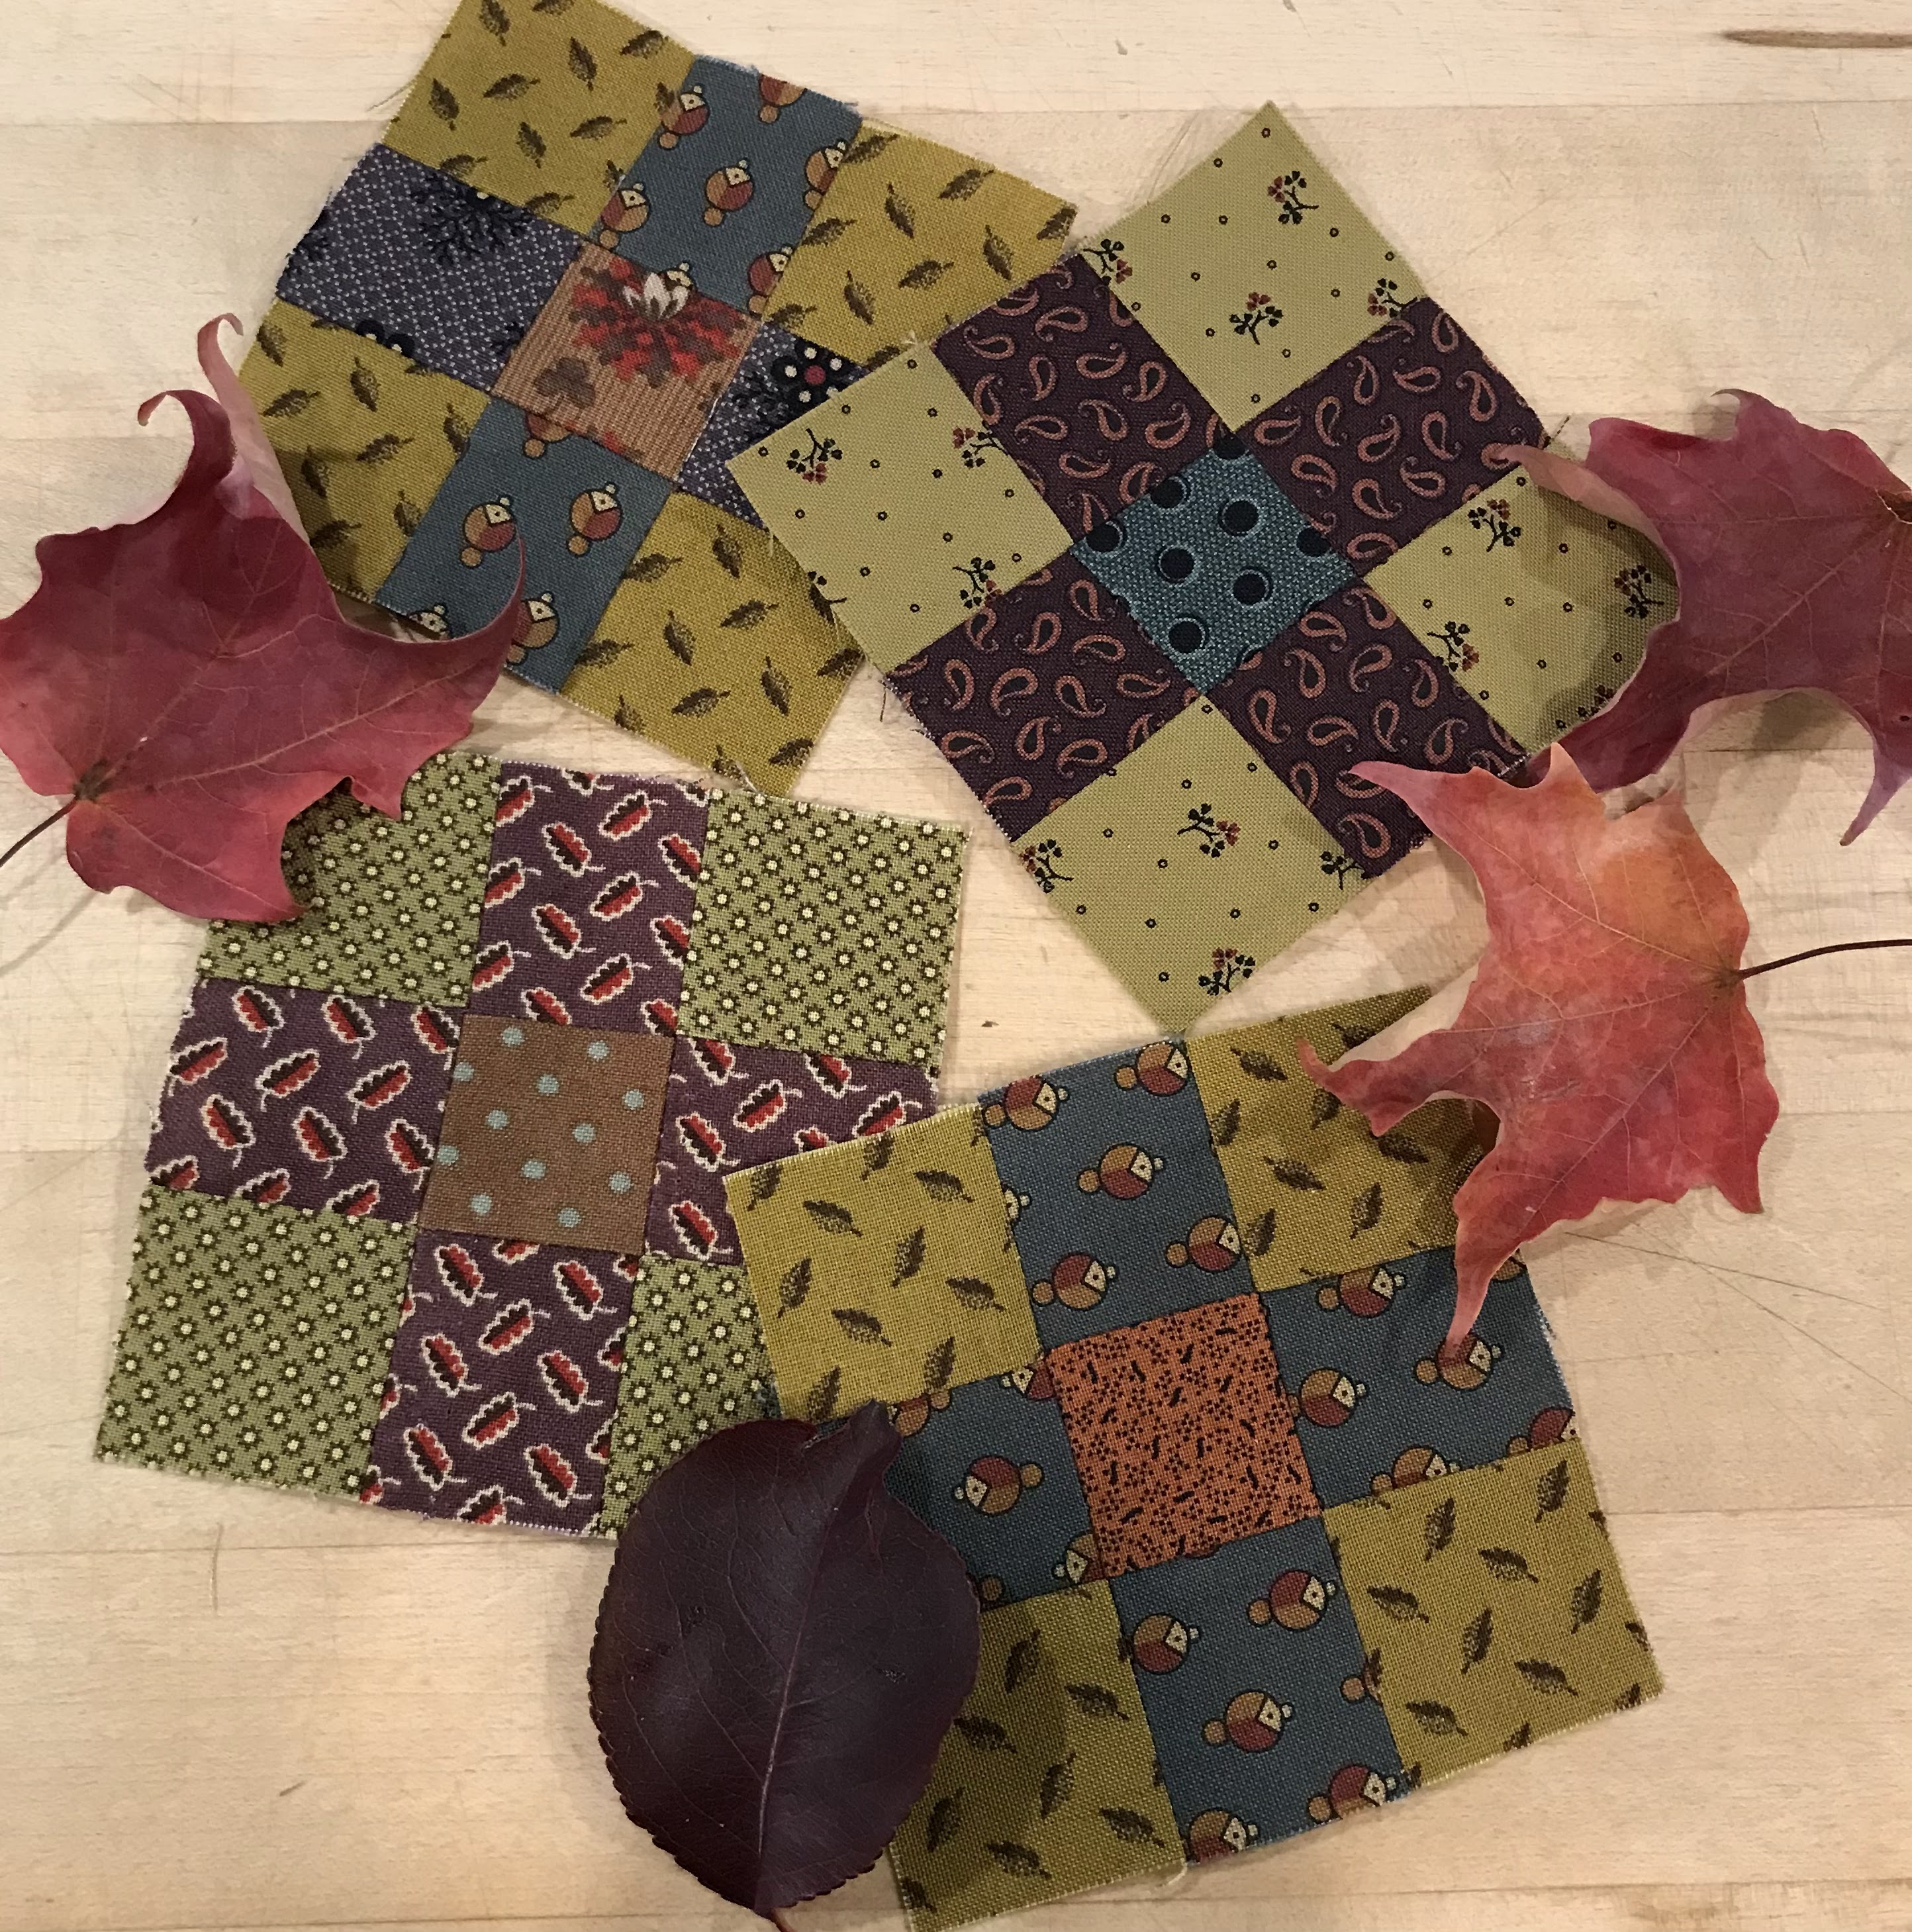
You may make all 12 blocks from one color paired with the same light background, or use a different colored medium or dark print for each block and a different light background as I did - OR make the spinning parts from four different prints within the block.  Anything goes! Use 
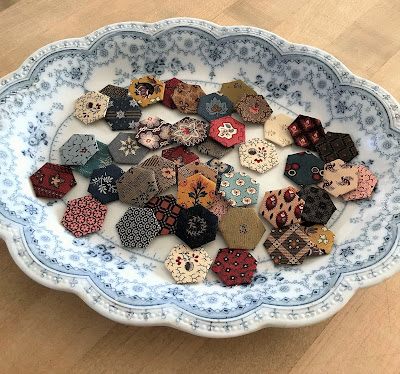
up your fall-colored scraps and delight in the scrappiness!


Some of you may remember that this block was included in last year's fall Mystery quilt. I like it so much I thought it would be perfect for yet another fall quilt. 


These 3" Turnstile blocks will be used in a pieced border for Step 4, where you’ll also have the option of adding black or darker prints to finish off the quilt. So, if you are hoping to use a dark background for the turnstile blocks in this step instead of light, the finished quilt may be entirely too dark. If you just don’t like the look of a light background for your blocks, my suggestion is to use a tan (or another medium-colored print) to allow for some contrast when the last dark pieces are sewn together.          

You'll find directions for making the block in my Facebook group files or on my website under Autumn Leaves Sew Along. See you on Friday, October 13, for the final step.


Friday, September 29, 2023

Autumn Leaves Sew Along - Part 2

This week we'll sew the four leaves together that you made in Step 1 and make the center of the quilt. Follow the directions in Step 2 of the file to cut and sew the triangles for the setting. You'll find the directions in my Facebook group files. If you 're not on FB, go to my website and find the directions on the Autumn Leaves Sew Along page.


After you've completed that part, you'll add a narrow border. 


I decided to use a nice teal green for my border. 

Here's where you can get creative. Try using different setting triangles instead of the light prints I've used. If you like a more primitive look, then use darker prints for the triangles. And a contrasting border. There will be an option to use different prints to bring this all together in the last step where we'll  make a pieced border. 


Hope you're having fun! I'm still trying to keep up with my Scrappy Ohio Stars from Repro Quilt Lover's blog.  But, as usual, distractions abound so I'm a little behind. I may decide not to make all of the blocks Taryn is showcasing and turn it into a smaller quilt using my favorite blocks. I can always pick it up again later if I change my mind.  We'll see what happens. 


Seven blocks finished. Quite a few more to go. 

I know it looks like I made a mistake with the star points but that's the way the quilter made hers. As I mentioned before, I've been inspired to recreate the blocks from the antique quilt as closely as I can with colors. Style too, to get a true antique look. You have to ask: Did she do that randomly, by mistake or deliberately? Did she want to add a sense of quirkiness to her quilt? Did she make a mistake and then shrug and say "Oh well, I'll just leave it?" Was she distracted by something more important while she was sewing? We'll never know. But it shows that modern day quilters have a lot to learn about creativity from quilters of the past. 

It's been fun picking through my reproduction fabrics and scraps to find the perfect ones that "match" the ones in the antique quilt that Taryn shows. But, for me, that seems to take FOREVER. And then I wind up going with the prints I like better anyway. But -  it's still great fun. Visit Repro Quilt Lovers blog for more info.

                          Have a good weekend! More sew along fun next Friday, Oct 6. 


Friday, September 22, 2023

Autumn Leaves Sew Along - Part 1

Here are the blocks for Step 1 of our fall quilt sew along. The quilt is called Autumn Leaves. Isn't it a sweet, quirky little block? I drafted it from a block I saw in an antique quilt. A little different from the usual Maple Leaf block.  You'll find instructions in my Facebook group files or on the Autumn Leaves Sew Along page of my website.


"Every leaf speaks bliss to me, fluttering from the autumn tree."  - Emily Bronte

In case you're wondering, in the coming weeks, we'll be making a little quilt in four parts using some small blocks. I'll upload directions in my Facebook group files (and also on my website) every Friday through the middle of October. This will be a pattern for a quick and easy little quilt for you to display around the house, on a table or hanging on a wall. Perfect for the fall season.


                                   (Blocks from last year's sew along, not this current one.)


Making your blocks with scraps adds to the fun. Before you begin, take a little time to sort through your scrap box or basket. You never know what you'll find. And you know how playing around with fabric always makes your creativity flow. So does buying new fabric. You have my permission to do that, LOL. We all need a little pick-me-up now and then.


Over the years, I've found that there are two things that help us to successfully finish a project - taking it in small steps and sewing along with friends. Always more fun in a group. I like to do these sew alongs on Facebook because making a quilt in a group gives you so much inspiration as well as support from others and encouragement to finish. And, if you need help, there's always someone there who knows what to do.  If you're not already a member, click on the FB group link on the right sidebar of my blog.


It's almost pumpkin time! There are a couple of  patterns for pumpkin quilts in my Etsy shop


Don't forget - the sew along is all about using the fabrics and colors you love. Make it scrappy! I'll give you the next part on Friday, September 29.


Saturday, September 16, 2023

Fall Sew Along 2023

Get ready for some fun! Fall will be here before you know it and I'm hosting another sew along in my Facebook group for a small quilt that's perfect for the season. Join me on Friday, September 22, for the first part of the sew along. I will be posting the directions in my FB group files and also on my website.  Join my Facebook group so you can catch everyone's progress as we go along. Or, look for the Fall 2023 Sew Along page on my website starting next week.


This will be a quilt made in four parts in four weeks or so. No pressure if you need to take longer. For now, gather up some pretty fall fabrics and then join me next week for the first installment. 

I've had a rough couple of months recently and, to be perfectly honest, just could not find the time or energy to do much quilting or blogging. Last month I promised myself that I would hold another sew along for my Facebook group members this fall since I haven't been active in the group at all. But I kept putting off actually coming up with a plan. I finally decided on a fall-themed block to begin with but that was as far as I got. 

Then, a couple of weeks ago, a quilter on Instagram inspired me (and lots of others) with a sew along to make some pretty Ohio star blocks based on an antique quilt. I hesitated at first because I knew I had very little time but then jumped in because I loved the look of the blocks in the original antique quilt.  Turned out to be exactly what I needed - and sure seemed much easier to participate in someone else's sew along than organize one myself.  Check out Taryn's blog for details on the scrappy star stitch along - Repro Quilt Lover  It's all great fun. And if you're on Instagram you can follow the hashtag  #scrappystarstitchalong  to see what quilters are making and posting. 


All very "antiquey" looking, don't you think? 


So far, I've made four blocks.  I've been inspired to recreate the blocks from the antique quilt as closely as I can with colors. It's been fun picking through my reproduction fabrics and scraps to find some that "match" the ones in the antique quilt that Taryn shows. This was just the kick in the pants I needed to get back into things. Sometimes a little bit of sewing, no pressure, is good for the spirit and great therapy. 

*  *  *

For me, fall is definitely a time of transition. It's my favorite time of year and I always get energized by the season. I've heard it said that life seems to start all over again in the fall . . .  Almost a rebirth. But not like an exciting springtime rebirth. Fall is a quieter, gentle season that embraces change, reflected in the changing colors of the leaves. 


 "Even if something is left undone, everyone must take time to sit still and watch the leaves turn."    ~ Elizabeth Lawrence


The little quilt from last year's fall mini sew along -  unfinished, LOL. Probably because I wasn't sure about the borders, sigh . . . .   I think it needs something a little more subtle so when I have time I'll rip those borders off.  Mistakes happen.

Have a good weekend and I hope you join me next week for some fall quilty fun! 


Friday, June 9, 2023

Summer UFO Progress

It's June 9 and I'm feeling good about making some small progress on some of my unfinished quilts this month.  I challenged my Facebook group to spend this month finishing up some of their projects that have been set aside for awhile. Lord knows I have a ton of incomplete tops to work on, large and small. To begin, I picked an easy one that I started last year. Yesterday, I finished this small hexagon quilt from our FB group hexagon  sew along from last year. 

Those small hexies are really fun to make and I do love hand stitching but, man, do they take me a long time. Even sewing them into a small quilt. First, you make the individual hexagons using English Paper Piecing and then turn them into flowers. Then I appliqued the flowers onto background squares.


I sewed the squares and the rest together by machine.

Last year when we had the sew along I got as far as putting the little top together and doing some quilting. Then for some reason I stopped and moved on to something else. 

I'm a great one for making tops and then quickly moving on to something else that catches my fancy. So close! Too much work has already gone into it to just let it go. So I started working on it again, a little bit every day. Felt really good to finally finish. 

After that, I became motivated to start another one and so layered some other little tops together with backing and batting that were in my pile. Ready to quilt. 

My little Dolley Madison Star was a 4th of July sew along from last summer. All of these patterns are in my Facebook group files.


 Made a little progress! Shouldn't take me long at all now. Summer gets busy around here and I don't do as much quilting so I'm taking advantage of what little time I have right now. 

If you're joining me in this challenge, how are you doing on finishing up some of your projects? Making any progress at all? What little things do you need to do to finish up some quilts? Start there. You'll feel great once a few of them get done. Remember, if you need to, make a list of things you have to do to finish. It helps me to break things down into steps. If I focus on one little part at a time I always get more done. Read my previous blog post with some tips.

*  *  *


Enjoy the weekend! Still trying to get some plants to grow in my shady back yard. I love my big tree but it does make gardening a little difficult.  Some days my tree grounds me as I sit here and read or contemplate or play with the dog(s). It provides nice shade when it gets hot and shelters the birds and small wildlife that come to visit. Then the chipmunks and rabbits eat all the flowers LOL. Yet I feel blessed to be able to commune with even this tiny piece of nature on a daily basis, flowers or not. Enjoy the weekend! 


Thursday, June 1, 2023

Organizing for Finishing

If you're joining me in finishing up some of your unfinished projects, here are a few suggestions. We'll be starting this personal challenge in my Facebook group in June 2023: 
            If you can find time, organize your sewing space a little before you start. For me, getting rid of clutter makes it easier to focus on a new (or, in this case, old) project. Clear off that sewing table to make sure you have space to sew. Do the same with your cutting table. Fold up the fabric and put things away. You might actually find something you've been looking for in the process LOL.

                         
I have a small sewing space so I have to organize to make it work.


Scraps organized by color . . . .


          Choose a project to finish. Maybe start with something that's not too overwhelming. Then, in the coming weeks, you may find you're motivated to work on finishing another one. Focus on one at a time to get the ball rolling.


            If you've been away from your sewing machine for awhile, maybe clean the lint out of the bobbin area and oil it if necessary. Change the needle.


        Always misplacing your scissors, seam ripper, pins, needles, rulers? Find an organizer case, box or basket to keep them in and use it after each sewing session.


Make a list of what you need to do to finish this particular project. Break it down into steps. When I work on quilts on a deadline, I always keep a little notebook listing the specific parts of each quilt I am making. For example:   

  • 1.  Piece the blocks
  • 2.  Sew the blocks together
  • 3.  Add borders, make the top
  • 4.  Quilt the top, and
  • 5.  Add binding

I check or cross off each part as I finish. If you keep track of each step and break it down into smaller steps it may not be quite so overwhelming. See if this works for you. Organizing is key for me!


I like project boxes for my larger unfinished quilts.


This little hexagon quilt that was started last year just needs some hand quilting and a binding. It'll be my first project I hope to get finished.