Friday, October 28, 2022

Sampler Blocks Setting

 We've got two projects going on in my groups. I've created a file on my website for the Sample Row Quilt setting for your 4" blocks if anyone is interested. Click here and go to the Schoolgirl Sampler page. The directions for the Sampler Row quilt can be found at the bottom of the page. 


The other thing I've been working on is my Fall Mini quilt. I posted directions in my group and Instagram this past week. 

If you've been following along here instead, for this part make four nine-patch blocks using 1 1/2" squares. Trim your blocks to  3 1/2"  x  3 1/2". I'll give you the rest of the directions next week. 


Have a good weekend!


Tuesday, October 25, 2022

Sampler Row Quilt - Week 6

This is Week 6 if you're making the Sampler Row Quilt. Choose six more blocks and try to finish up by the end of the week. You should have 36 little blocks. On Friday I'll give you instructions for setting the blocks into rows. 


Last week I was a little stressed out because we were having some noisy work done in the house. Since my husband is still working from home, my job (my OTHER job) is usually to try to keep the distractions at a minimum as much as I can so he can sort of have a quiet environment and actually focus and hear what's going on in his daily (hourly?) meetings (Hah! Good luck with that.)  And there were way too many runs to Home Depot to keep me sane. Also, the little dog had hurt herself by chasing one too many squirrels and/or chipmunks so she needed some TLC and a vet visit. I needed a little break myself and so I took a few minutes over the weekend to relax and play around with some of my scraps. I wound up thinking I would make a little doll quilt for fall.  You all know how even just a little bit of small sewing can be somewhat relaxing and good for the spirit. 


If you'd like to join me, I'm doing it in a few easy parts. I find that if I do things in small steps I'm also more likely to finish. This one is quick and easy. 

Step 1 - Make 6 flying geese blocks. For each unit, 

    Cut 1 rectangle, 2"  x  3 1/2"

    Cut 2 squares, 2"  x  2"


Make the flying geese in the traditional way by drawing a diagonal line across the back of each square. Place a square on one end of the rectangle, right sides together. Stitch on the line, flip up, trim 1/4" and press. Repeat on the other end of the rectangle. Trim to 2" x 3 1/2". Make 8 Flying Geese blocks.


Trim to 2" x 3 1/2". (These will finish at 1 1/2" x 3".)


We started this a few days ago in my Facebook group so here's the next part -

Step 2 - Sew your flying geese units into pairs to make 4 blocks. Trim to 3 1/2" x 3 1/2".


In a day or two I'll give you another step to make a different block. It's all very easy and the finished little quilt will measure about 12" x 12" square - perfect for a fall doll quilt or small table topper. Should be finished in no time at all. Don't forget - it's always all about the fabrics and colors you love. Make it scrappy!


Friday, October 7, 2022

Sampler Row Quilt Sew Along - Week 4

Hope some of you are keeping up with the 4" blocks for the Sampler Row Quilt Sew Along. You're halfway there and by now should have completed 3 sets of blocks for a total of 18.  You'll be making blocks for three more rows in coming weeks, six blocks per week. You'll keep sewing until you finish 36 blocks.


There are so many blocks to choose from for making your row quilt. But if you have trouble selecting and getting started, why not try picking a few easy blocks? They stitch up pretty quickly and you'll have 3 sets of six blocks finished in no time to get all caught up. 


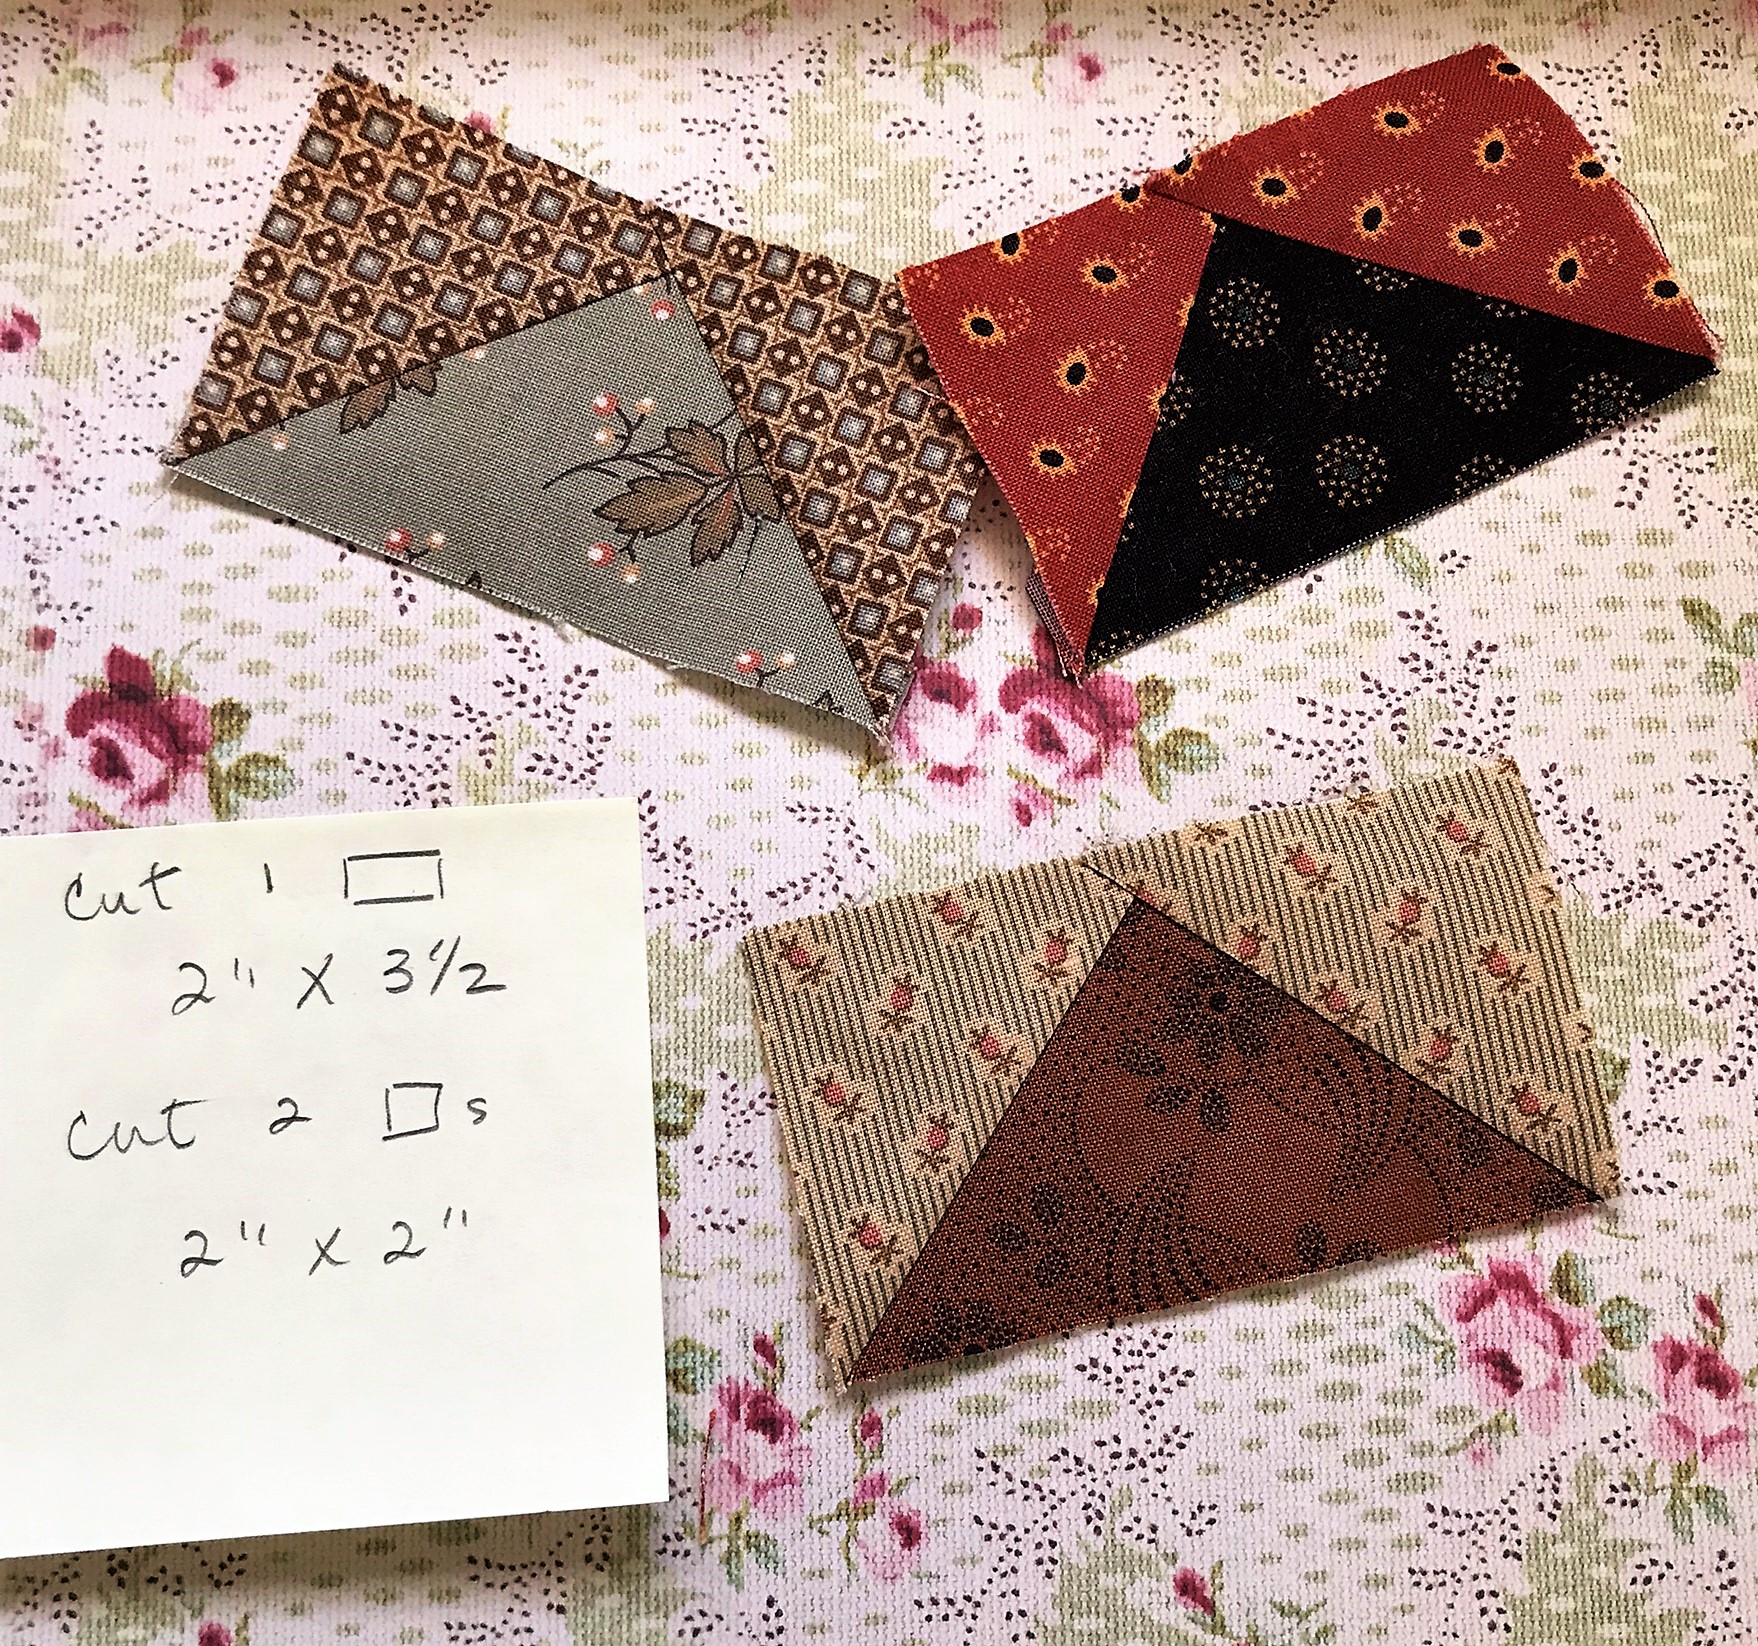
Since it's really all about the fabric, choose colors that will give depth and a richness to your blocks. Or choose a theme -  like blue and white.


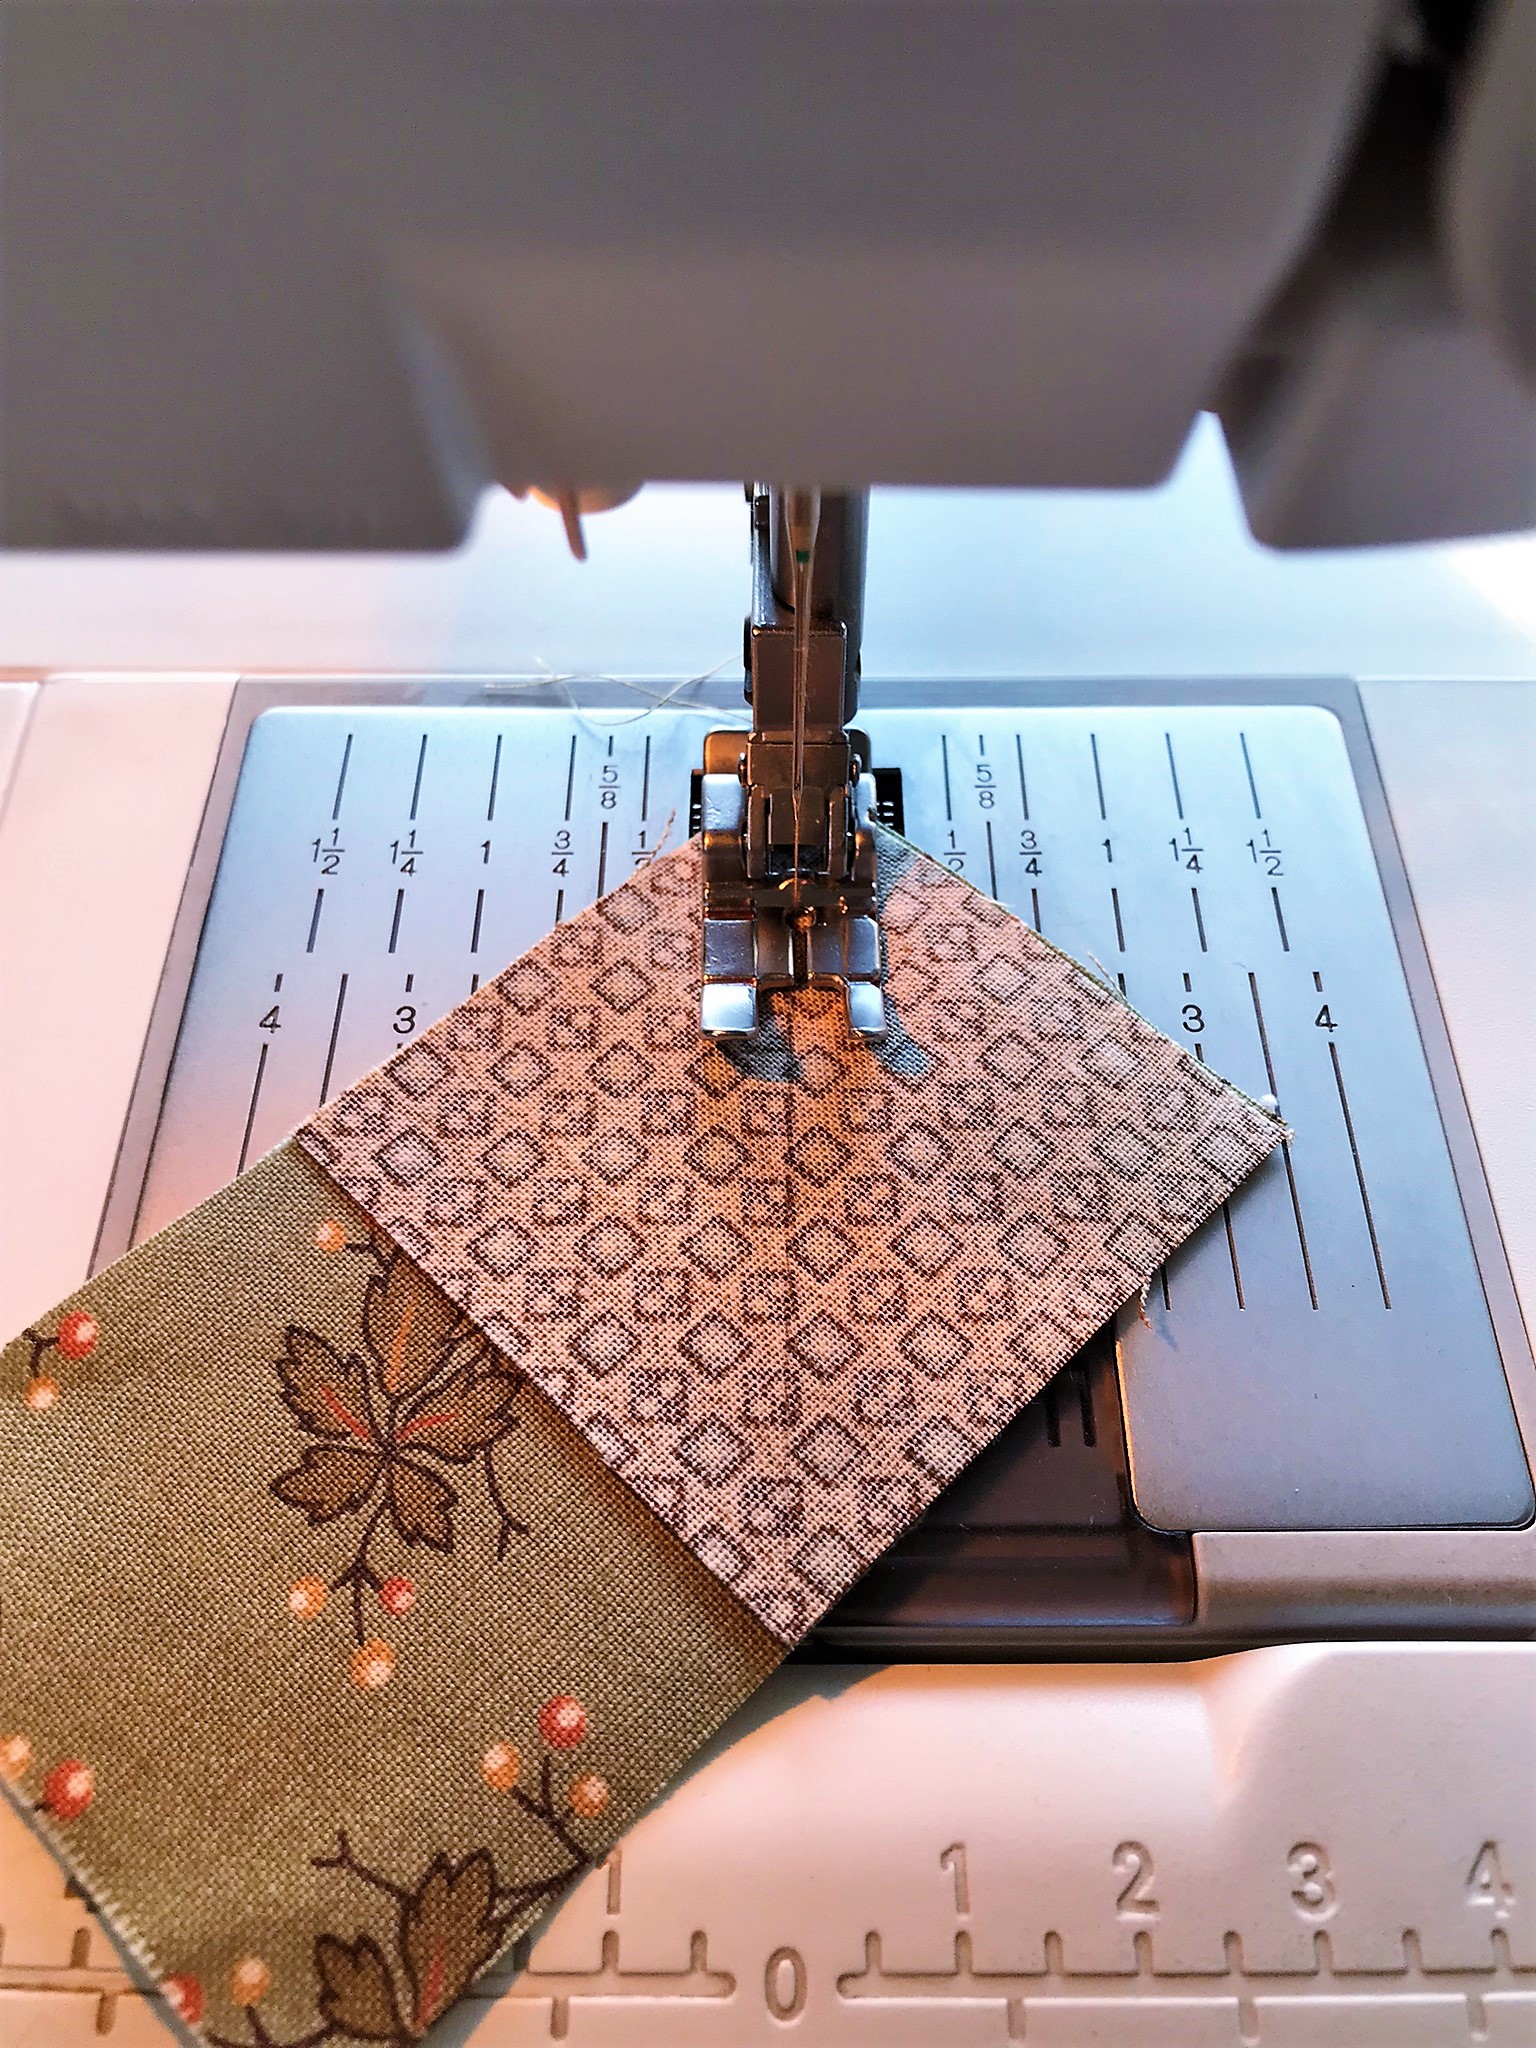
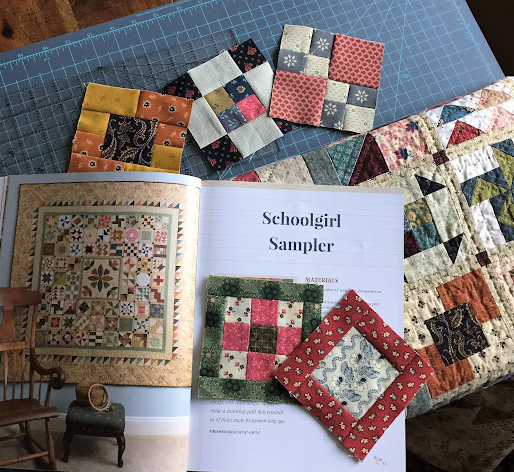
If you're just getting started, there are some good tips on pages 8 - 9 of the Schoolgirl Sampler book for making sure your blocks are sewn correctly. Slow down and take your time. If you're a beginner, then, as I mentioned above, choose easy blocks. You can always make your blocks interesting by using lots of varied fabrics in different colors for a rich, scrappy look. 


Choose a variety of appealing prints in some of your favorite color combinations. Add some interesting prints instead of using mostly what I call "quiet" prints. 


I've slowly gotten used to making more quilts with brown fabric, which can sometimes be dull except when you use prints that have other colors added for depth and interest. 


Try some interesting prints with small details combined with "quieter" prints to give your quilts depth. Too many "loud" or busy prints placed together in the same block will distract the eye. So pair your busy prints with less busy prints for a calmer look. 


Beginners -  if you're nervous because your blocks may not be perfect, pin them onto a design wall (or just hang up a large piece of batting) and stand back to view. From a couple of feet away you may not even notice any imperfections. That's the wonderful thing about making scrappy quilts -  they're very forgiving. Relax and enjoy the process!