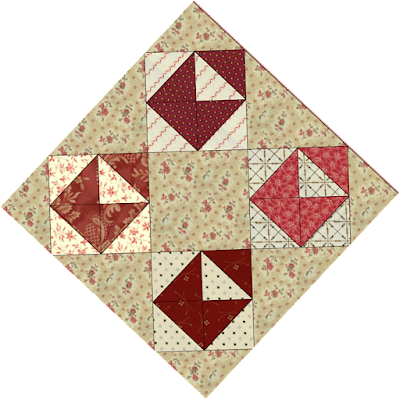
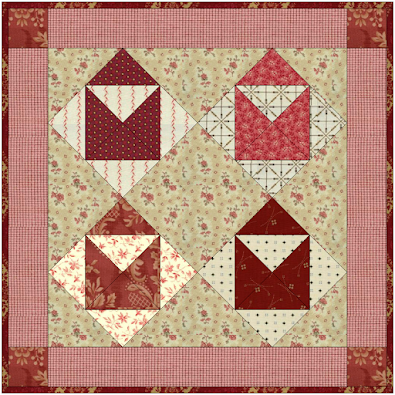
Here's the first step for making my little Valentine quilt -
Cutting
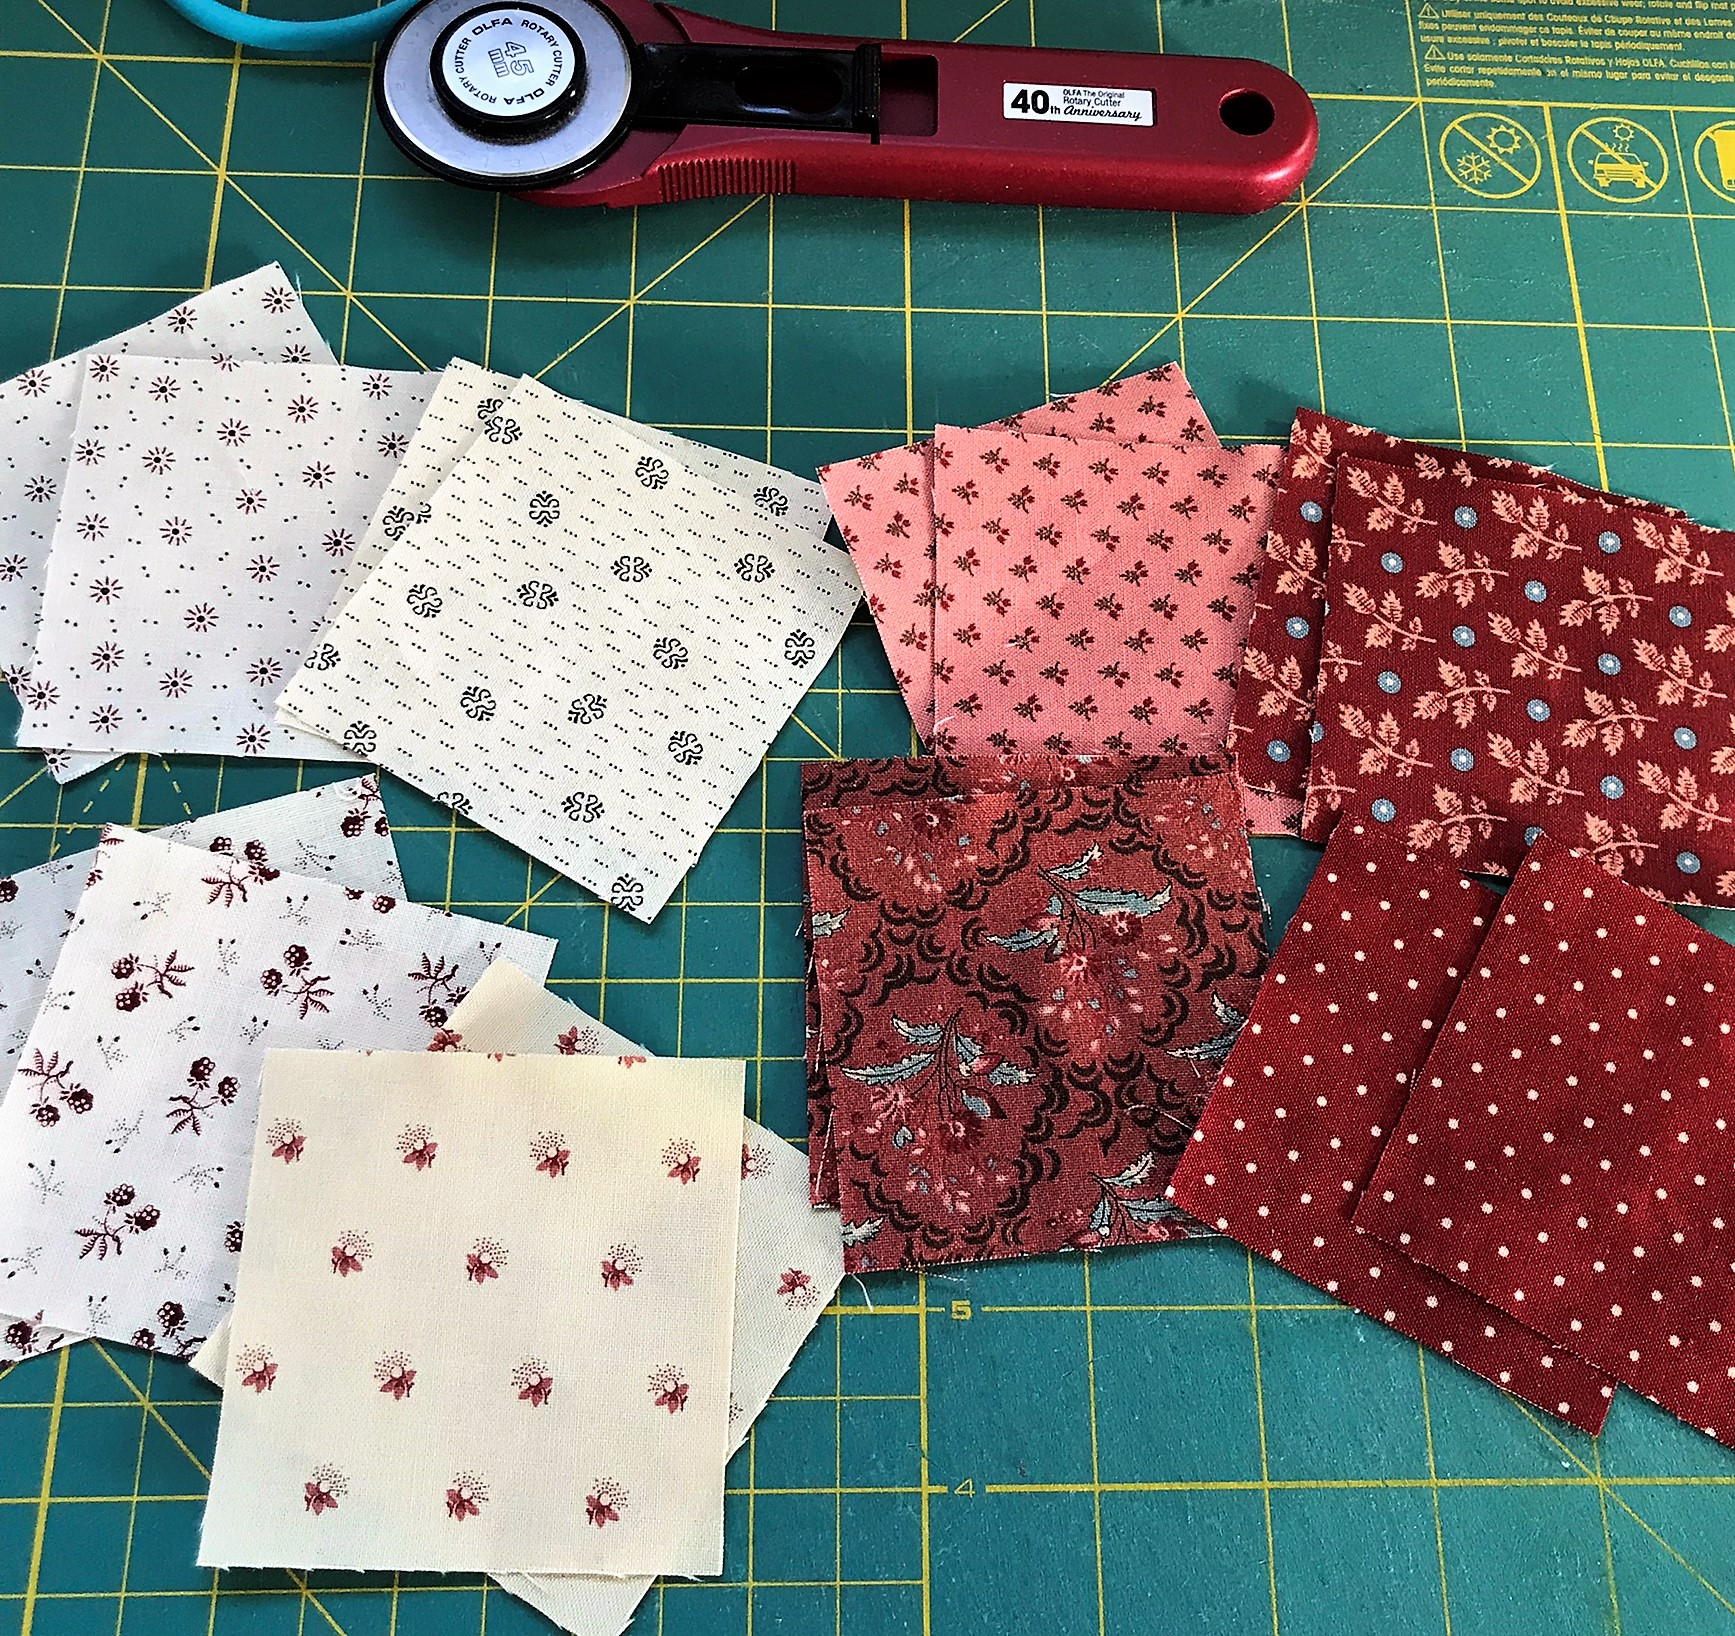
From four different red or pink fabrics, cut
2 squares, 2 7/8" x 2 7/8"
From four different light or shirting prints, cut
2 squares, 2 7/8" x 2 7/8"
This gives you 8 light squares and 8 pink and red squares in matching sets of 2.
Next - Match up each red or pink print square with a light print square in matching sets of two. Make 4 sets of half-square triangles. Here's how to make half-square triangles -
Layer
a light print square together with a pink or red print square, right sides
together. Draw a diagonal line from corner to corner across the lighter square.
Stitch 1/4" away from the line on both sides. Cut on the drawn line.
Flip open and press. Arrange in four groups of matching prints. Make 16 half-square triangles. Trim each to 2 1/2" x 2 1/2".
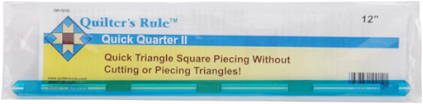
If you have trouble with half-square triangles, one of my favorite tools for making them is the Quilter's Rule Quick Quarter ruler.
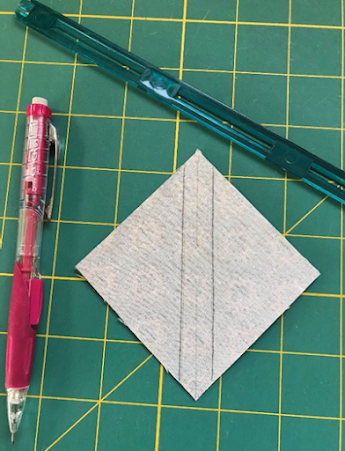
You may be able to find this tool at your local quilt shop or a quilt shop online. If not, JoAnn Fabrics and Amazon carry it. Here's how to use it: Cut 2 squares (usually light and dark) according to the
directions in your pattern. Layer the right sides together. Line up the open notches
of this ruler on the diagonal corners of your fabric squares as shown.

Mark a line along
each side of the ruler with a fine lead pencil. These are the sewing lines.
Lightly mark the center through the notches as well. This is the cutting line.
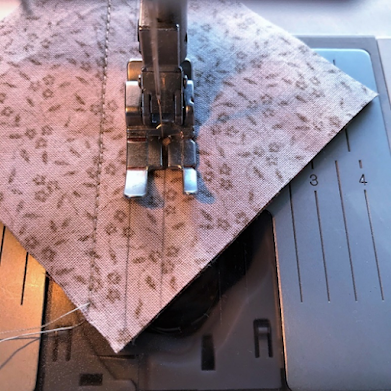
You can see that I stitched on the
drawn sewing lines. Slow down and stitch your lines carefully. I always stitch a tiny bit to the INSIDE of the line to make up
for the extra fabric used when pressing the squares open.
After you sew on both
lines, press the squares to set the stitches. Flip open one side and press gently BEFORE
you cut the squares in half. Switch and press the other side open. THEN cut in
half. This will stabilize the bias edge and keep your blocks from stretching
out of shape, which gives them a wonky look. If you cut and stitch accurately (slow down!) and press this way, your
half-square-triangle units will come out perfectly instead of WONKY and will need minimal
trimming. Try it!
Perfect squares, minimal trimming. Just snip off those ends.
That's it! I encourage you to join my Facebook group for motivation if you haven't already. I find that if you break down these little projects into simple steps and sew along with others it's not only more fun but you'll be much more likely to finish something.
Stop by on Friday, Feb 3, when I'll post Step 2.


.jpeg)