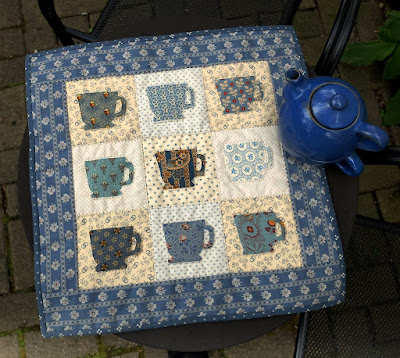
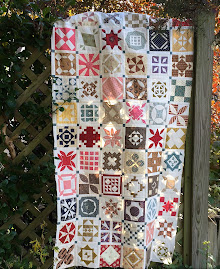
Happy Quilting Day! We're quilters and we get our own day, how about that? Whatever you do to celebrate today, have fun. Since I have quite a few new blog and Facebook followers, I'm re-posting my free pattern for a cute mug quilt that I made to celebrate Quilting Day a few years ago. I've already made these mug quilts below so today I'm going to work on one of my three (!) remaining Dear Jane blocks for the center of my quilt.
So, if you have nothing better to do, I'm inviting you to sew along with me today. Aren't these mug quilts cute? You know I love making small projects and sometimes it's just the thing to get your creativity going. A mug quilt is something I'll always use and it's always nice to have a few extra lying around just in case. What fun to serve someone a cup of tea with a cute mug rug and see them smile and say "Oh, how sweet!"
Here's how to make this one yourself.
I have to say I got a LIFT from making these.
Ready? First, you'll need some good scraps. Choose some of your favorites and put them aside for cutting. You know how partial I am to blue but if you're not, use another color for your theme. Or, just make it all scrappy. If you prefer lighter colors, then make yours with a light print instead of the black background. I hope some of you do this and show me. I'll be waiting for pictures.
Scrappy Star Mug Rug
Cutting:
For the background of the star (I used black prints), cut
4 squares that measure 1 1/2" x 1 1/2"
4 rectangles that measure 1 1/2" x 2 1/2"
For the star points (colorful assorted prints), cut
8 squares that measure 1 1/2" x 1 1/2"
For the star center (purple), cut
1 square, 2 1/2" x 2 1/2"
For the side borders (blue), cut
2 strips, 1 3/4" x 4 1/2"
For the backing, cut
1 piece of fabric, 6 1/2" x 8 1/2"
For the binding (brown), cut
1 fabric strip, 1 1/4" wide
Piece of thin cotton batting, 6 1/2" x 8 1/2"
Make the Block
1. Draw a diagonal line across the back of each 1 1/2" x 1 1/2" scrap square you've picked for the star points.
2. Place one 1 1/2" x 1 1/2" scrap square on top of one end of a BLACK print 1 1/2" x 2 1/2" rectangle, right sides facing. Sew on the line and trim to a 1/4" seam allowance. Press the triangle toward the corner.
Place another 1 1/2" x 1 1/2" scrap square on the other end of the rectangle, right sides together, and again stitch on the drawn line. Be sure that the diagonal line is oriented in the opposite direction from the first piece. Trim to a 1/4" seam allowance and then press the triangle toward the corner. Make four of these flying geese units.
3. Sew a black 1 1/2" x 1 1/2" square to each end of two of the flying geese units and press the seams toward the squares. Sew the remaining two flying geese units to each side of the 2 1/2" x 2 1/2" center square, and press the seams toward the square. (Here's a sample I just stitched up using a red center square.) Sew all of the units together as shown below.
4. Trim your star block to 4 1/2" x 4 1/2". Sew a blue fabric strip to each side of the block. Press.
5. Layer the quilt top, batting and backing, and baste or pin the layers together.
6. Quilt as desired. I quilted an X through the block and a square in the center. Then, I divided each border into 4 segments with a washable white marking pen and quilted an X in each segment for a diamond motif.
7. Add 1 1/4" binding using your favorite binding method.
These were so much fun I had to make two. Have fun! When you're all done, sit back, put your feet up and have a cup of tea or coffee and say "Ahhh, I love being a quilter."


