
Here is a repeat of a blog post from a few years ago on making basket handles -
Everyone loves basket quilts, and every quilter probably has a basket quilt or two in her collection, don't you agree? I have an easy technique to tell you about today that I hope will get you started making one soon.

In earlier times, every home had numerous baskets and every basket had a role – there were egg baskets and berry baskets, laundry baskets and sewing baskets. Quilters in the nineteenth century had sewing baskets that had to be large enough to hold needles, thread, scissors, buttons and perhaps a small project or scraps of fabric.
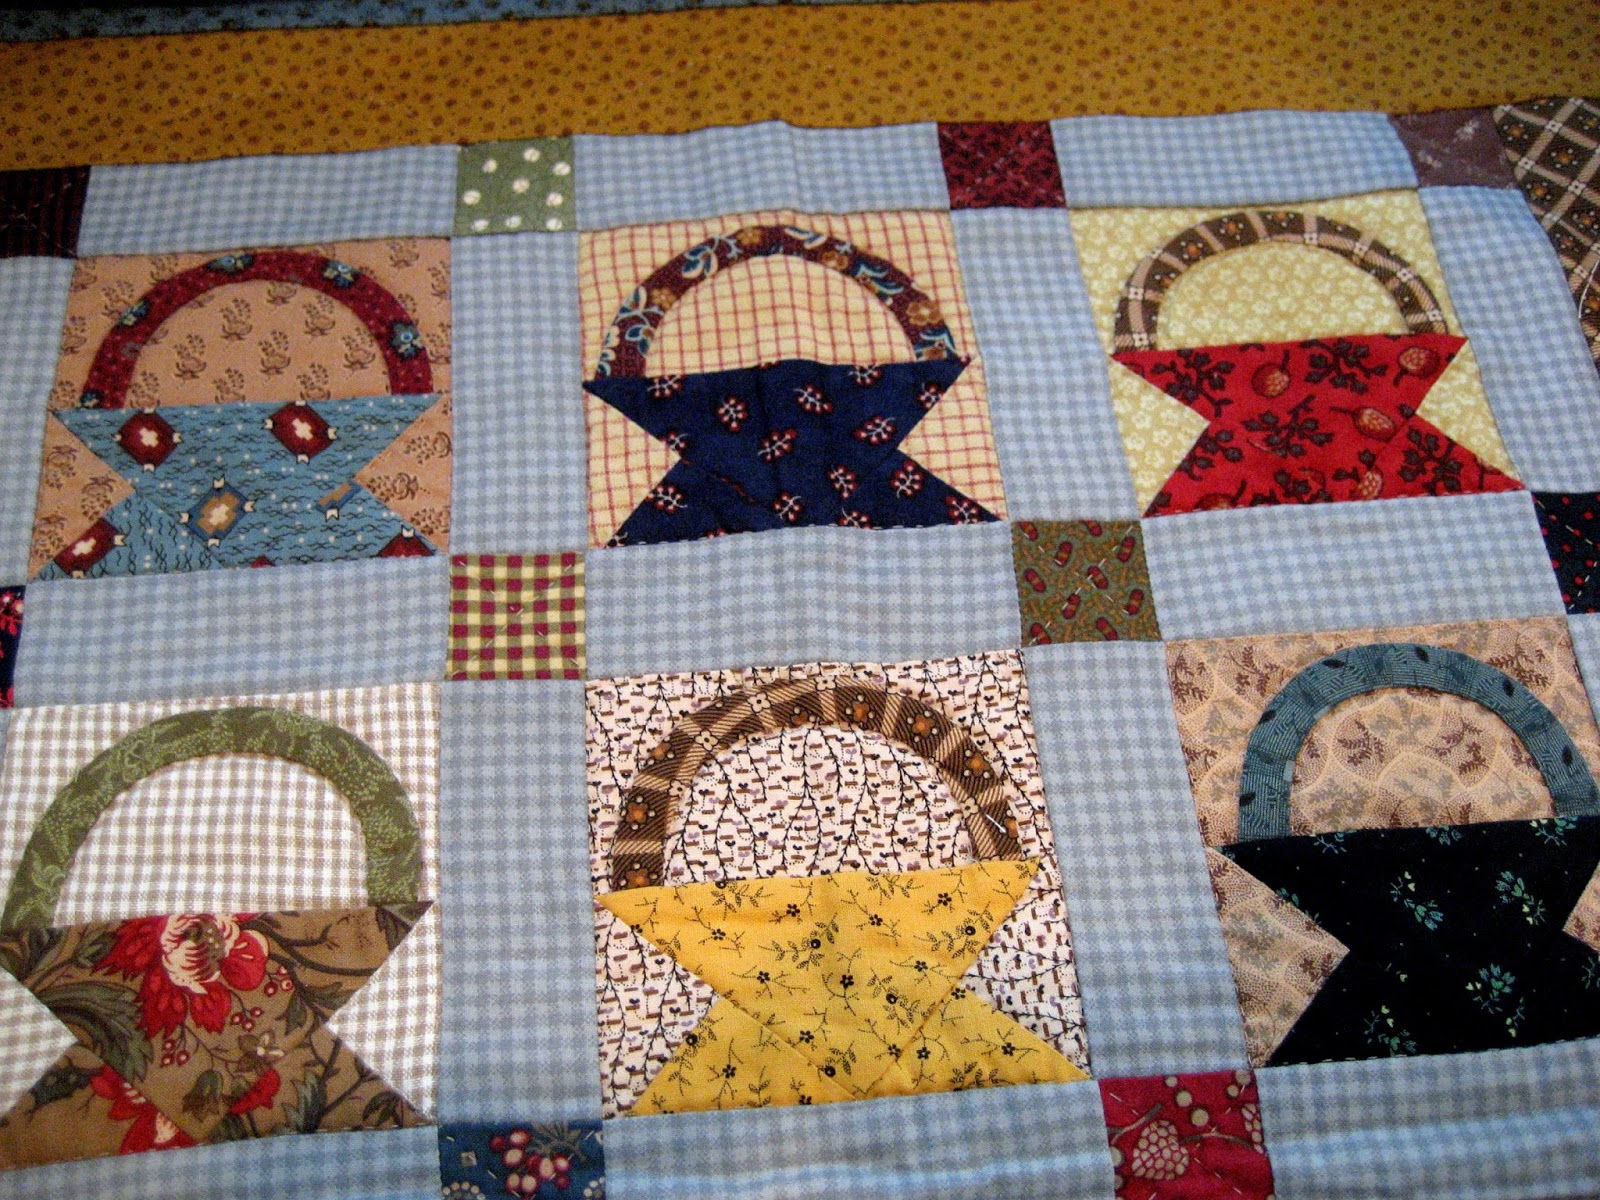
I've made several small basket quilts and I especially had fun using some of my reproduction fabric scraps making this one that's in Remembering Adelia, my third book.


It's called Civil War Baskets and if you are inclined to use '30s fabrics or brights or batiks instead of reproduction prints like I did, guess what? It will turn out great. The nice thing about traditional patterns from long ago, like basket blocks, is that they are time-tested. They've been around for a very long time and are still being used today in contemporary quilts. So don't ever feel you have to be limited by MY fabric choices. Make it your own way.
If you're hesitant about making those handles for your baskets, or you're just beginning, never fear - here's a great method that takes away a lot of the stress.
It's pretty simple to make curved basket handles once you get the hang of it and you can use the same technique for vines and stems on other applique projects.

The first step is to cut your strip on the bias--which means that it's cut on the diagonal of the grain. I also like to use pressing bars, which are 12" long, heat-resistant plastic bars for making applique vines and stems. They come in a package with several bars of varying widths.

Cut a strip the correct width--for the Civil War Baskets in Remembering Adelia it's 1 1/4".

Fold the strip WRONG sides together and sew a 1/4" seam along the raw edge to make a tube. Cut the ends of the strip to the the correct length--for the Civil War Baskets it's 1 1/4" x 6". Trim the seam allowance a little to about 1/8".


Slide the rounded end of the pressing bar into the tube and press as you roll the seam to the middle of the tube. Press the seam in one direction. When you turn it over, the seam will be hidden. Remove the bar--CAREFUL, it gets very hot--and finish pressing the tube flat.


Now you're ready to shape the handle into the curved shape and pin it to the background fabric. Since the fabric was cut on the bias it will stretch easily. Find the center and pin. Then, using a blind stitch, sew in place, starting with the inside curve, then the outer so it doesn't pucker. I like to use 50 wt Aurifil thread that matches the handle fabric and a John James Gold 'n Glide Applique Needle for the applique. Then just trim and follow the directions for your pattern to attach the handle section to the basket part.


These handles were made with a 1/4" Clover Bias Tape Maker. They're a tiny bit narrower. See my previous post for info on that method.


7 comments:
love the civil war baskets and this is a great tip~!~
:)
libbyQ
I just love baskets! Thanks for the how-to.
I have never heard about this plastic bars. Thank you for the information.
I love the baskets!!!
Renate
I have also never heard of plastic bars, I am struggling using the Clover bias maker so thank you Kathleen for this tutorial.
Thank you, Kathy! I have a 1/4” bias tape maker somewhere, but have not found it. I finally did though find my metal bias bars, so will be using that method. I know these get really hot! Will have to be patient letting it cool down before removing after ironing!
Many thanks for these great tips
LizL
Wonderful tutorial, I will have to try that. I do love basket quilts and a great way to use up leftover fabrics.
Debbie
Post a Comment