Tuesday, April 18, 2023

Reproduction Fabric Panels

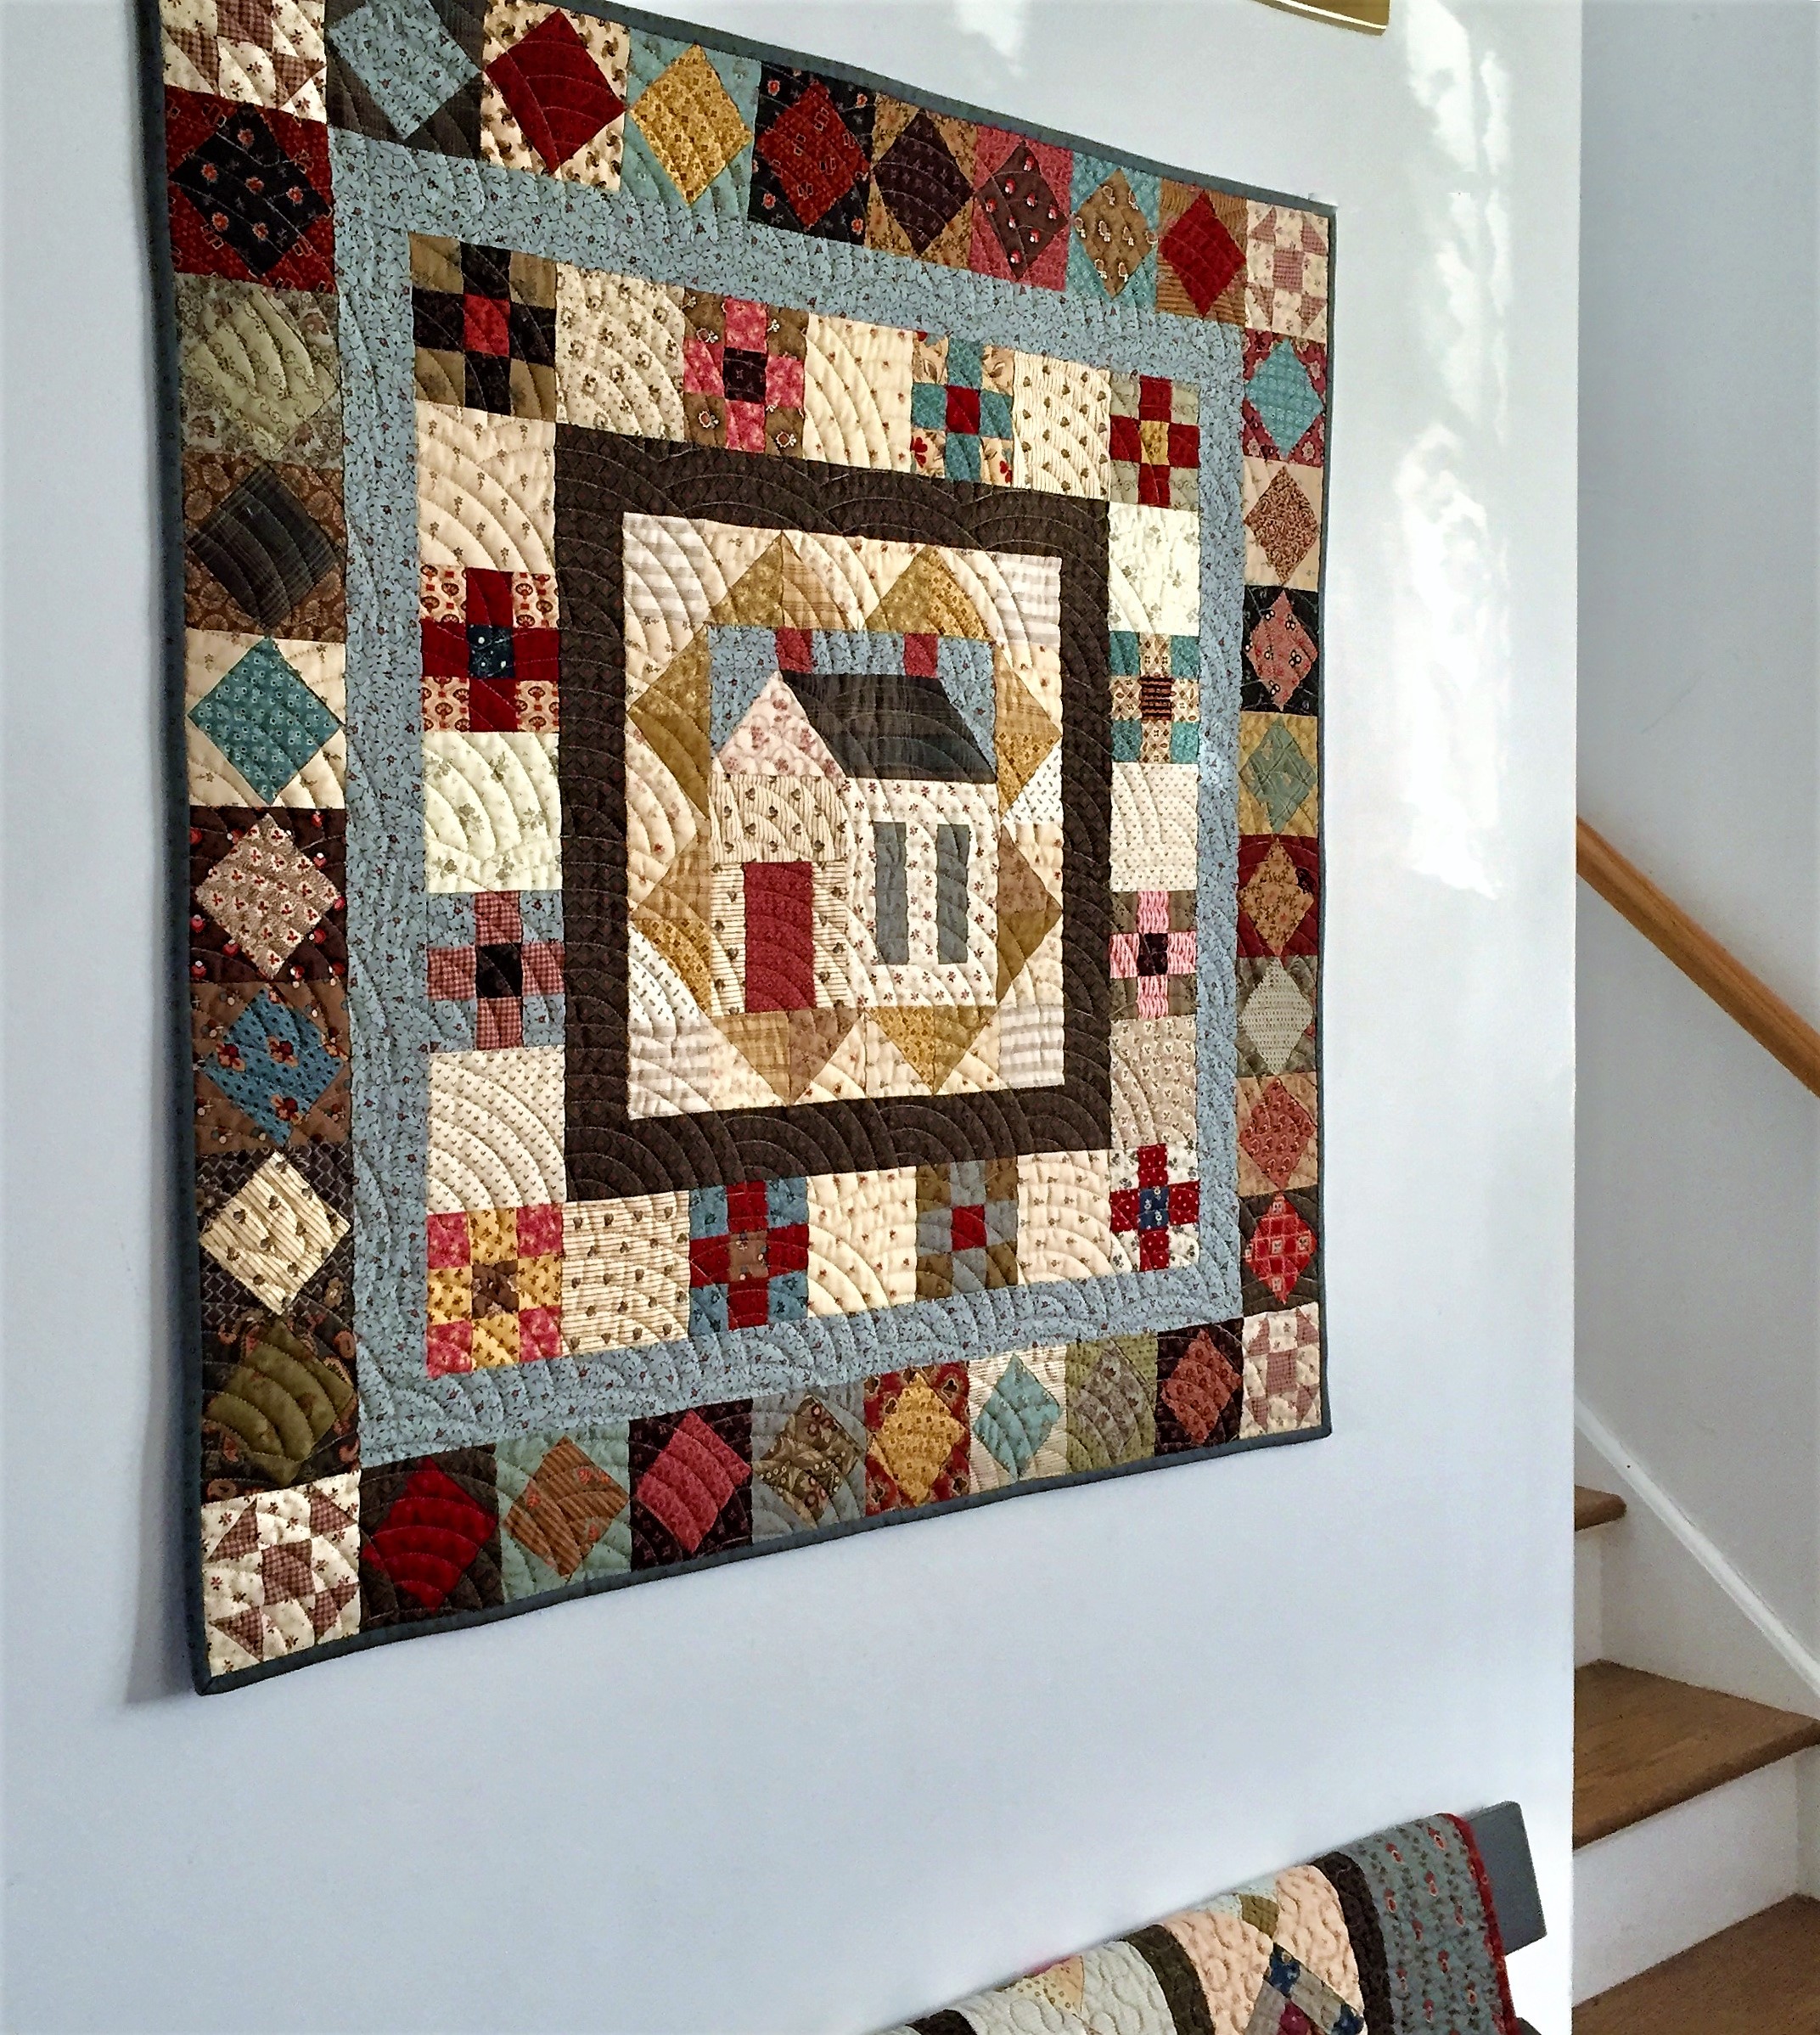
Do any of you own pre-printed fabric panels? These are also called "cheater cloth" fabrics and used to be very popular years ago. It seemed that just about every reproduction fabric designer had one or two in their fabric lines. If you collect reproduction fabrics like I do they're really fun and a welcome addition to your fabric collection. If you can find them anymore. 

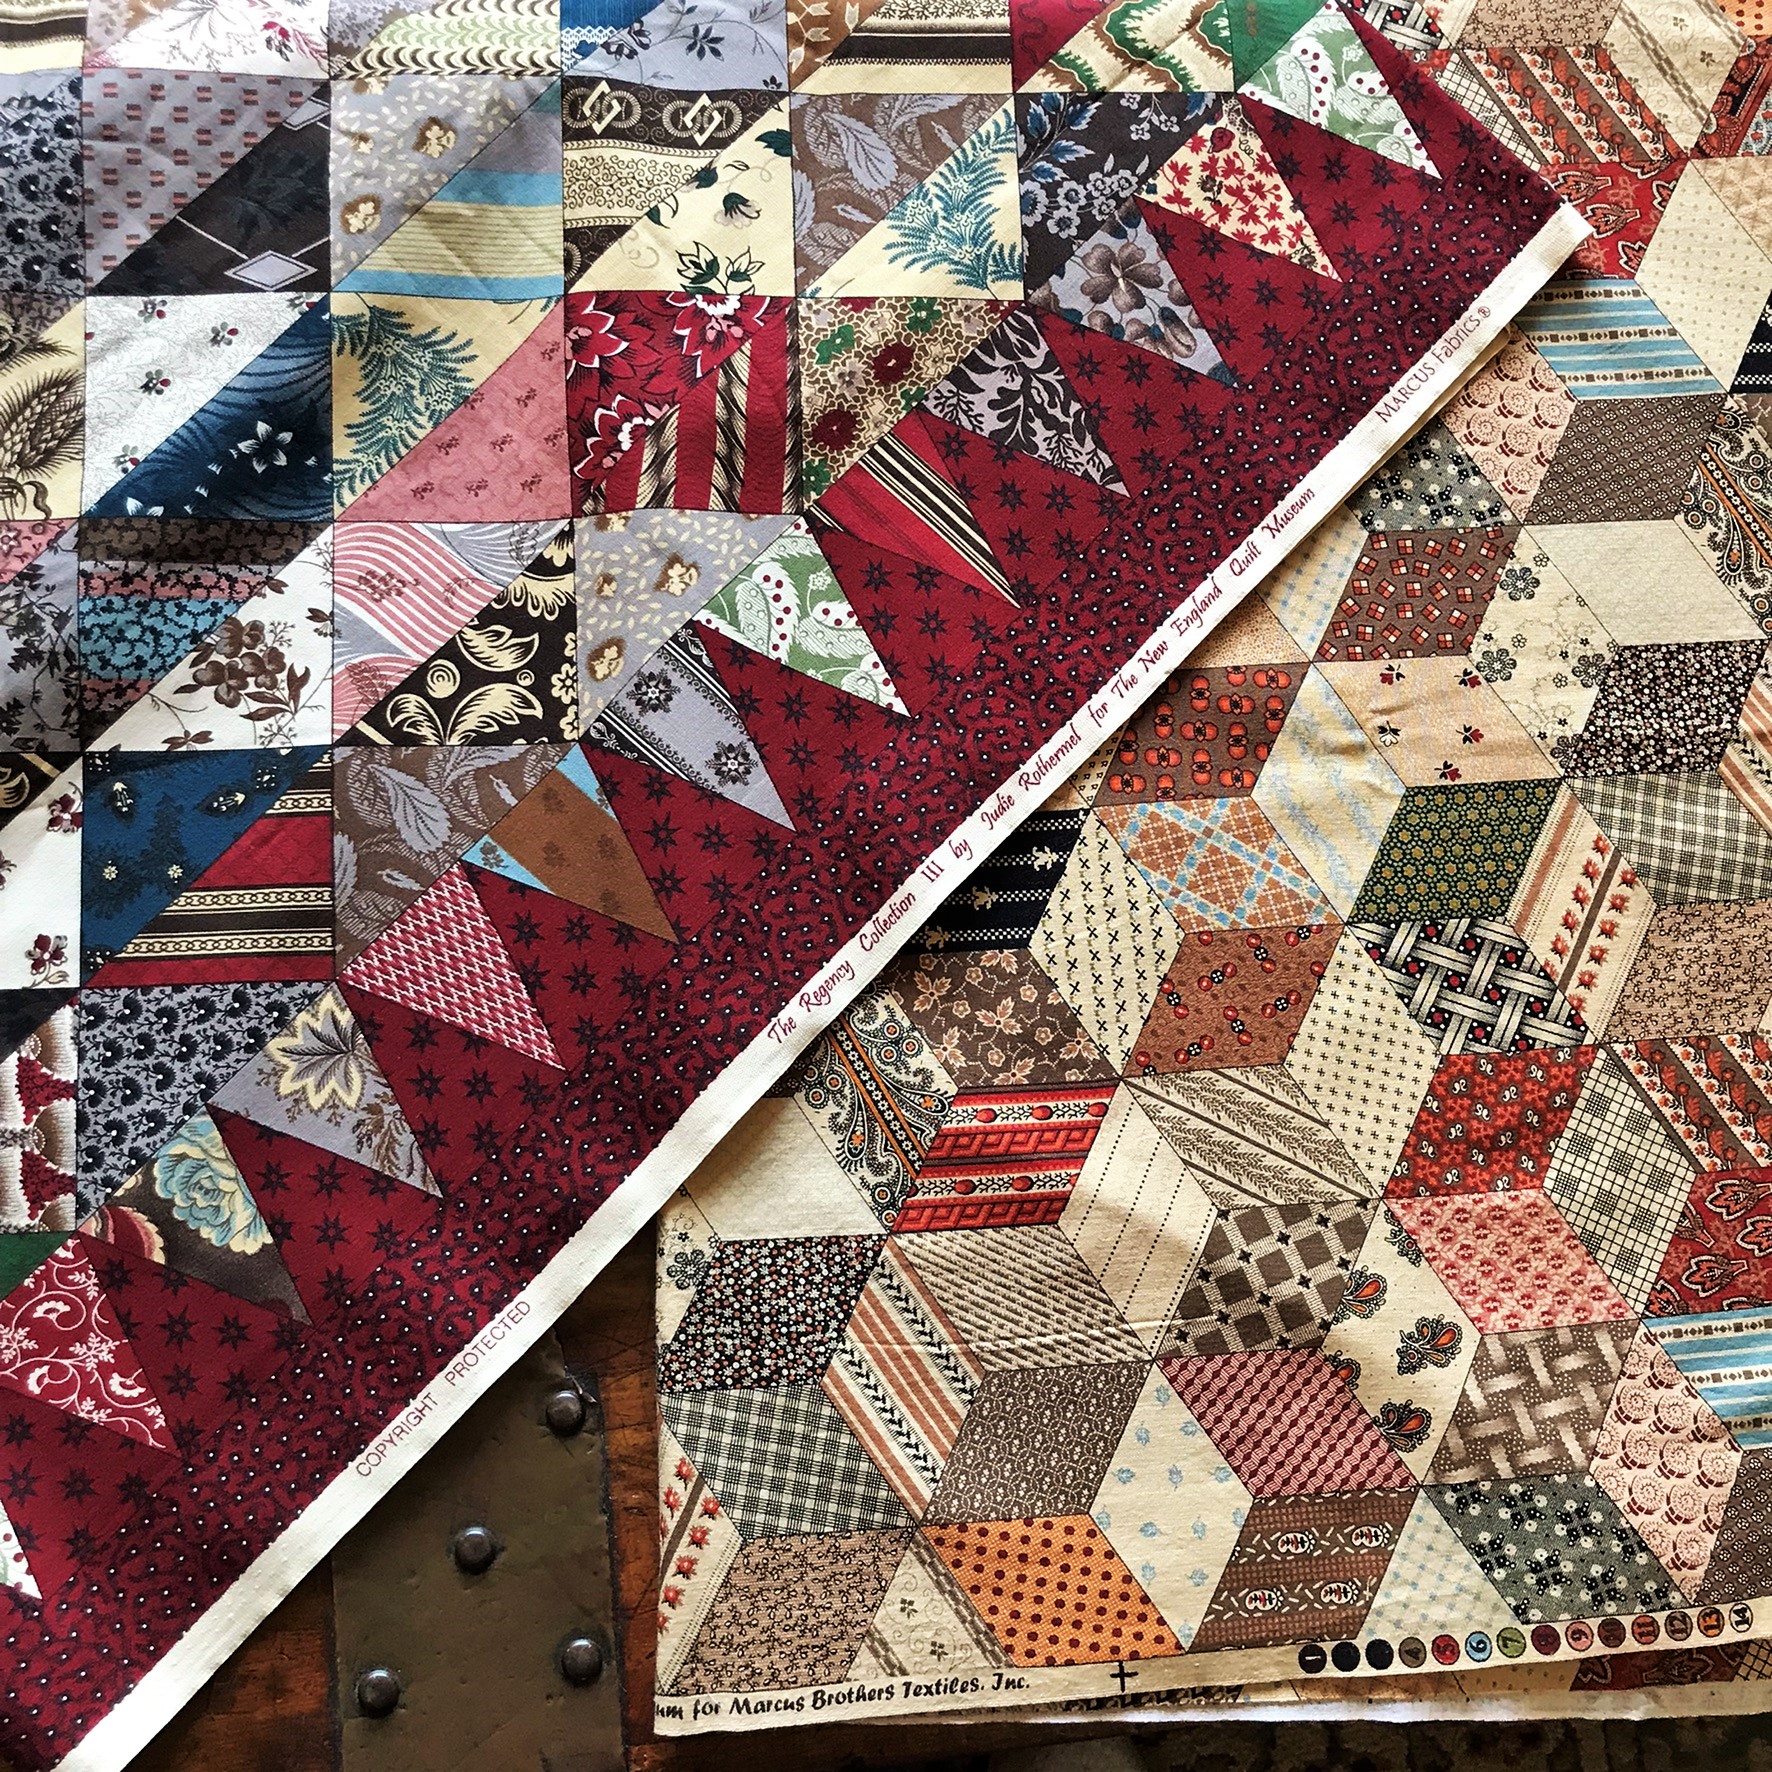
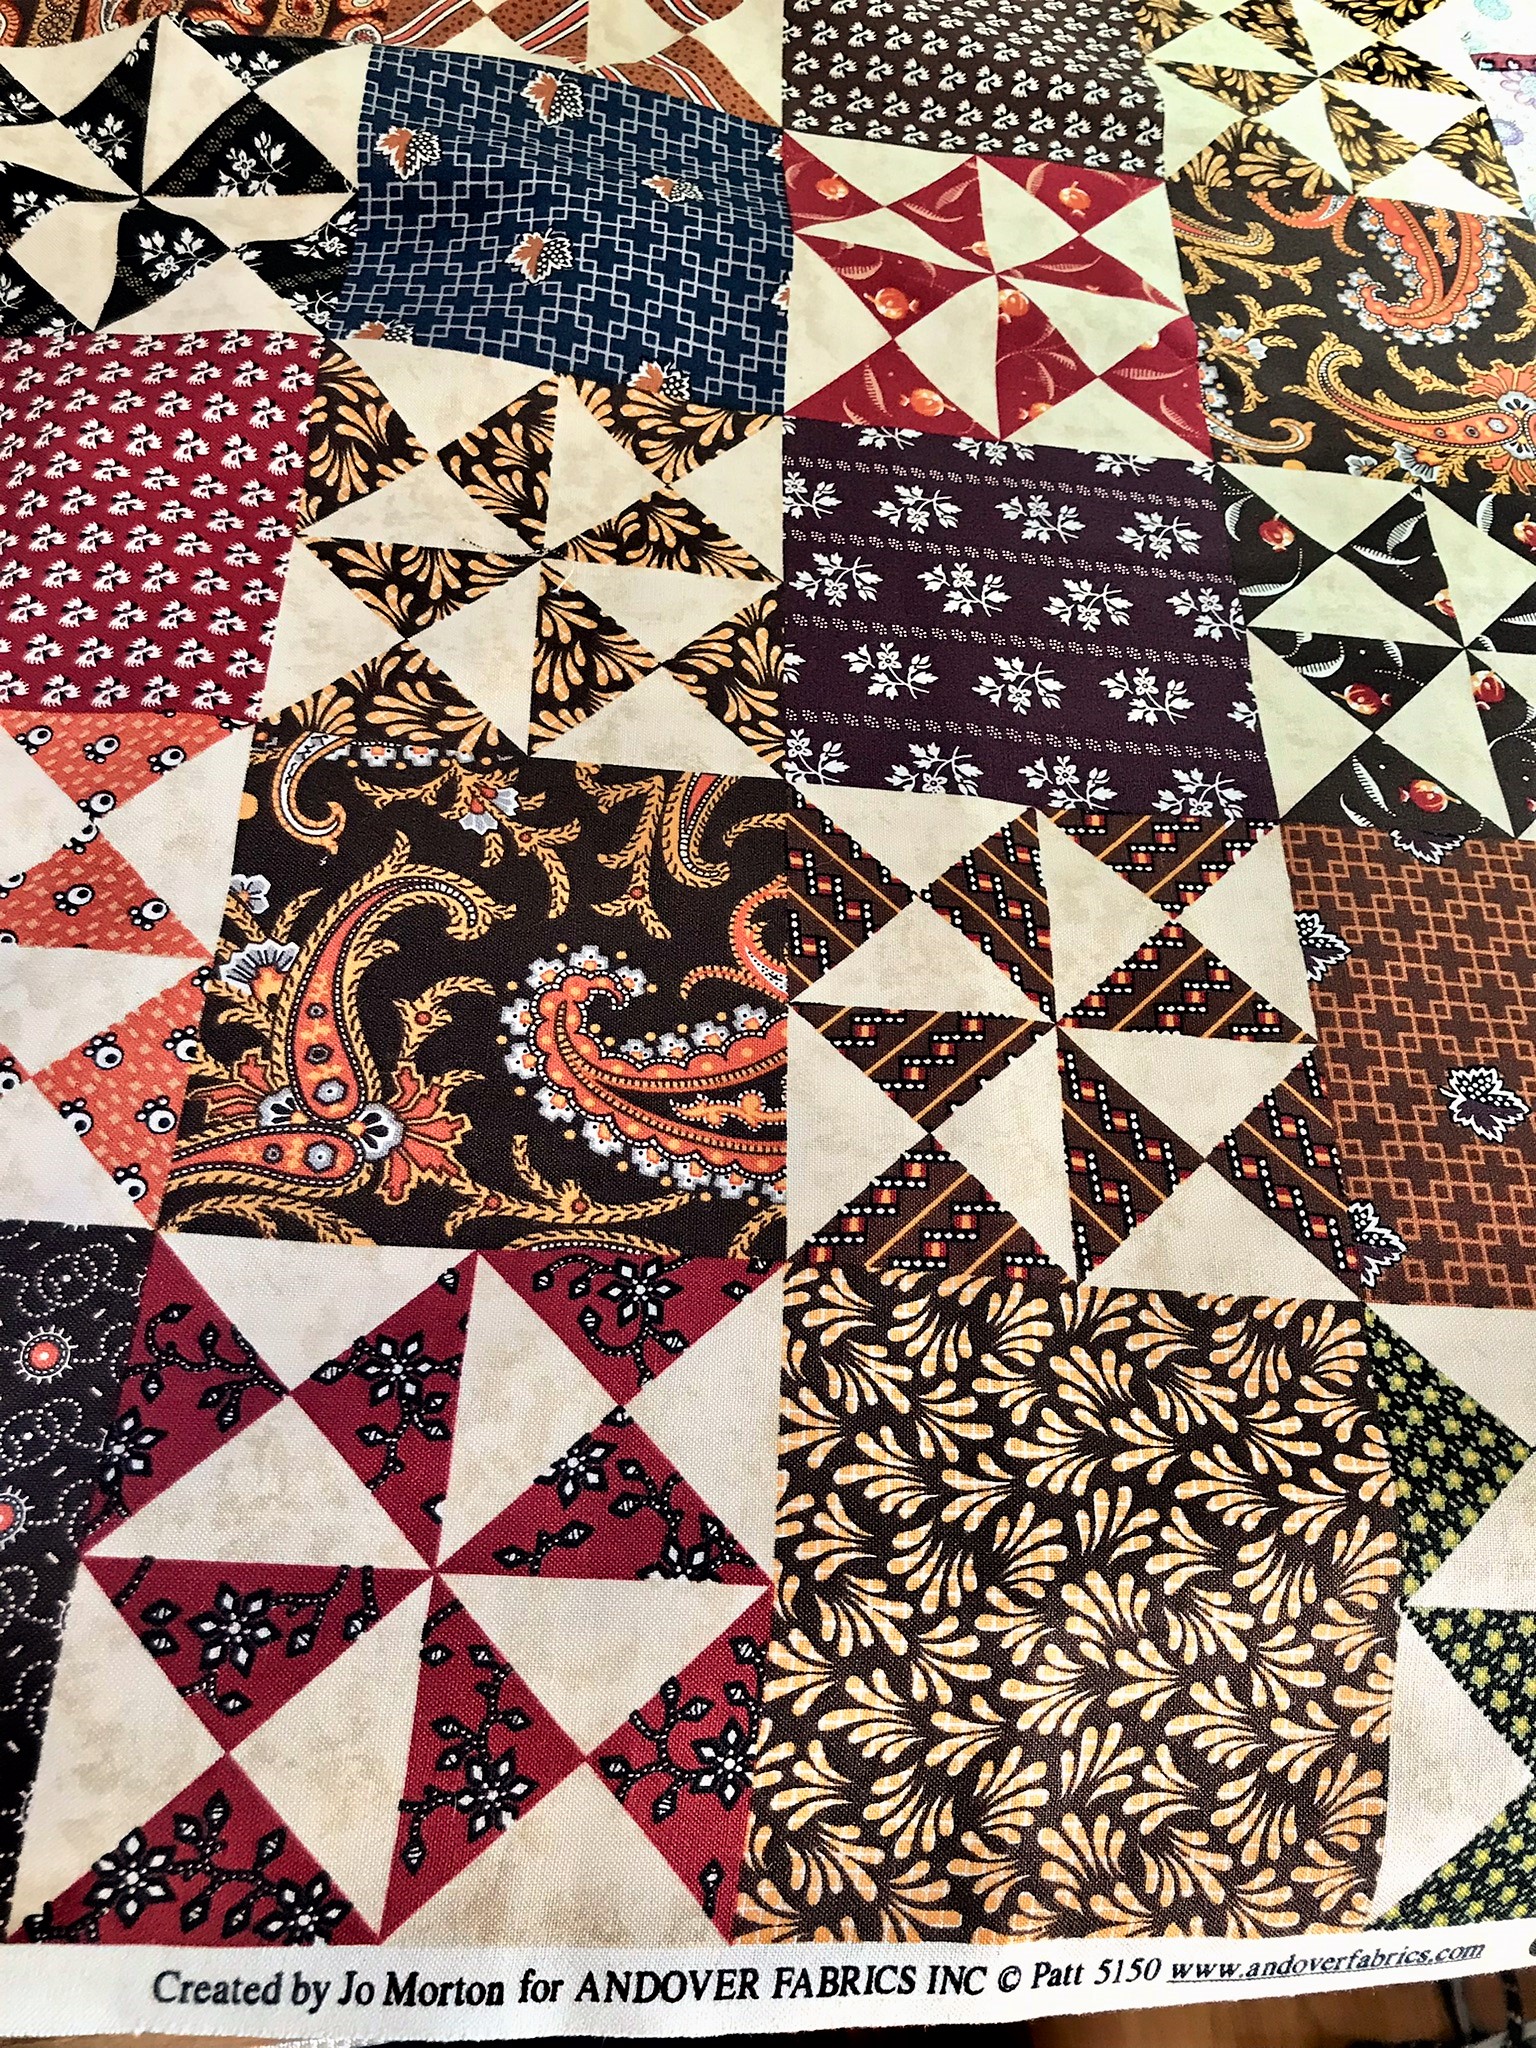
The cheater cloth nickname was originally given around 1910 because it was an easy way to "cheat" and make a quilt without doing any piecing. Here are some of the panels in my collection. I only have a few, mostly ones designed by Judie Rothermel and a smaller piece of one designed by Jo Morton. 


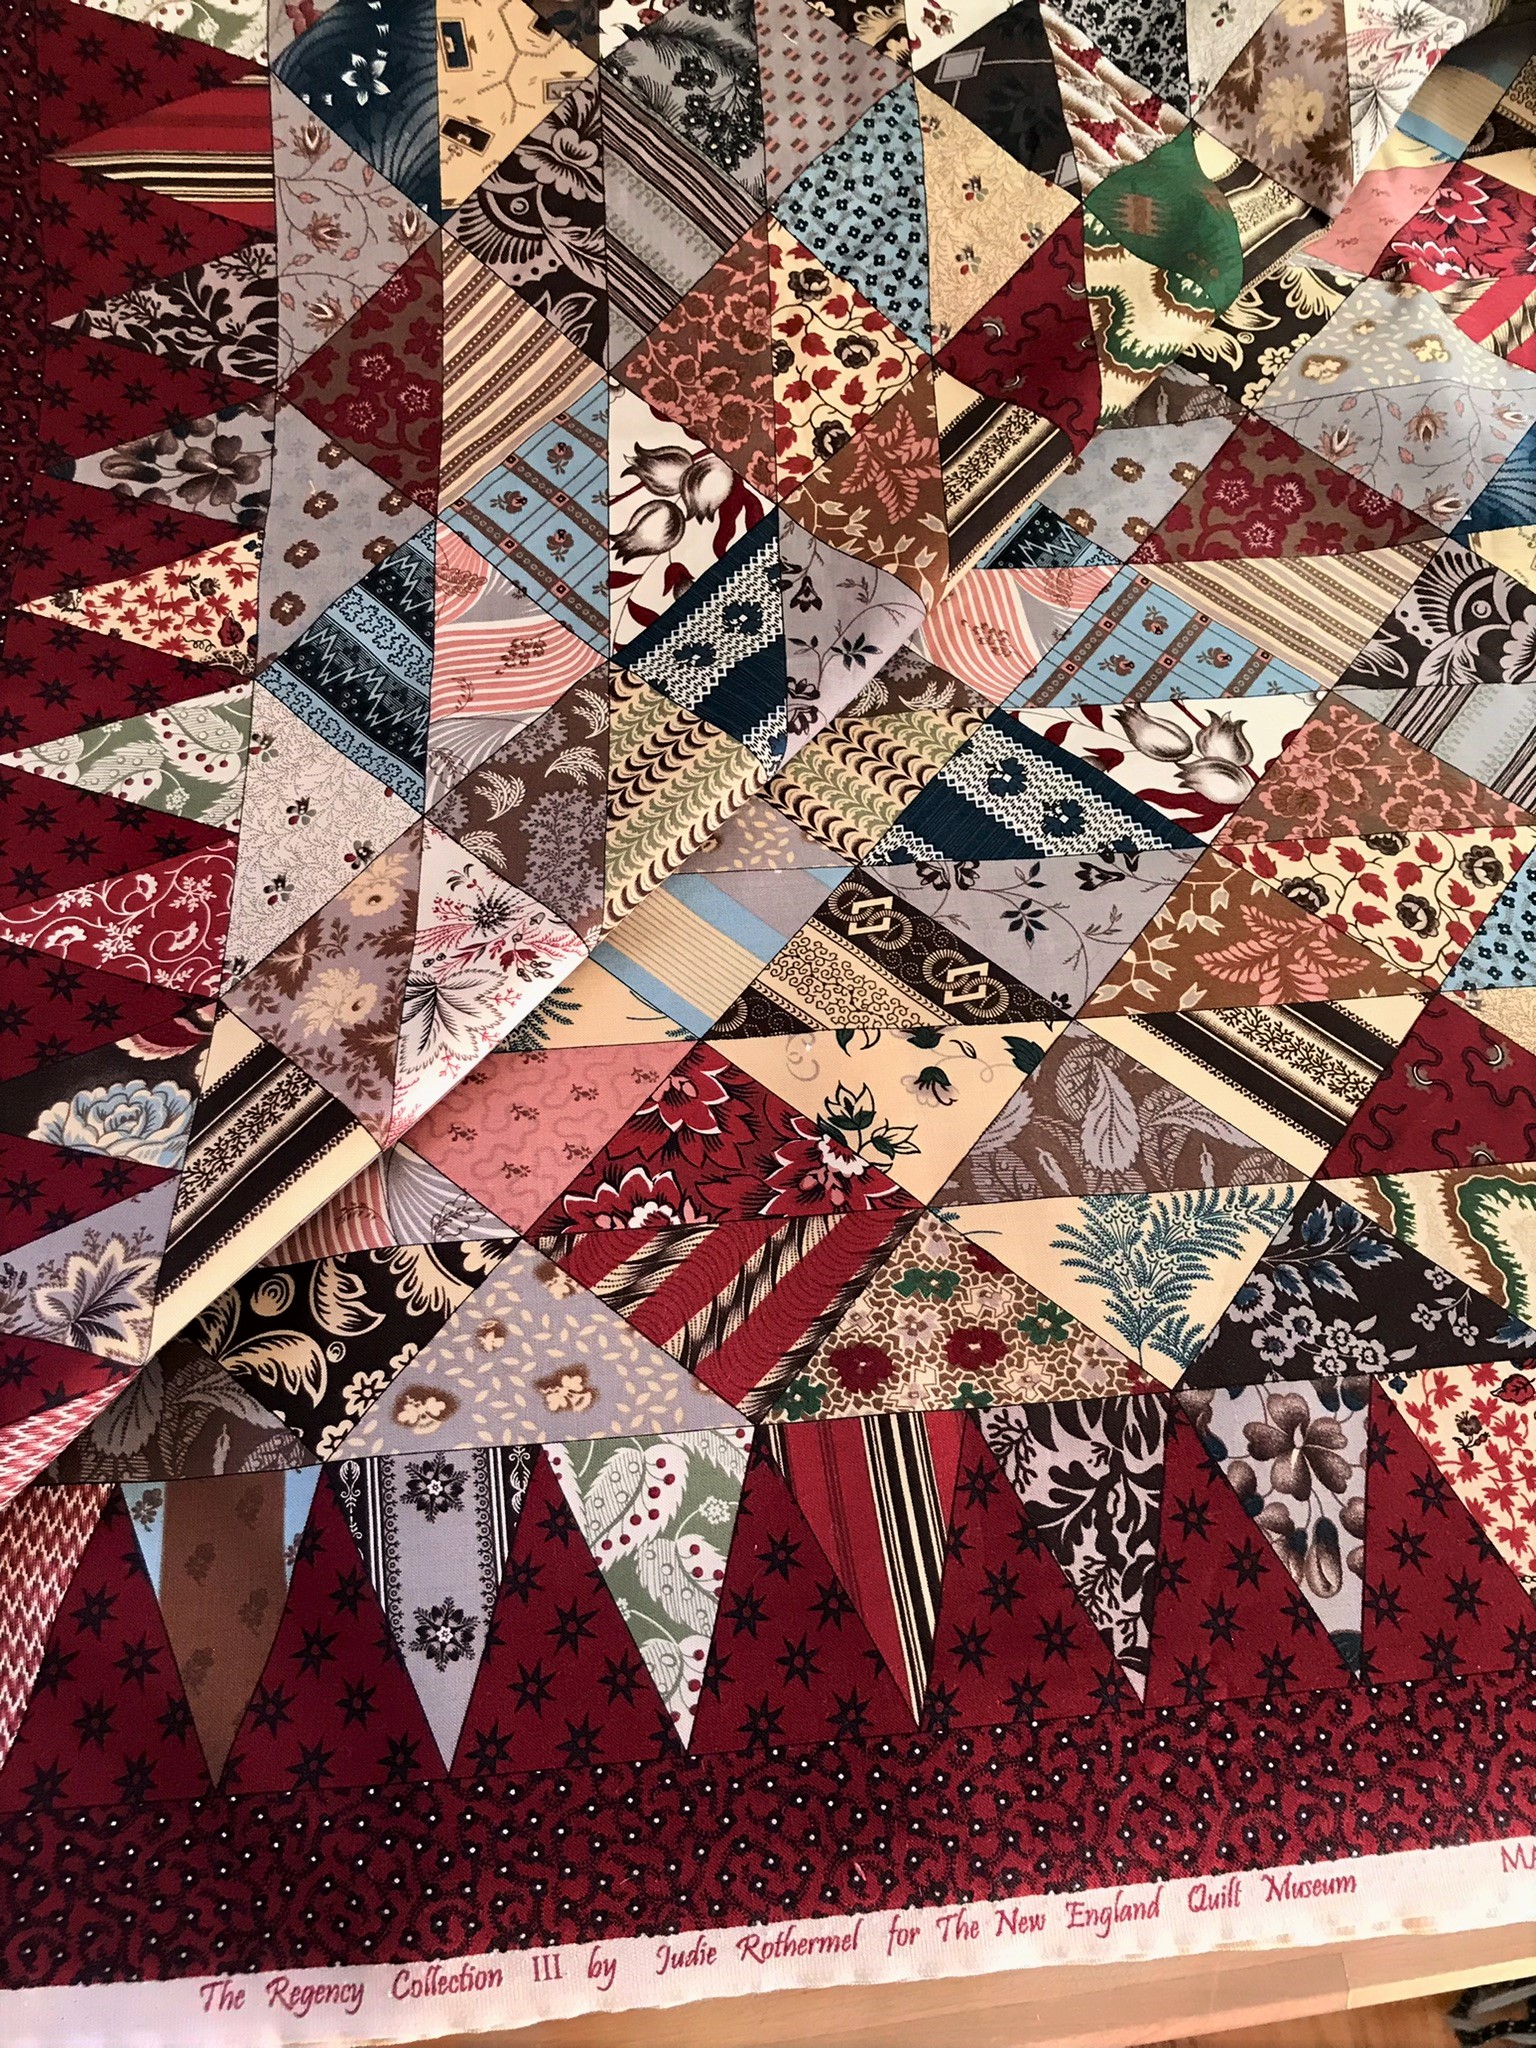
Years ago, when I first started quilting, I used to practice my hand quilting on these. Treated them as a finished quilt top, layered with batting and backing and just followed the lines to do some hand quilting. Then sewed on a binding.


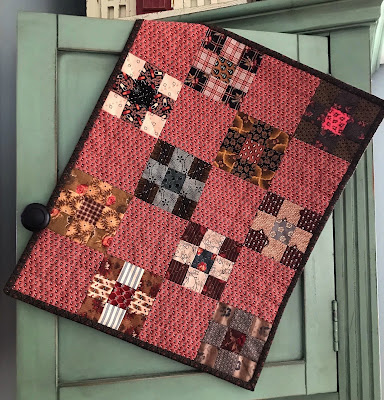
This picture below is of a tumbling blocks fabric panel that a friend of mine had machine quilted - she added borders and turned it into a pretty lap quilt that looks antique. Quick and easy.


I'll tell you, it doesn't look that much different from this little tumbling blocks quilt I pieced all by hand from scraps. You probably know how long that took. I've always wanted a larger one so maybe someday I'll use my panel (above) and do the same thing.


Most of the ones I've shown here are pretty old and hard to find but I know fabric companies still make these. I saw that Moda came out with one by Betsy Chutchian recently. Mary Ann's Gift??  And I think I saw one by Julie Hendrickson too. If you can't find any new ones, try Etsy or eBay. You might get lucky. 

*  *  *

We had a small amount of snow here yesterday but the sun is out today and I'm almost certain spring is coming . . . . It has to, right??


Monday, April 3, 2023

Where's Spring?

We've had so much rain and cold weather here in the Chicago area lately. Spring just does not want to get here!  I know I say this every year. But this year . . .  it's all been a little too much to take at times. Maybe Mother Nature is waiting to see just how much we can take and how long we can go on complaining about the weather.


No flowers. Just puddles and mud.

If you're like me and live in an area that has seen way too much bleakness and cold this year, getting impatient for a true springtime to arrive, here's a free pattern for a cute little flower quilt that may uplift your spirits and keep you busy. I designed it years ago for my old Yahoo group and thought I'd resurrect it. I'm hoping that as soon as I finish writing this blog post the sun will miraculously come out and we'll be there already.


This little project is so cute and it's very easy to put together. I played around and made a sample block yesterday.  Just make Snowball blocks and use a different color for one square for the flower center when you put 4 blocks together. Download the pattern here and you'll see directions for making the blocks in two sizes.


To make the block, mark diagonal lines onto the small squares and sew to the corners of the larger square. Add one square in a different color for the center.


Flip and press the corners open. Using a little dab of water along the seam while pressing will help make it lie flat. 


Trim the seams to 1/4".


Make four of these units, arrange as shown and sew them together with the contrasting pieces meeting in the center.


The pattern gives you directions for two different sizes. I made the 6" blocks a few years ago and this time went smaller and made 4" ones.


Such a cute little flower, isn't it?  

You can add a button. Or a stem and leaves by appliquing  them onto a plain block. Then fill your house and thoughts with flower blocks and quilts and maybe spring will arrive here for those of us in the midwest. I'll keep wishing and hoping . . . .


Friday, March 10, 2023

Display Your Little Quilts

I'm often asked -  what do you do with all your small quilts? Many of us hang these on a wall or place them on a table. 


You can make a whole wall of quilts if you have more than a few. 


Try some rolled up in a basket. Then bring the basket indoors LOL. 


Display them on a bench.  Oops, this one's a larger "small" quilt! More like wall hanging size.

Small quilts can personalize a room and add color, texture and creativity to a space. Some quilters change them out with the seasons. I always have a few small quilts out and displayed around the house.


I have a few favorites that just brighten up my home so I occasionally rotate them in different rooms and settings.


One of the fun things about making small quilts is that they're easy to display around the house in so many different ways. Quilts really add something to a room whether they're dressing up a bed, draped over a sofa or hanging on a wall in an entryway. 


Small or large, I think that quilts make a home a home. Seeing a quilt displayed ini someone's home conveys a feeling of warmth to me. Don't just make the quilts and put them in a drawer or closet. Bring them out and display them so you and others can enjoy them.


Sunday, March 5, 2023

Simple Sewing, Mindless Piecing

I've talked about this before - how simple, mindless sewing can work wonders for your creativity. Sometimes I can't take the time or don't have the energy to focus on a large, complex project that involves a lot of work or concentration. I did that consistently for my Dear Jane and Schoolgirl Sampler. Pushing myself to get them finished as best I could. Writing books and making projects on a deadline also requires a lot of focus and that can drain your energy if you do it regularly. When I get tired, and quilting becomes "work," I have to take a break from it. Afterwards I find myself in a quilting slump and the only way to jump start my productivity or creative impulses is by playing around with fabric and making something small. Like this sweet little Valentine Mini. 


Years ago, I saw an antique strip quilt in a magazine made with what looked like mostly blues and browns. Not a good or  close-up photo. I cut out the page and filed it for "Someday." I ran across it last week, became inspired again and spent time pulling some fabrics to use in it - 

I started cutting and making a few blocks. mindlessly sewing four patches and hourglasses together. This one was just a picture and had no pattern, so I'm going to create my own. I realized I didn't really have a blue and brown quilt. I decided to add a little touch of pink to the blue and brown blocks and see what happens. 


Beginning a new project can be very exciting. I have about four or five of these types of simple, larger quilts started. Nothing fancy. Simple blocks, pretty fabrics, traditional settings and all based on antique quilts I've seen. I work on the blocks in between the sew alongs and my Dear Jane. And I'll finish each one when I finish. No pressure. Just sewing blocks until I feel I've got enough for a lap-sized quilt.


I really love mindlessly sewing simple blocks. The repetition and playing around with the fabrics and coordinating colors sparks some kind of creative flow. I find a nice box to store the blocks as I make them. And keep the fabric for the setting or borders along with the finished blocks.


When I collect enough blocks for a top I begin to put them together. No pressure. Sometimes I wonder if the reason we struggle to finish quilts is because we get bored with a specific project? Or become stressed by trying to make it perfect? If I take breaks from one quilt and move onto another one for awhile, I still make progress. Just not in a straight line, LOL.


The epitome of mindless sewing -  squares set in rows, LOL. Still plugging along every now and then. 


I love these plastic project cases for storing blocks for some of my in-progress quilts. I found them at Michaels in the Scrapbooking department. I'm sure other craft stores and maybe even Target carry them too. they stack nicely and I keep them at hand for when I feel the need to do some mindless sewing. 


My goal for the coming weeks -  just sew and have some fun! It's meditative and good for the soul. 


Monday, February 6, 2023

2023 Valentine Mini Mystery Quilt - Step 3

 Here's Step 3 of the 2023 Valentine mini quilt - 

Materials and Cutting


From a light print for the quilt background, cut

1 square, 4 ½”  x  4 ½”

                      1 square, 7”  x  7” cut twice on the diagonal for 4 triangles.

                      2 squares, 3 ¾”  x  3 ¾”.  Cut each square once on the diagonal for 4 triangles.

 From a pink or red print, cut                                                 

                        4 rectangles/strips, 2” x 11 ½ for borders                                       

                        4 squares, 2” x 2”  for corner blocks.


1.   Sew the blocks together in diagonal rows as shown with the 4 ½” setting block in the center row and the setting triangles on the ends of the first and third rows.   


2.    Add the 4 corner triangles.

 3.  Sew two border strips to the sides of the quilt. Sew two 2 ½” squares to both ends of the remaining border strips. Sew these to the top and bottom of your quilt.


                                  Ta da!  Love Letters . . . 


I thought it might be fun to applique some little hearts inside the blocks. Layer with batting and backing, quilt and add a 1 1/4" binding. 


Friday, February 3, 2023

2023 Valentine Mini Quilt - Step 2

 Step 2 - Take four matching half-square triangles from Step 1 and sew them together as shown. Do this with each set of matching HSTs. Make 4 blocks. Trim to 4 1/2"  x  4 1/2". 


Make 4 blocks. 


Step 3 will be posted on Monday, February 6. 


Wednesday, February 1, 2023

2023 Valentine Mini Quilt - Step 1

Here's the first step for making my little Valentine quilt - 

Cutting

From four different red or pink fabrics, cut

            2 squares, 2 7/8"  x  2 7/8" 

From four different light or shirting prints, cut

            2 squares, 2 7/8"  x  2 7/8" 

This gives you 8 light squares and 8 pink and red squares in matching sets of 2. 


Next - Match up each red or pink print square with a light print square in matching sets of two. Make 4 sets of half-square triangles. Here's how to make half-square triangles - 

Layer a light print square together with a pink or red print square, right sides together. Draw a diagonal line from corner to corner across the lighter square. Stitch 1/4" away from the line on both sides. Cut on the drawn line. Flip open and press. Arrange in four groups of matching prints. Make 16 half-square triangles. Trim each to 2 1/2"  x  2 1/2". 


If you have trouble with half-square triangles, one of my favorite tools for making them is the Quilter's Rule Quick Quarter ruler. 

You may be able to find this tool at your local quilt shop or a quilt shop online. If not, JoAnn Fabrics and Amazon carry it. Here's how to use it: Cut 2 squares (usually light and dark) according to the directions in your pattern. Layer the right sides together. Line up the open notches of this ruler on the diagonal corners of your fabric squares as shown.


Mark a line along each side of the ruler with a fine lead pencil. These are the sewing lines. Lightly mark the center through the notches as well. This is the cutting line.


You can see that I stitched on the drawn sewing lines. Slow down and stitch your lines carefully. I always stitch a tiny bit to the INSIDE of the line to make up for the extra fabric used when pressing the squares open.

After you sew on both lines, press the squares to set the stitches. Flip open one side and press gently BEFORE you cut the squares in half. Switch and press the other side open. THEN cut in half. This will stabilize the bias edge and keep your blocks from stretching out of shape, which gives them a wonky look. If you cut and stitch accurately (slow down!) and press this way, your half-square-triangle units will come out perfectly instead of WONKY and will need minimal trimming. Try it! 


Perfect squares, minimal trimming. Just snip off those ends.

That's it! I encourage you to join my Facebook group for motivation if you haven't already. I find that if you break down these little projects into simple steps and sew along with others it's not only more fun but you'll be much more likely to finish something. 

Stop by on Friday, Feb 3, when I'll post Step 2.