Wednesday, January 11, 2023

Small Quilt Sew Along 2023

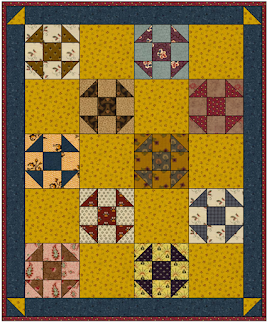
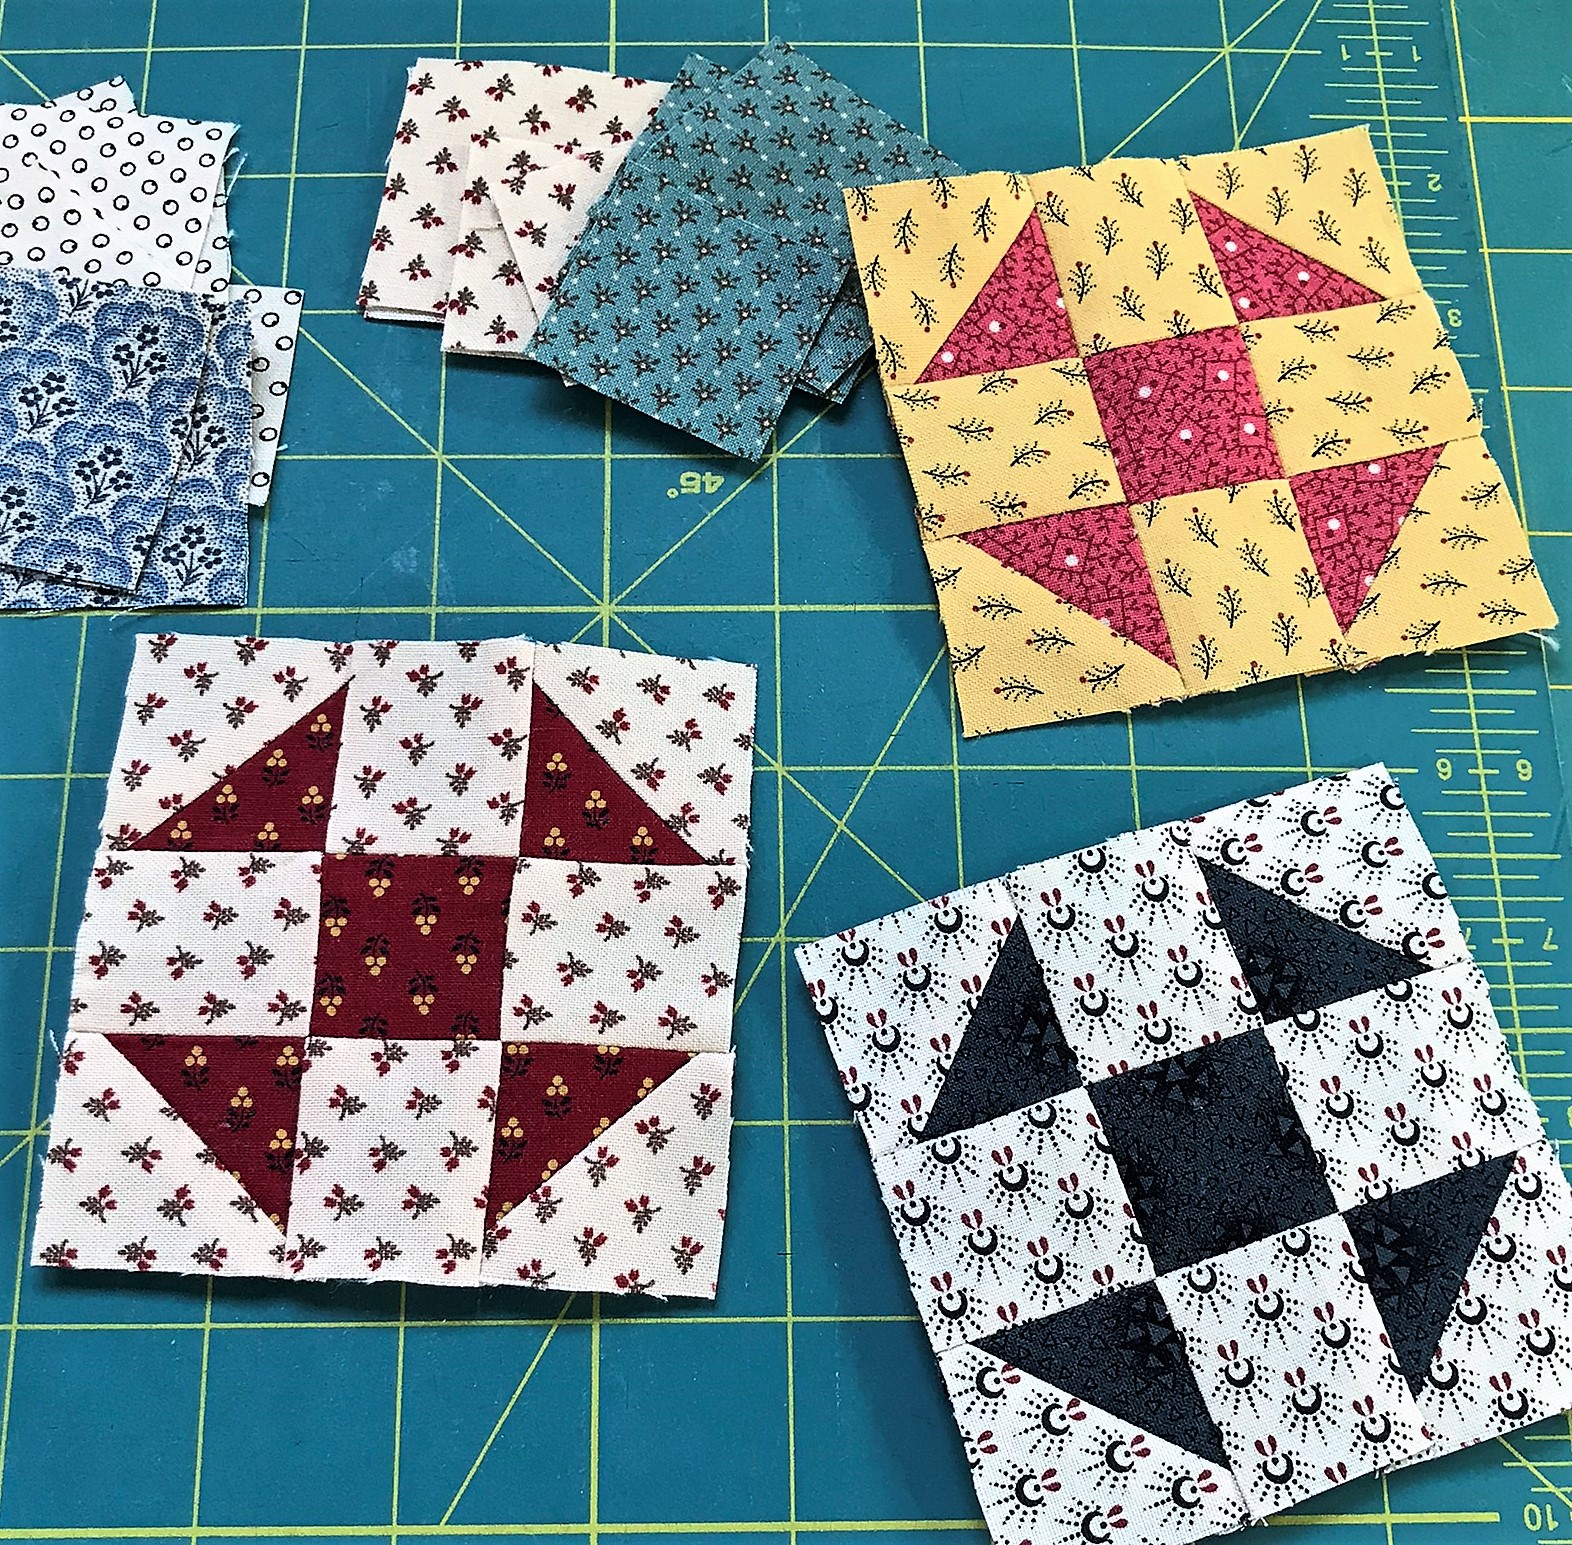
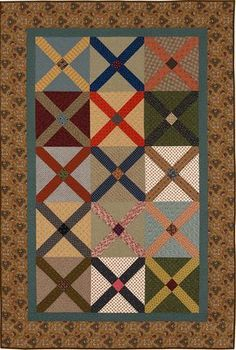
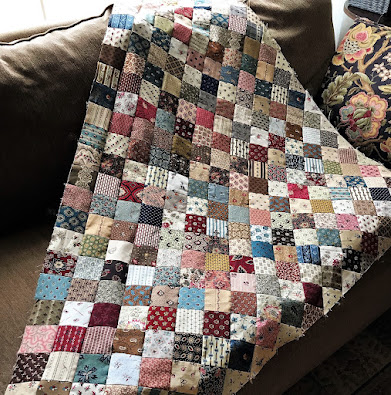
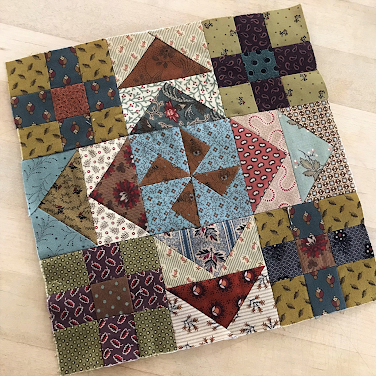
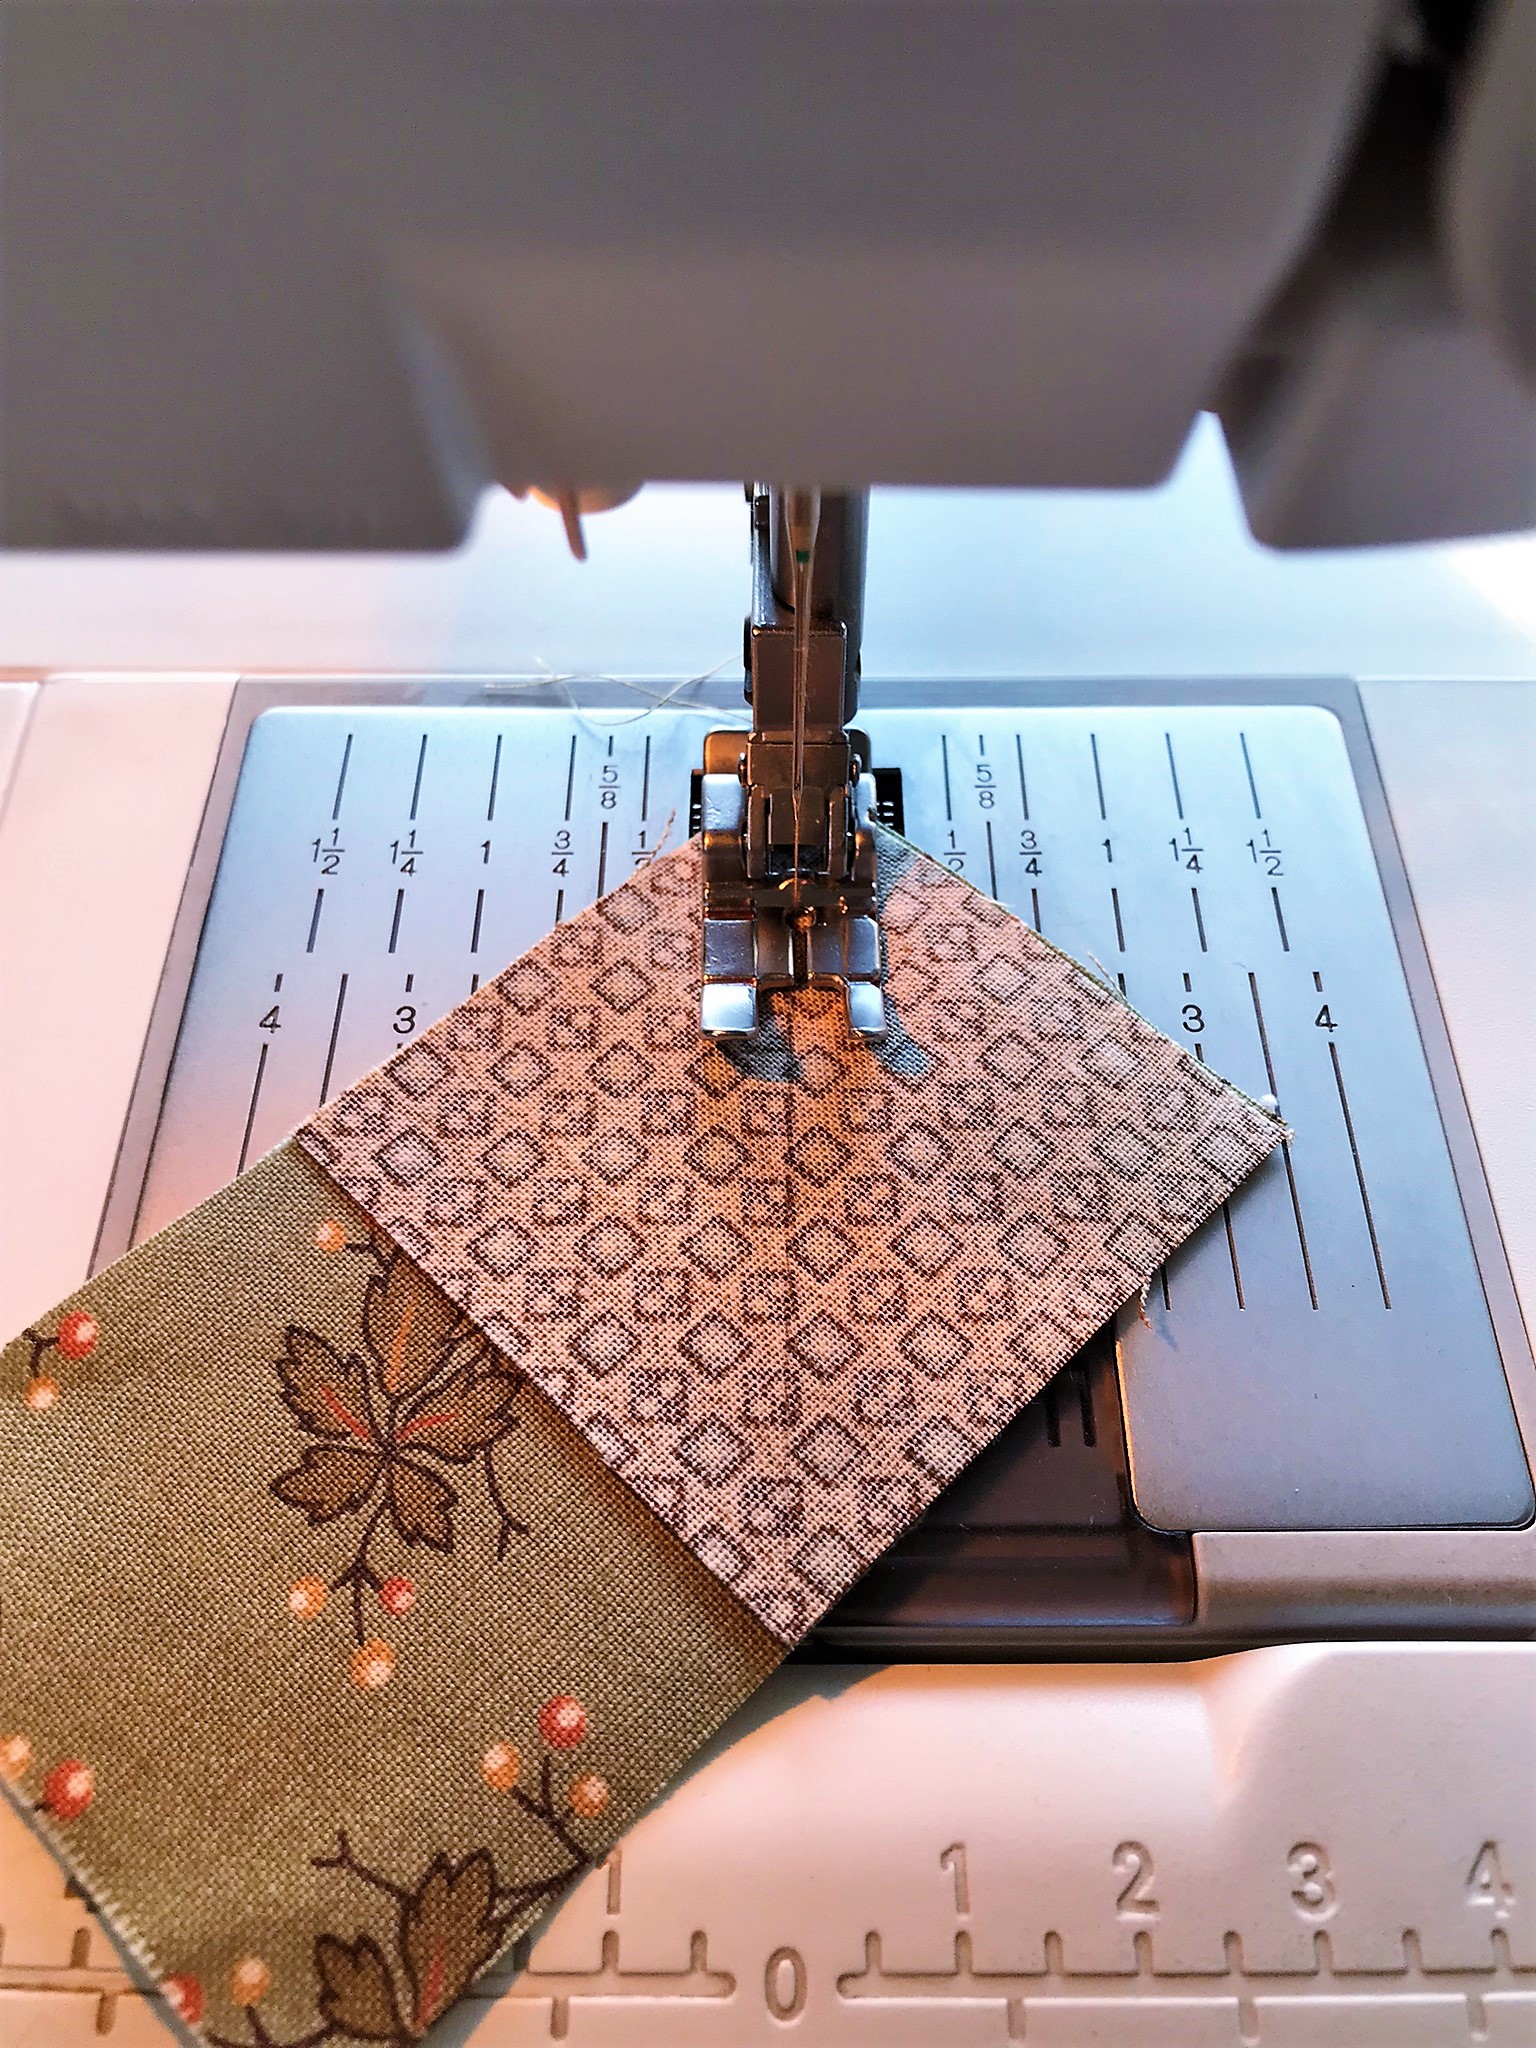
We're kicking off the 2023 Small Quilt Sew Along today, sewing little 3" x 3" Shoo-fly blocks to make a quilt of your choice. Directions for the block and suggestions for how to set them are in my Facebook group files. (I've also uploaded a file on my website under Shoo Fly Sew Along for those of you not on FB.)


I've always loved little shoo-fly quilts and have made a few using slightly larger blocks. 


If you have my book The Civil War Sewing Circle you may have made the pink and brown quilt. The red and blue one is from my first book, American Doll Quilts. Either would look cute with 3" blocks. They're such happy little blocks!


After making 10 blocks last week I couldn't wait to set them. Yesterday, as I was finishing writing up the directions, I had to stop and make a quick little runner using three of the blocks. You have to admit - these are just too sweet, aren't they? I don't think you can stop at just one. They're such happy little blocks!

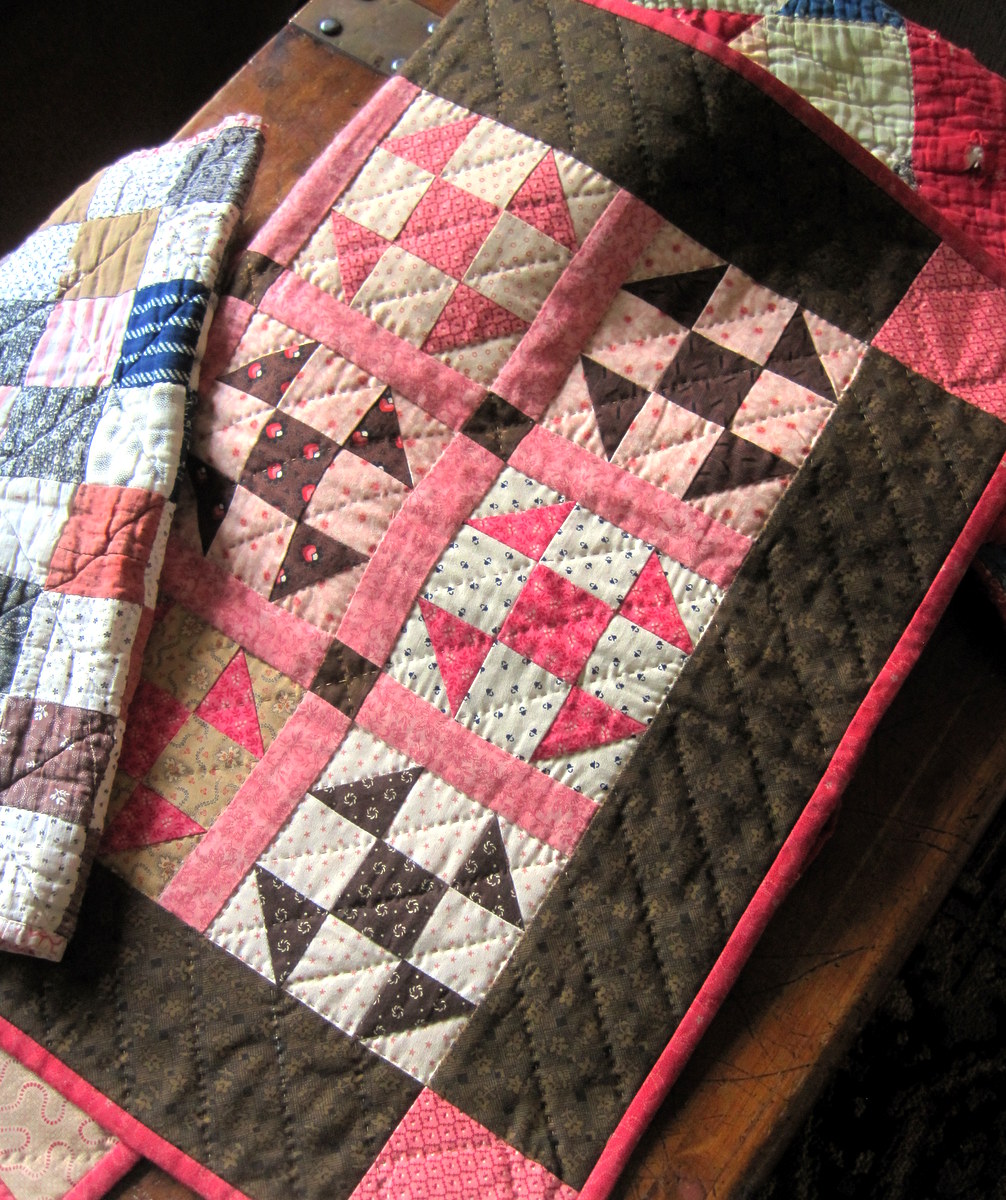
So, jump in, download the pattern, then make some blocks in your favorite colors and have a little bit of fun. Look through the examples I included in the file to decide how to set your blocks. 


Some of you have asked me to do the sew along here or on Instagram, instead of Facebook. Sorry to disappoint but FB is the only place to conduct something like this where you can share files, interact and allow others to post photos of their progress and quilts. This is the only reason I do Facebook. I simple cannot do any of that on a blog. And you cannot upload files or post others' photos on Instagram. However, if you are on Instagram, feel free to post photos of your own shoo fly quilts using the hashtags #kathleentracysmallquiltsewalong or  #shooflysewalong.  I would love to see them.

Also, beginning tomorrow, some in my group will be sewing along and making the Soldier's Cot quilt from my book The Civil War Sewing Circle. (See my previous blog post from last week.) If you'd like to join in and have the book, we'll be doing this ONLY in my Facebook group where members can ask questions and share photos.  There's a pattern available in my Etsy shop. for the version I recently made.

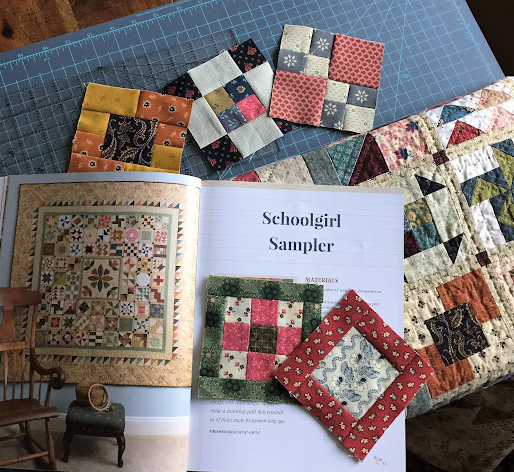
If you don't have the book, you can purchase an e-book from Martingale. But only for a short time. Many of  you may have heard that my publisher Martingale/That Patchwork Place is closing soon. This means that they will no longer be publishing or selling books. There will be a huge hole in the quilting industry and we will all miss the wonderful inspiration they provided us for so many years. If you don't have some of my books that are still in print you might want to purchase them while they are still available, and some of the others in e-book format.  I still have copies available of  Schoolgirl Sampler, Small & Scrappy and A Prairie Journey. But once they're gone, they're gone. Even the e-books will no longer be available.  Definitely the end of an era . . . . 


Enjoy your small sewing!


Monday, January 2, 2023

2023 Sew Alongs

Happy New Year! Ring in the new as well as the old. I'm wishing you a year filled with lots of stitching and many new projects. And perhaps some time or motivation to work on a few old ones too. 

We'll be doing a few new sew alongs in my Facebook group beginning on January 11. One will involve a small, simple, scrappy quilt. TBD (to be determined). And the other will be a sew along for a quilt in one of my older books -  the Soldier's Cot Quilt from my book The Civil War Sewing Circle. This one is exciting. Some of you might remember this one from years ago. Definitely an oldie (2011). I revived it and started making another one last year for my son and finished it just in time for Christmas. Whew. 


This one is slightly larger than the original (I added a row) but it's basically same pattern as in the book. The quilt was inspired by one of the surviving Civil War quilts that was made for and distributed to Union soldiers during the war and is displayed at the Lincoln Memorial Shrine in Redlands, California. Here's a link to the story behind that quilt.


My original quilt. Never been a fan of  the colors but it fits the theme of the book. 


It's a fun quilt. I love this pattern and always regretted that I didn't use better fabrics or colors my my quilt in the book. I like this new one so much better and made sure I used less browns and more blues. 

More than a few quilters asked me about the quilt and I thought it might make a good a sew along this year. The pattern is in the Civil War Sewing Circle book but if you don't have it or don't want to buy it I will create a single pattern that will be available for purchase in my Etsy shop. Probably by next week. The book is out of print now but you can usually find good used copies on Amazon, eBay or places like Thrift Books. Martingale also has ebooks available for instant download.  If you're interested in sewing along with some of my FB members, jump in any time. We'll be doing this as a casual sew along where everyone works at their own pace for however long it takes. Only took me about 8 months, LOL. Pieced it together a little at a time in between everything else going on last year.

*  *  *

The 2023 small quilt sew along will begin on January 11. It will be very simple and perfect for using up your reproduction scraps and playing around with your favorite colors. I'll post directions in my group then. And I'll also put them up on a new page on my website around then so check there if you're not on FB. 

Here are a few other projects I need to work on this year - 


Dear Jane, of course.  Finish sewing on those triangle borders. It occurred to me I might be having a hard time letting it go, LOL. 


Simple 2 1/2" squares set in diagonal rows, inspired by a quilt made by Linda Collins from Quilts in the Barn fame. This one is made with all Judie Rothermel fabrics. I repeated many of my favorite Judie fabrics, so no, it's not a charm quilt. 


I have another section just like this one but need to make a few more rows then sew them together to finish it into a lap quilt. Start with one square and build rows, alternating lights and dark or medium prints. Fun and easy. Linda has told me she might want to publish this as a pattern someday so I am not giving out specific directions for it. 


                                        Scrappy Stars anyone?? Waaay behind on this one . . . .

I also started making some little red baskets last week, on a whim, LOL. To add to my growing pile of other baskets . . . .  The inspiration and urge to create something new and fresh never ends it seems. Someone is going to have a fun time going through all of my unfinished projects someday . . . . 


So, if you have the time and inclination, tidy up your sewing room, clean off the cutting table and join me in making some new projects as we head into the new year. Buy some new needles or thread or bits of pretty fabric to get yourself inspired. 


Happy Sewing! 


Sunday, December 18, 2022

Christmas Shopping

Shopping can be stressful. Therefore, it's always important to buy a little something for yourself too . . .

 . 


I'd been eyeing this Juki machine for awhile - the TL-2010Q. Couldn't justify it because I already have a good machine, although it's 12 years old. When I saw it on sale on Black Friday I figured it was a sign. I went out to test drive it to make sure and I fell in love immediately. After I posted a picture on Instagram it seemed like almost every quilter already had a Juki. Who knew? I guess I've been living under a rock for too long . . . . 

No fancy stitches like my other machines but, man, can it sew. Sleek and fast, shiny and simple, strong and sturdy (all metal). Set it up pretty quickly. Perfect stitches. Reminds me of my old Singer featherweight. But bigger. It just quietly purrs along. I think we're definitely going to be happy together. 

Hope you're doing some de-stressing during the holidays. Sewing perhaps? 


I'm still  making my little trees. (I believe there is still a free pattern on my website for these.) Hope to have a forest someday. I'm up to 30 something finished trees. But then every year I  pull a few out to make something small for someone. Two steps forward, one step back  . . . 


I finished a large quilt and a few smaller projects but there's still so much to do. I also made a few new little Christmas things - 


My daughter designed and made the embroidery. Aren't these sweet? When she stitched that little house I fell in love with it and had to put it into a small quilt. You'll find the pattern for Christmas House in my Etsy shop


Cookie baking needs to start soon! I always put it off because if I start too early I can guarantee there will be  nothing left for the holidays. 


Hope you have a fun (if hectic) week before Christmas!  Take a breath, put your feet up and listen to some music when it all starts to get to you. OR, if you're really feeling brave, try this legs up the wall pose.  


Have you heard of doing this? It's great for your circulation and it seems to help my knees too. I try to do this a few times a week. More if I'm feeling stressed or my joints start to hurt. Ten minutes (20 is even better if you have time) and you'll feel refreshed as it calms the nervous system. If you can't quite get your legs up the wall or you can't get up easily off the floor, try lying down on your bed and putting your legs up on top of an upside down laundry basket. Any elevation is good for your circulation and it relieves tension and fatigue from your legs, feet and hips. This also helps relieve tightness in my lower back. Keep in mind to always check with your doctor before you do this if you have any medical issues.

Have a lovely, stress-free holiday season!


Wednesday, November 2, 2022

Fall Mini Quilt

Here's the last block for the Fall Mini quilt I've been working on -  the Turnstile block. You'll find the directions for the first and second parts of this sew along on my previous blog posts here and here.

Make the Turnstile block:  

Cut 2 squares from a light or med print - 2 3/8"  x  2 3/8".   Cut each square once on the diagonal.

Cut  1 square from the same light or med print as above - 2 3/4"  x  2 3/4".   Cut twice on the diagonal.

Cut another square from a med or dark print - 2 3/4"  x  2 3/4".   Cut twice on the diagonal.


Trim to 3 1/2"  x  3 1/2". This block is not difficult but because it's small you might find it a bit tricky. Make sure you cut and sew accurately. You might have luck sewing with a scant 1/4" seam. Press your seams open for less bulk.

After you've finished the block, set it in the center of your quilt with the flying geese and the nine patches you've already made. 


I finished with 2 1/2" borders. 

Thanks for joining  me in making this quick little project! I think mine turned out super cute even if it is a little wild and crazy. Sometimes it's good to work "outside your box." 


Friday, October 28, 2022

Sampler Blocks Setting

 We've got two projects going on in my groups. I've created a file on my website for the Sample Row Quilt setting for your 4" blocks if anyone is interested. Click here and go to the Schoolgirl Sampler page. The directions for the Sampler Row quilt can be found at the bottom of the page. 


The other thing I've been working on is my Fall Mini quilt. I posted directions in my group and Instagram this past week. 

If you've been following along here instead, for this part make four nine-patch blocks using 1 1/2" squares. Trim your blocks to  3 1/2"  x  3 1/2". I'll give you the rest of the directions next week. 


Have a good weekend!


Tuesday, October 25, 2022

Sampler Row Quilt - Week 6

This is Week 6 if you're making the Sampler Row Quilt. Choose six more blocks and try to finish up by the end of the week. You should have 36 little blocks. On Friday I'll give you instructions for setting the blocks into rows. 


Last week I was a little stressed out because we were having some noisy work done in the house. Since my husband is still working from home, my job (my OTHER job) is usually to try to keep the distractions at a minimum as much as I can so he can sort of have a quiet environment and actually focus and hear what's going on in his daily (hourly?) meetings (Hah! Good luck with that.)  And there were way too many runs to Home Depot to keep me sane. Also, the little dog had hurt herself by chasing one too many squirrels and/or chipmunks so she needed some TLC and a vet visit. I needed a little break myself and so I took a few minutes over the weekend to relax and play around with some of my scraps. I wound up thinking I would make a little doll quilt for fall.  You all know how even just a little bit of small sewing can be somewhat relaxing and good for the spirit. 


If you'd like to join me, I'm doing it in a few easy parts. I find that if I do things in small steps I'm also more likely to finish. This one is quick and easy. 

Step 1 - Make 6 flying geese blocks. For each unit, 

    Cut 1 rectangle, 2"  x  3 1/2"

    Cut 2 squares, 2"  x  2"


Make the flying geese in the traditional way by drawing a diagonal line across the back of each square. Place a square on one end of the rectangle, right sides together. Stitch on the line, flip up, trim 1/4" and press. Repeat on the other end of the rectangle. Trim to 2" x 3 1/2". Make 8 Flying Geese blocks.


Trim to 2" x 3 1/2". (These will finish at 1 1/2" x 3".)


We started this a few days ago in my Facebook group so here's the next part -

Step 2 - Sew your flying geese units into pairs to make 4 blocks. Trim to 3 1/2" x 3 1/2".


In a day or two I'll give you another step to make a different block. It's all very easy and the finished little quilt will measure about 12" x 12" square - perfect for a fall doll quilt or small table topper. Should be finished in no time at all. Don't forget - it's always all about the fabrics and colors you love. Make it scrappy!


Friday, October 7, 2022

Sampler Row Quilt Sew Along - Week 4

Hope some of you are keeping up with the 4" blocks for the Sampler Row Quilt Sew Along. You're halfway there and by now should have completed 3 sets of blocks for a total of 18.  You'll be making blocks for three more rows in coming weeks, six blocks per week. You'll keep sewing until you finish 36 blocks.


There are so many blocks to choose from for making your row quilt. But if you have trouble selecting and getting started, why not try picking a few easy blocks? They stitch up pretty quickly and you'll have 3 sets of six blocks finished in no time to get all caught up. 


Since it's really all about the fabric, choose colors that will give depth and a richness to your blocks. Or choose a theme -  like blue and white.


If you're just getting started, there are some good tips on pages 8 - 9 of the Schoolgirl Sampler book for making sure your blocks are sewn correctly. Slow down and take your time. If you're a beginner, then, as I mentioned above, choose easy blocks. You can always make your blocks interesting by using lots of varied fabrics in different colors for a rich, scrappy look. 


Choose a variety of appealing prints in some of your favorite color combinations. Add some interesting prints instead of using mostly what I call "quiet" prints. 


I've slowly gotten used to making more quilts with brown fabric, which can sometimes be dull except when you use prints that have other colors added for depth and interest. 


Try some interesting prints with small details combined with "quieter" prints to give your quilts depth. Too many "loud" or busy prints placed together in the same block will distract the eye. So pair your busy prints with less busy prints for a calmer look. 


Beginners -  if you're nervous because your blocks may not be perfect, pin them onto a design wall (or just hang up a large piece of batting) and stand back to view. From a couple of feet away you may not even notice any imperfections. That's the wonderful thing about making scrappy quilts -  they're very forgiving. Relax and enjoy the process!