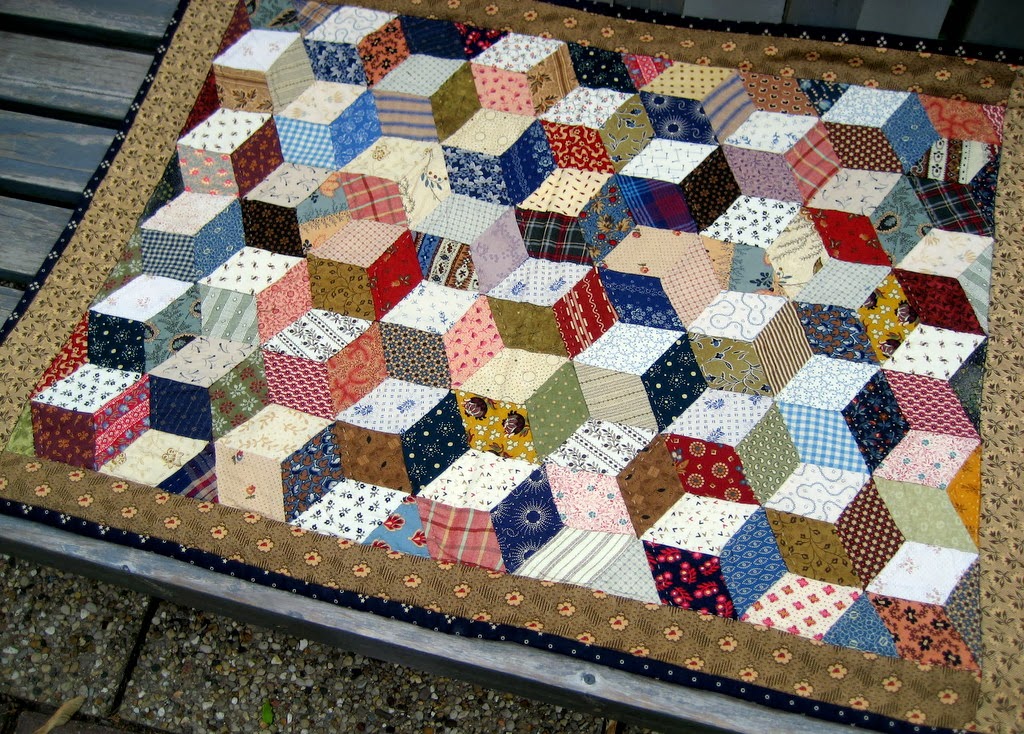
Making prairie points can be a fun way to add a little pizazz to your small quilt. This month, some in my Yahoo group are making this quilt from my book Remembering Adelia that features prairie points and although the instructions in the book are pretty good, I promised a tutorial to give you a closer look.
Prairie points are folded fabric triangles that are often used to embellish the edge of a quilt. The ones I used in my quilt are called "nested" prairie points since each triangle nestles into the one next to it. And I added them in between the top and the border.
1. First, cut an assortment of squares to fit the quilt you are making. (This quilt uses 3" x 3" squares. The number of squares you should cut depends upon the size of your quilt. See rest of directions in book for making them for this particular quilt.)
2. To make a prairie point, fold a square in half diagonally and press to make a triangle. Fold the triangle in half again and press again. (Fold TWICE.)
Fold square in half
Fold again
Make a nice assortment of prairie points from your scraps.
3. Since I already made this quilt, instead of making a whole quilt again for this tutorial, I sewed a few blocks together to show you how to do it. Pretend this is your quilt top : )
4. Place the raw edges of your prairie points along the raw edge of your quilt top and tuck each one into the fold of the one next to it. Pin the points in place and machine baste them to the top using a scant 1/4 inch seam.
Notice how I lined up the edges of the points at the corners - they should not overlap.
5. Choose fabric for your outer border and place it on top of the quilt top just as you would if you were adding a border to any quilt.
6. Sew the border strips in place with the basted prairie points in the middle.
7. You can see how the prairie points are positioned between the 2 layers.
8. Now, press the prairie points outward - toward the border. You may need a little shot of steam or starch to make them lie flat.
Voila! There you have it. Layer your quilt with batting and backing. Finish with some quilting, add the binding and you have a sweet addition that really makes your quilt stand out.
Have fun making these! I'll have another quilt suggestion for next month's small quilt.


