Tuesday, August 23, 2022

Make a Little Nine-Patch Quilt

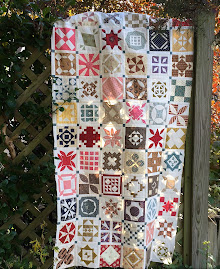
I love the simple nine-patch block. And little quilts made from them. 


I love blue too, as you probably know. This sweet little quilt was made for me by Jennifer M. a few years ago. She sewed some 3" antique quilt blocks together with blue reproduction fabric.                          

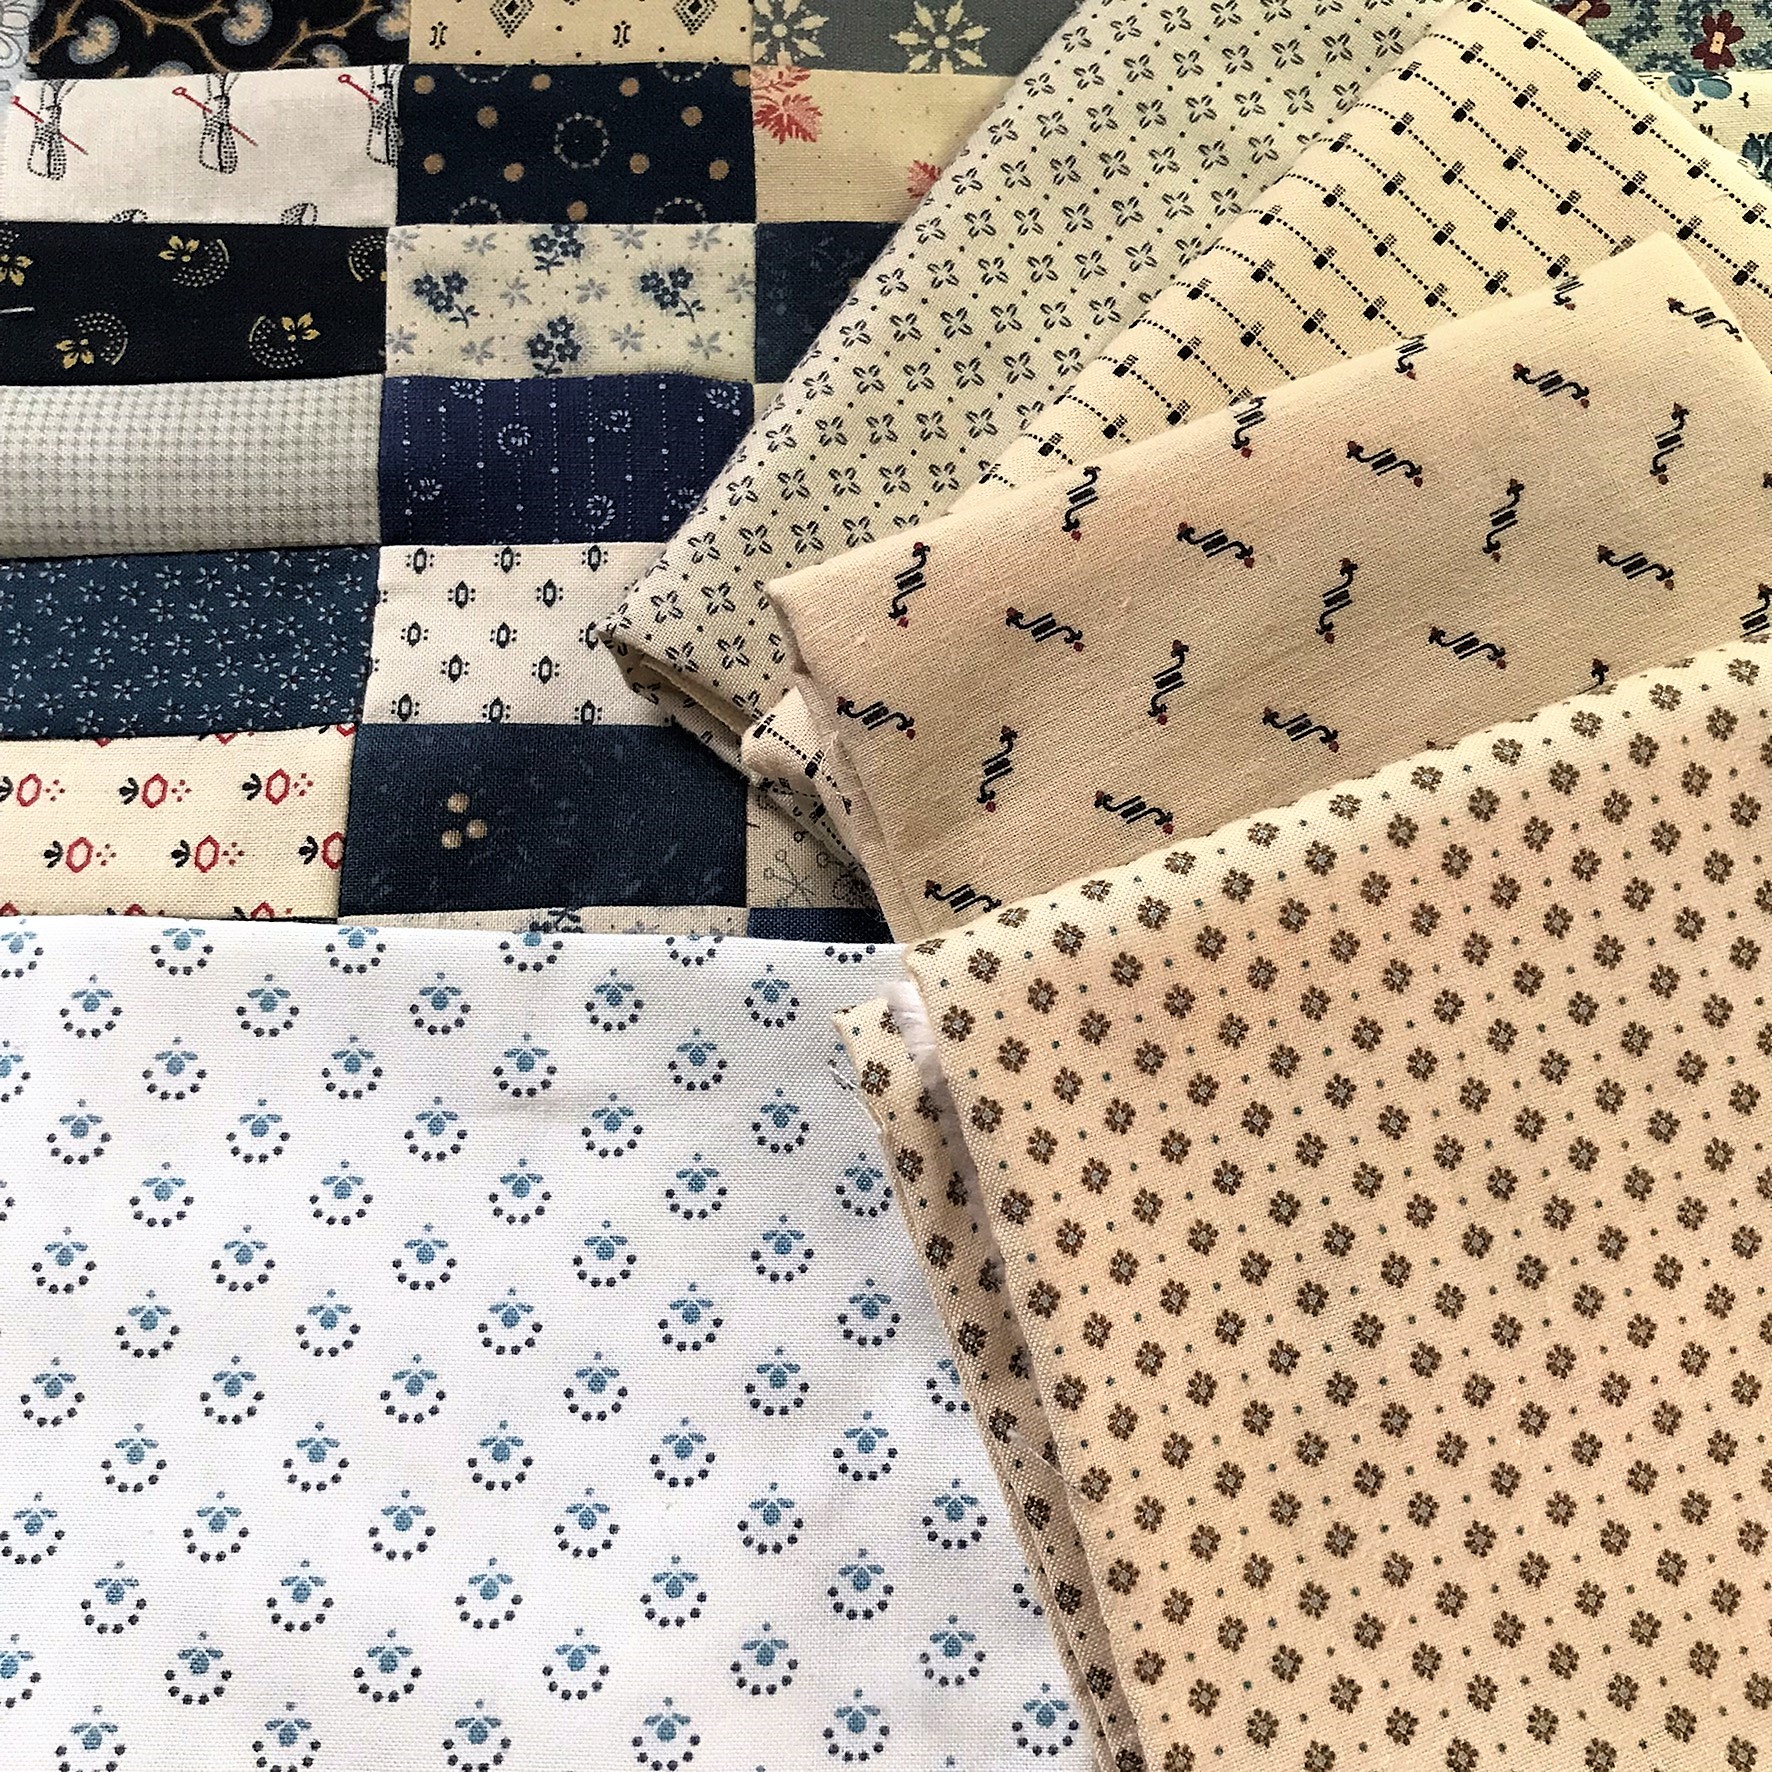
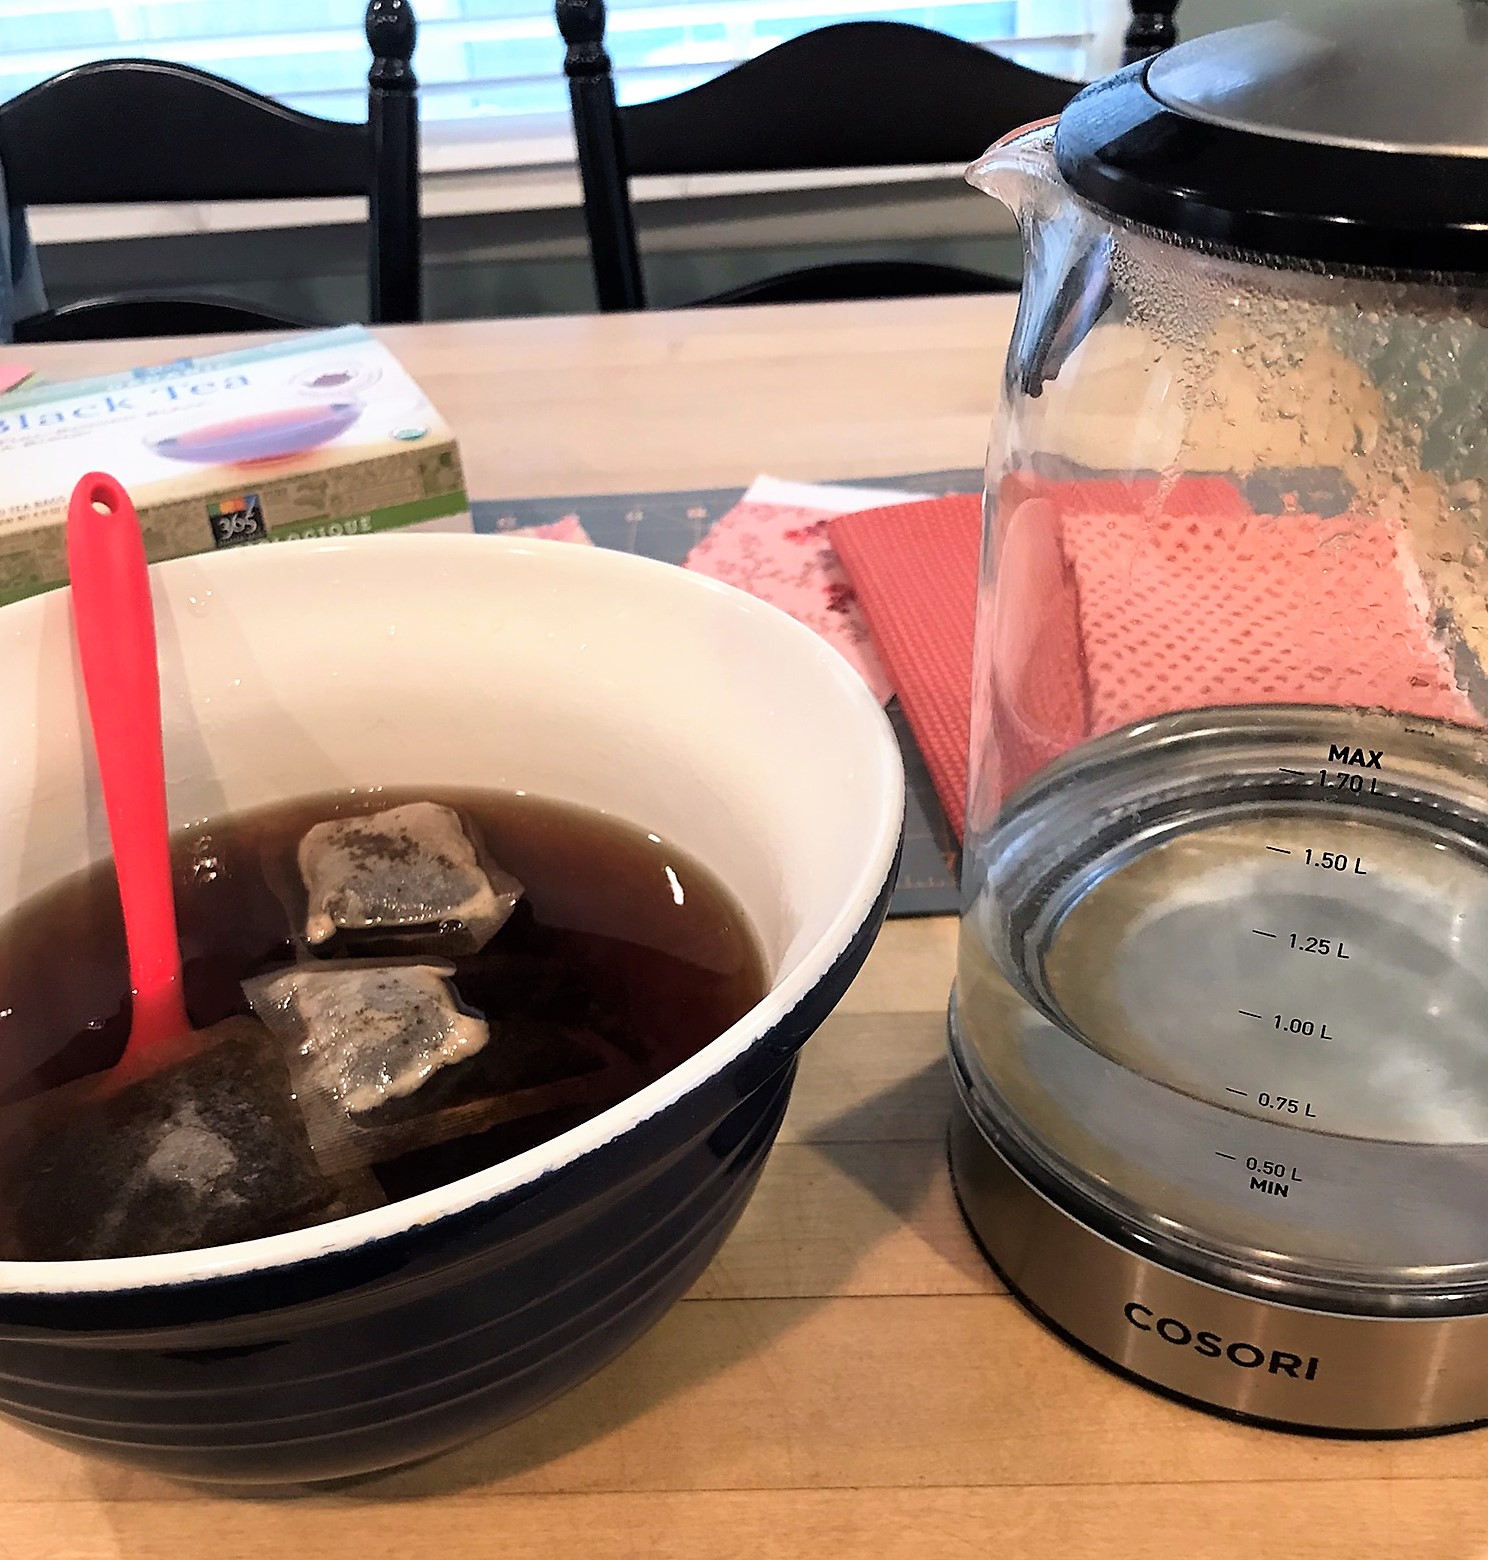
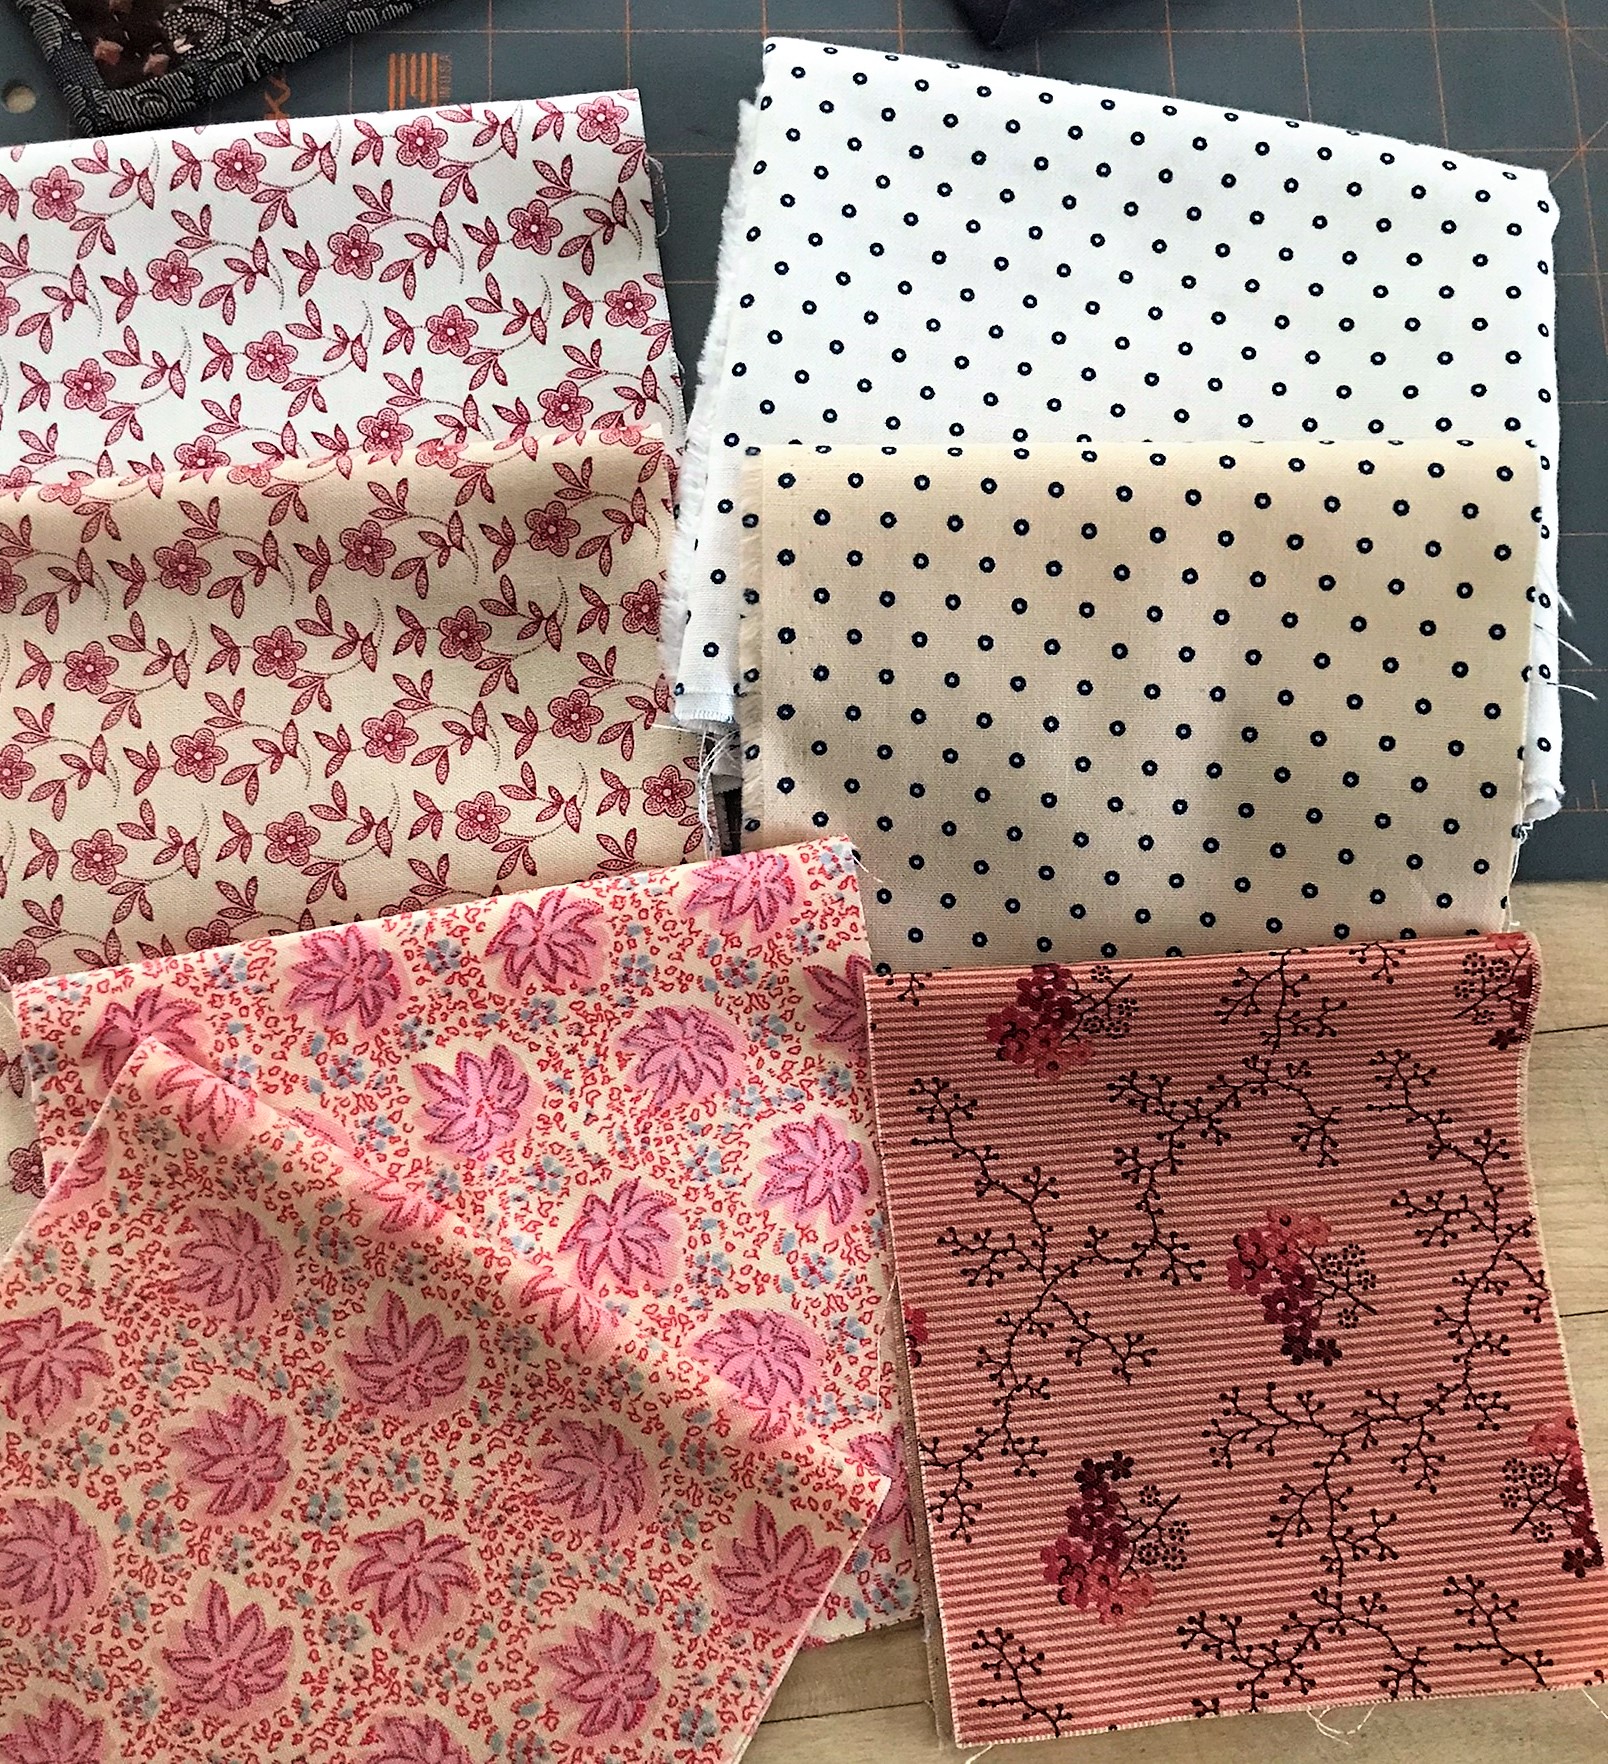
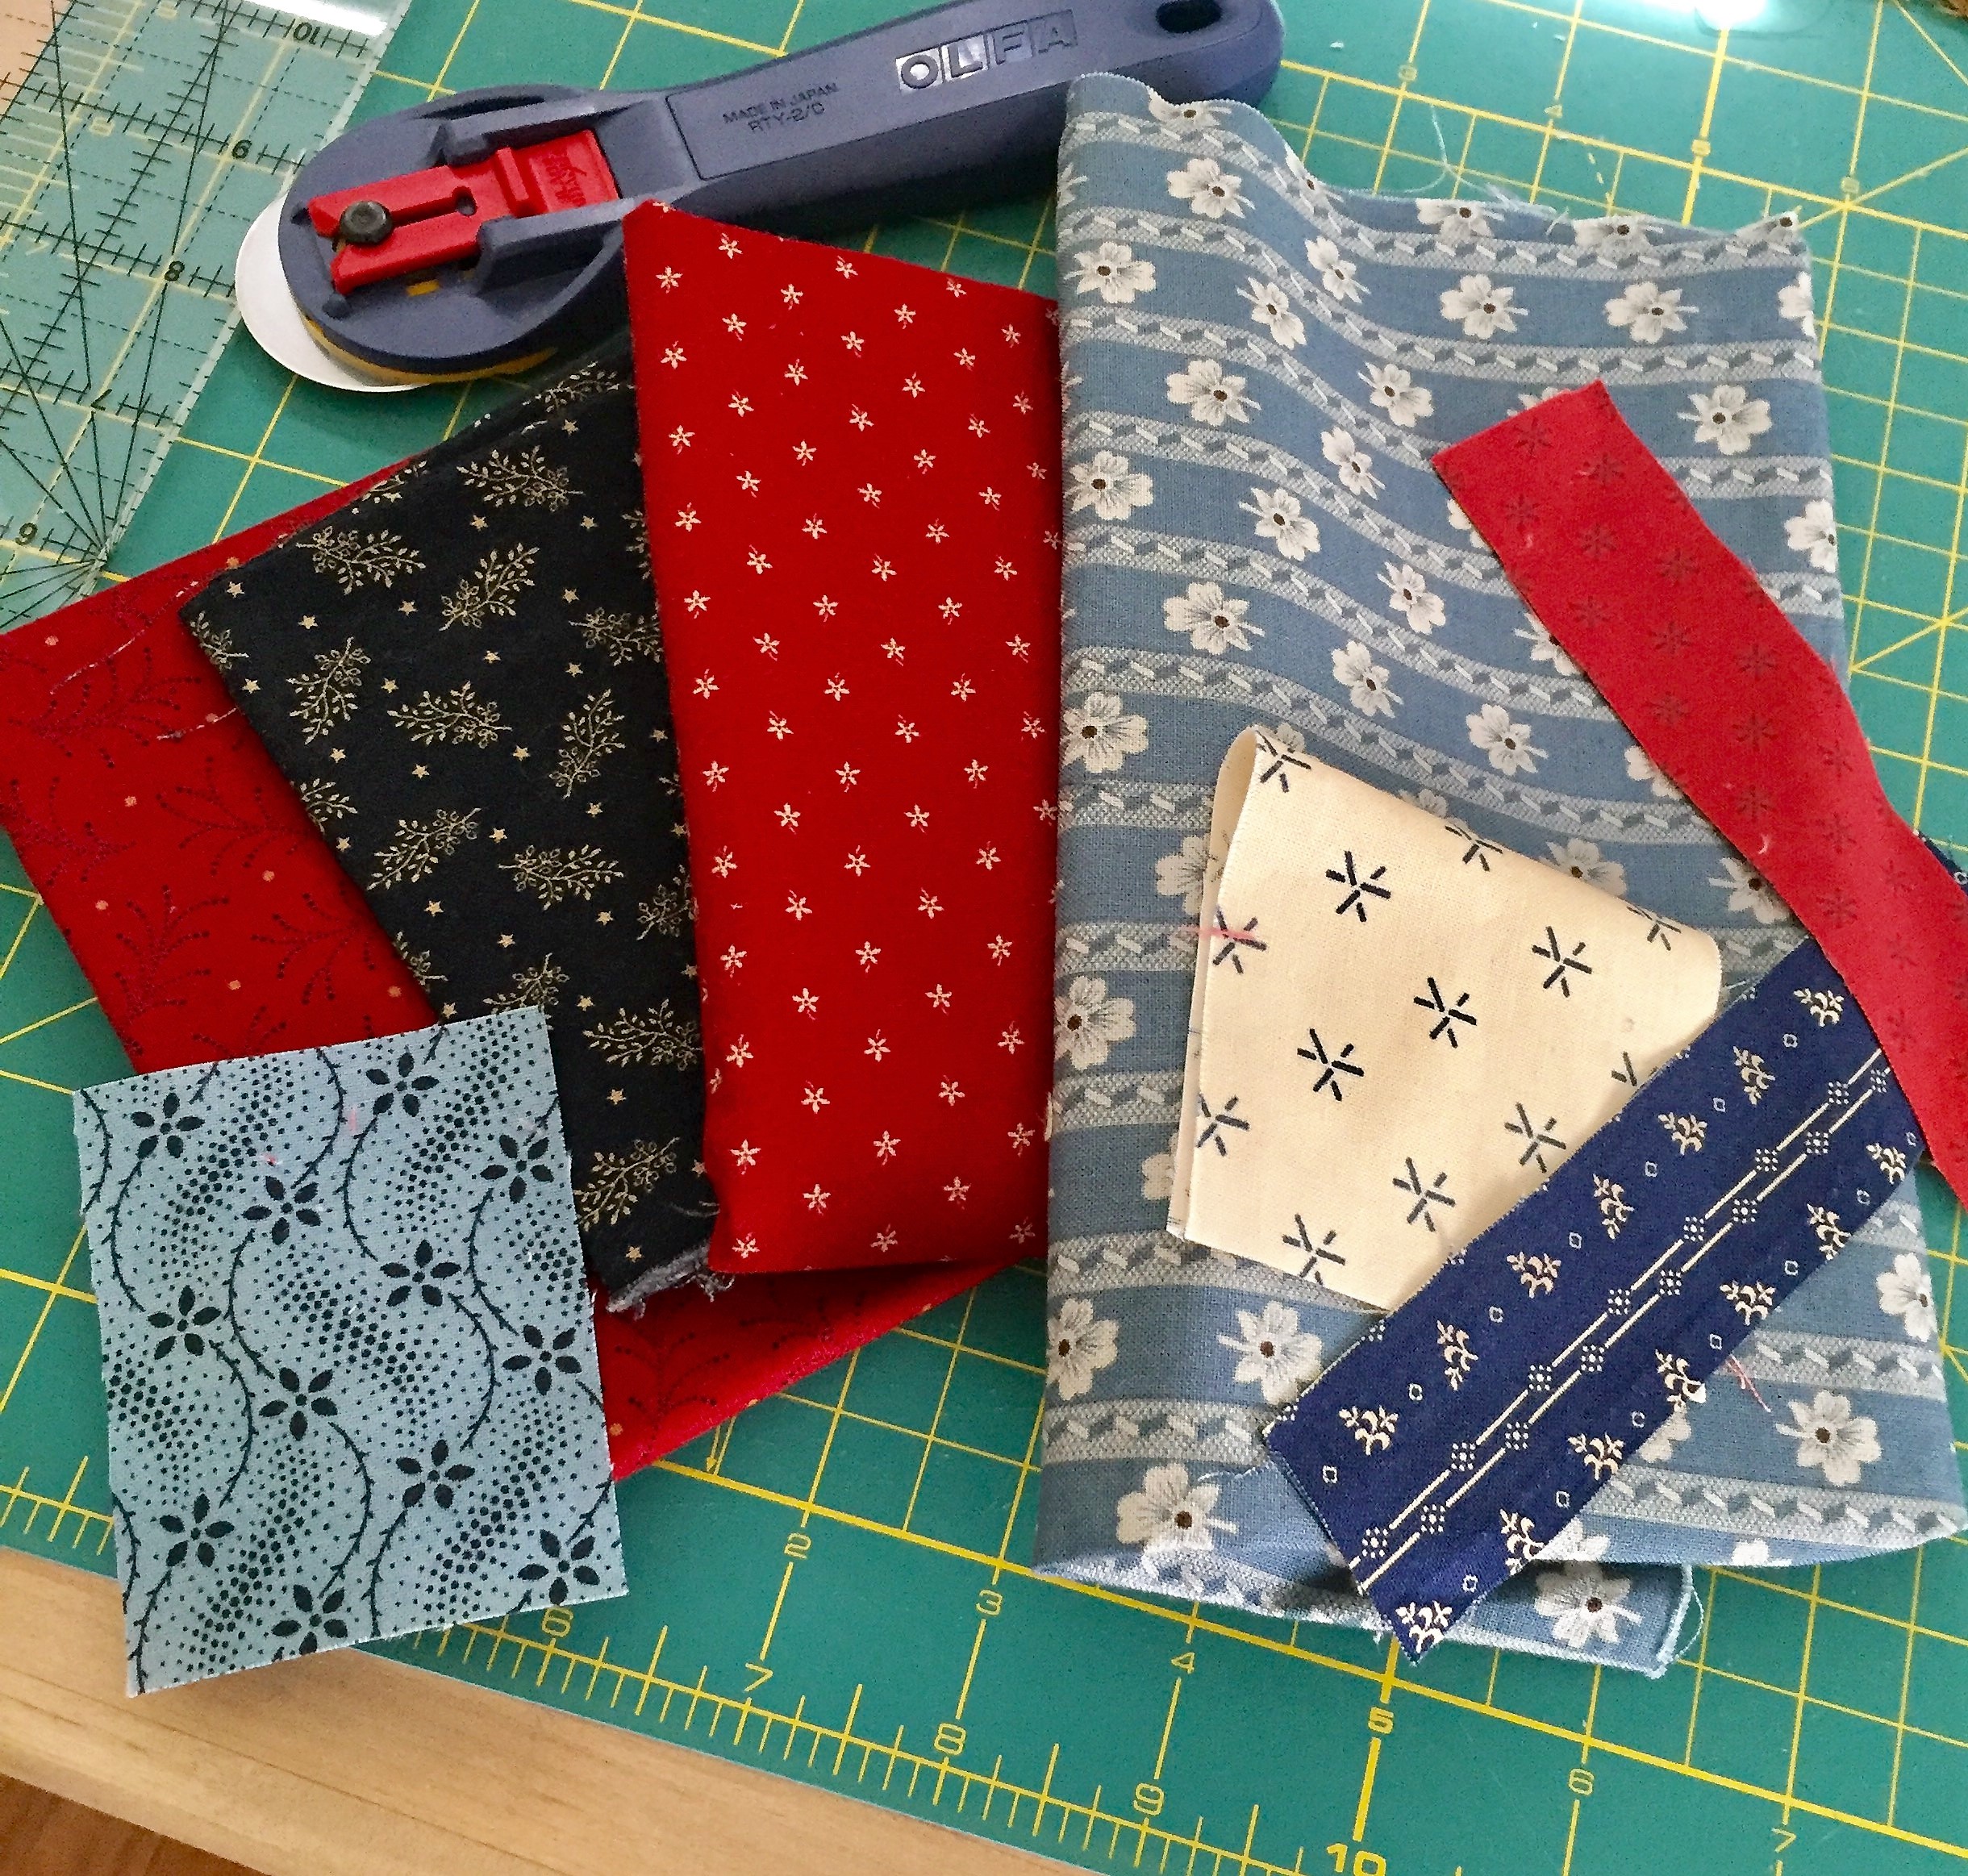
I had a few minutes in my sewing room the other day and just happened to have a box of 1 1/2" cut scrap squares nearby. I always save 1 1/2" scraps and use these periodically for my small quilts. Pencil boxes from the Dollar Store are perfect for things like this - they're cheap and don't take up much room.


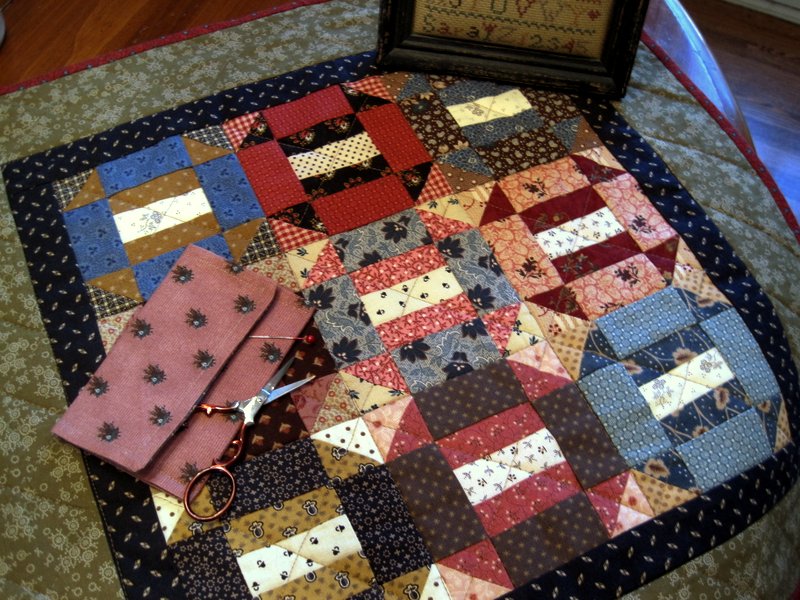
Since I already have the blue and white one, I decided to make a few little scrappy nine patches and see what happened. It's a nice break from sewing the corners and triangles on my Dear Jane quilt. Sewing squares together mindlessly . . . .


Finished with a light shirting fabric for the background.


Getting ready to hand quilt mine. I added another border. 

I like to pin baste my small quilts because they're usually too small to use a hoop. I begin quilting at the center, taking out pins and smoothing as I move outward. Then I pin the borders. I use Quilters Dream Request cotton batting (nice and thin, easy to quilt through), YLI hand quilting thread in light brown, Richard Hemming size 9 quilting needle. 

Tip: If you're new to hand quilting, make sure your batting and backing fabric are thin so the needle glides through the layers easily. A thick layer of fabrics or a dull needle can cause problems. I will sometimes use a "sharp" if I'm having trouble using a "between" quilting needle.

*  *  *

There's a pattern for this cute little blue and white quilt in my Facebook group files. But here are the directions if you aren't in the group and want to make one - it's very simple. If you're not a fan of blue, try it in your favorite color or maybe go scrappy like I did. 

 Cut 1 ½”  x  1 ½”  squares for the nine-patch blocks. The squares can either be matching or   scrappy.  For the blue and white quilt shown, cut 16 light print squares and 20 blue print squares. 


Cut 1 square 3 ½”  x  3 ½” for center

Cut 2 squares 3”  x  3”. Cut each square once on the diagonal  for 4 corner triangles.  


Cut 1 square 5 ½”  x  5 ½”. Cut twice on the diagonal for 4 setting triangles.   

Cut 2 strips -  2 ½”   x  9”  - for the top and bottom borders.

Cut 1 ¼" strips for binding

1.   Make four nine-patch blocks. Using the quilt diagram as a guide, sew the blocks in diagonal rows.  Add the 4 corner triangles. Sew the top and bottom border strips onto the quilt. I drew the quilt with different blues so you can see the construction a little better. 


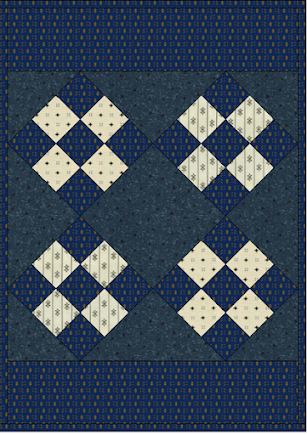
                              Fits perfectly on a small doll bed. 


Wednesday, August 3, 2022

Signature Quilts

Some of my favorite quilts are signature quilts. That's probably because they have such a sentimental element to them. I posted a picture of one that I made in my Facebook group the other day and then remembered a post I wrote here several years ago about these types of quilts.


Friendship Is a Sheltering Tree quilt from A Prairie Journey book

Linda Otto Lipsett, the author of the book Remember Me, Women and Their Friendship Quilts, tells us "Not until I made my own family  friendship quilt, however, did I realize the full depth of what I am doing - that in piecing blocks, gathering signatures, and signing cloth we are connecting with women's spirit of the past."  

The sentimental quilter in me also loves the stories some of the antique friendship or signature quilts tell. Besides names, they often held loving messages from friends and family. In 1853, Susan Tenney wrote on her signature quilt - "To Mrs M -- , "Remember all who love Thee and all who are loved by Thee.' "


Sometimes Friendship blocks came with wonderful long verses: 


"Accept my friend, this little pledge
Your love and friendship to engage
If ere we should be called to part
Let this be settled in your heart
That when the little peace you see
You ever will remember me."

                                 -  M.E.A.
                                   Woodstock
                                   1847


This is the very first signature quilt I made (from my book Prairie Children & Their Quilts).


Here's another little signature quilt called Sisters Signature quilt. Replace the middle shirting fabric strips with muslin for signing.

* * * 

I've arranged or hosted several signature block swaps in my online groups over the years. These are wonderful ways to bring quilters together to share and preserve memories of friendships. By making, signing and exchanging quilt blocks. They're also a great way to celebrate special occasions or family events. 


In 1847, a woman named Betsey Wright opened an envelope addressed to her. She carefully unfolded a lovely quilt block with this inscription:

"Accept this trifle that I send,
Not as a stranger, but as a friend."

                      - Charlotte N. Follett,
               Hubbardson, Mass., 1847

You can imagine what a special gift that was to her and how it touched her heart, to hear from a dear friend who lived in another state. Over the years, I've often had a similar experience receiving signature blocks from members of some of my groups. But, like 50 times over, LOL. And some from different countries. 


Quilt made with blocks from all over the world. (pattern is in Civil War Sewing Circle book)

Someone in my group mentioned that they were going to try to do this among some of  the members in her sewing group. The blocks in a signature exchange do not have to be complex. Sometimes simple is better if you're making numerous blocks. I've participated in signature block swaps with over 50 members.  


                      Some blocks I've sent.


            Some blocks I've received. 

What strikes me is how special quilts like these can be and that we are, in some way, connecting our own spirit with the spirits of other women through our quilting. In the case of online groups, the signed blocks allow us to connect with quilters we may never have even met, not only from all around our country but perhaps the world as well. What a wonderful experience this can be for many. I hope you all get a chance to participate in making a signature or friendship quilt someday. I know I'll always treasure mine.

                                                                            *  *  *

Some of you e-mailed me that you would be interested in purchasing a pattern for the small needle case I made and posted last week.  I wrote a pattern and put up a listing in my Etsy shop. Sweet and simple. And small. I really love this one.


Saturday, July 23, 2022

Creativity and Clutter


My sewing space is a mess right now, as it often is when I'm working on several projects at once. The mess drives me nuts and puts me into a kind of  creative rut where nothing gets done. My excuse is that the space is too small, but I know that's really not an excuse. It used to be fine. 


Full disclosure:  the pictures you see here are NOT ones of all the clutter. That would be stupid. Here's one of my uncluttered sewing table from a year ago. Clean and organized. Haha, I can't even show you what it looks like today.

Clutter can be a huge visual distraction and makes it difficult for me to create. It becomes worse when I try to ignore it. Some of you who've been following me for years know that I always seem to struggle with this. Over and over. On the one hand, I would really like to be able to create in a messy space but it gets too overwhelming. I know that a clean desk or sewing area definitely helps me be more productive. I don't know why it's so hard to remember this, LOL. When I organize my fabrics and clean the surfaces before I begin a new project, everything always flows a little better. 

Clutter  =  non-productivity for me


I need to get back to where I can actually lay out some blocks on a table . . . .

I've been trying to finish up my Dear Jane corner blocks (one and 1/2 left to go) but the book, patterns, applique supplies and fabrics have been sitting out on my cutting table for a couple of weeks now, cluttering everything up.  I got stuck on one of those blocks and became really frustrated. The applique looked sloppy and I was afraid I might have to do it over. If I kept it as is I knew it would always bother me. The room was so messy I didn't even want to go in there and deal with that and then face the applique problem. I'm also working on two other quilts and there's fabric strewn over every surface (and maybe the floor too?? I'm not telling.)


One day last week, however, I bit the bullet and spent less than an hour doing a light cleanup and some organizing. I tackled the cutting table first. Boy, did that help clear my head! I immediately felt like a dark cloud had lifted. The rest of the room needs a lot more work but that hour actually helped a lot. Taking the next step will be a little easier now. Best of all, I was able to go back and finish the DJ block to my satisfaction. AND I found the scissors I'd been looking for for months. Being able to know where everything is makes it easier, that's for sure. 


Look -  I can actually see the table again!


So here's a question for you - How do you create? 

Does being creative = being messy? 
 

For some quilters, the mess is necessary for the creative flow. It's as if disturbing the flow stops the inspiration. I get that. For me, though, there has to be SOME kind of order or nothing gets done. There are many ways to organize and each one of us has to find a method that works I guess. If anyone asks, I'm going to say - experiment and see if cleaning up your space even a tiny bit (15 minutes?) pulls you out of a quilting rut if you're in one. I know it helped me. I've now decided that I will try to spend at least 15 minutes once a week to see if I can make more of a dent in that room. Breaking it down into smaller steps the way I make my quilts -  pick fabrics one day, cut pieces the next, make a few blocks the next, etc. until it falls together. It's much too overwhelming if I try to do everything at once. My cutting table is now clean and some of the assorted fabrics and supplies put away. The sewing table is next. Full of junk, patterns and projects started and half finished. Oh well, can't do everything . . . but at least I can try to make a bigger dent next week. 


I bought some pretty baskets at Target to store fabrics. Now that I got some of that folding and organizing out of the way, I can breathe a little easier and feel like I can be creative again. Best of all, I finished that pesky Dear Jane corner block that was giving me so much anguish . . . . One more to go. Oh my gosh, so many TINY pieces! But I'll bite the bullet again and get that one out of the way so I can start sewing them to the triangles and rest of the blocks.  


I really love the lighter pink block in the center. The applique on that one was easy and went very well. It was the applique on the block on the left that made me crazy with so many wonky star points. It finally occurred to me that I could paper piece the star on top and now I think it looks much better. Whew. I'll admit, I do get a little perfectionistic working on this quilt. Maybe why it's taken me so long . . . .


After my head cleared from getting that block out of the way and then organizing some fabrics, I found this older blue fabric and decided to use it to make a new little needle case since I keep misplacing my applique needles. This one will be just for my applique needles, if I can remember to put them away after I finish sewing. 


This is a smaller version (with one pocket) of my needle case or "huswife" from my older book Remembering Adelia. It sews up pretty quickly and I think the ribbon closure really gives it a sweet look.  If you don't have that book (out of print now) you can sometimes find it used on amazon.com or purchase an e-book from my publisher, Martingale. Or, if anyone is just interested in a pattern for this specific one, send me an e-mail and let me know. Maybe I'll make up a new pattern. Have a good weekend!


Saturday, July 16, 2022

Experiment with Tea Dying Fabric

If you like working with reproduction fabrics or fabrics in muted tones instead of brighter ones, like I do, your quilts will have more of an antique look. Some quilters give their finished quilts a tea (or coffee) "bath" for that vintage or older, worn look. I'm always afraid to dye the entire quilt because I don't want to  ruin the contrast as ALL of the prints will become darker. That may not be quite what I want in the end. 

If you're hesitant to dye your quilts to get a certain primitive look, here's what I do:  Instead of dying the entire project, sometimes, before I cut fabrics for a quilt,  I'll experiment with a strip or large square of a fabric I like but that may be too bright and then soak those pieces that need to be toned down in a bowl of tea. Then I'll cut what I need for a block and use pieces in my quilt so they blend in with the other prints I'm using.    
                      

Some recent blues that have been tea soaked. Original ones on top were just a teeny bit too bright. Dyed versions are on on bottom. Just a slight difference. But enough to mute the brightness. It really is a small change but it makes a difference to me.


Here's a good example. That muted, tea-dyed blue just goes so well with the other prints now. I hesitated to use it before because I thought it was too bright and would stand out too much.


(Star on top right is the one with a dyed blue center.)

I really love fabrics in shades of aqua and teal. I also love "warm" blues, with a tinge of green or gray that makes them look vintage or old.  I used to be able to find these years ago. Have you noticed that good reproduction prints are getting harder and harder to find? Many of the fabrics nowadays seem to be a lot brighter as fabric companies move away from "Civil War" type prints to more modern fabrics.  I find that tea dying some brighter blues will often give me the color and tone  I prefer. I'm still hanging onto the style I have grown to love . . . . 


I don't use a lot of bright white in my quilts. Occasionally, I'll add some lighter prints to a block or quilt to contrast with creams and tans. Think I'll dye some of that button print above or the bright white one below though. 


The pinks on the left are ones I really like. Nice and slightly aged-looking prints. The ones on right are pretty too but SLIGHTLY bright for my taste. 


Before -  also pretty prints, just a little too bright for my taste

Here's the Recipe

Boil water and pour into to a bowl that's large enough to soak your fabric pieces. You can also use an old pot if you don't mind if it gets stained. 


Add 3-4 BLACK tea bags to the hot water. (Green tea or herbal tea will not work here but I've heard you can use these for other projects, such as cross-stitch linen.) Let the tea steep for a few minutes and then soak your fabric pieces.  Depending upon what look you're after, remove the fabric after 10 minutes and see how they look. This will probably give you a faint, slightly darker look. If  you want the pieces darker, soak longer or next time add more tea bags.  I'm usually good with 15 minutes.


Different fabrics absorb the tea differently, especially if they're treated, so you may have to play around a little. I not only dye white or light prints but I also tea dye pinks and blues and anything that needs to be toned down a bit. 

* Make sure you rinse well with cold water after you take the pieces out of their tea bath. I lay them on an old towel to dry, then press.  


After - You can see a slight difference in the light prints after 15 minutes of soaking. I'll use that dotted one more often now. The blue didn't really change much. 


I re-soaked the blue for another 1/2 hour. Still not much change but now not quite as royal blue. Clearly, lighter fabrics take the tea stain much better. Experiment with small pieces of fabric and different times until you get the look you're after. All in all, I'm happy and I'll be a little more eager to use these in my quilts now. 


Of course, this is just me and I certainly don't do this all the time. I never aim for a uniform tan tone in the backgrounds of all my quilts. I do like to mix a few lighter prints here and there for contrast. But it's nice to know that if I run out of a print that happens to be the perfect color/tone  for a quilt I'm making, I can make do with another one that blends in by tea dying it. 


Thursday, June 23, 2022

Fourth of July Mini Mystery Quilt

Summer's here! I love making little projects using my red, white and blue fabrics around this time of year. 


Gameboard quilt from my Prairie Children book.


Martha Washington Star quilt


I miss our yearly Patriotic Pincushion Parades. But, honestly, I now have so many bowl fillers and pincushions I don't know where to put them. 


I thought it was time for a Fourth of July Mini Mystery Quilt. Quilters -  grab some of your favorite red, white and blue scraps and join me in making a little patriotic quilt for the upcoming July 4th holiday. 


We'll be making a SMALL quilt (less than 12", depending upon your borders) in three parts. You'll find the first step of the pattern in my Facebook group files or on my website under the Fourth of July Mystery tab.  Step 2 will be posted on Friday June 24. Simple enough to get it done and ready for display by July 4.  Have fun! 

Some of you have asked me about my Patriotic Pincushions patterns from years past.  you'll find the pattern in my Etsy shopQuick and easy. 


                                         Patriotic Pincushions Pattern image 0