Thursday, May 8, 2014

A Fun Way to Travel

There's a new movement taking hold in the fabric world right now. Clothworks Textiles has started a "farm to fabric" movement to restore the proud tradition of American textiles and is producing a fabric entirely sourced and manufactured in the United States. Check out their gorgeous American Made Brand fabrics.
                                                   
 
I'm proud to be taking part in their upcoming promotional blog tour. Fifty bloggers from all 50 states were chosen to make quilt blocks and participate in a grand giveaway of American Made Brand fabrics. Just for you!


I will be designing and making the quilt block for my state of Illinois, which will be included in a finished quilt made with blocks from all fifty states. What fun! But you'll have to wait until June for me to unveil  my block (Oh yeah, and actually make it, haha. I'd better get started.). The tour begins later this month on May 19. Read all about it here.
 
As each blogger reveals her state block, you'll have the opportunity to enter a giveaway to win a fat quarter bundle (8 fat quarters) when you visit her page. I hear there will be lots of other goodies and surprises in store for you too so you sure don't want to miss out. There'll be a total of  2 winners every day. I've had a peek at some of the state blocks and they're very creative. What a great way for you to show your American spirit, by making a block from all 50 states with American-made fabric. Jump on the bandwagon with us!
 
 
Fifty gorgeous colors.
                                               
This is going to be a fun way to travel this spring. I know many of the bloggers are cooking up some surprises for you along the way - with fun information about the states that will entice you to take a tour of America and visit them all on your own someday. So make sure you bookmark the AMB page so you can keep up with the tour and have a daily chance to win some great fabrics that will bring the proud American tradition right into your home. Almost as good as getting into that old station wagon again and driving around to see this glorious country of ours . . . .


Monday, May 5, 2014

Charting My DJ Progress

It rained quite a bit last week and so I cocooned,  stayed inside and worked on some DJ blocks. I know I might not have a chance to do much in the coming months because summer is always a busy time for me. On Friday, I started to choose another block to sew using a red print and it occurred to me that I wasn't really sure how many blocks I'd made from red or brown fabrics - probably way too many - and where they were positioned. I "sort of" try to follow Jane's scheme, but not always. I enjoy using a wide variety of colors in my quilt. I'm afraid there will be clumps of red or brown blocks together though. I'd like the colors to be more spread out and hope the overall picture will not look too dull. (I won't even consider placing them in a different order. I'm a "Stickler" for them being in Jane's order, LOL. Get it?)


On Saturday, I took it into my head to create a block chart to see my progress and try to "catch" the colors for the blocks for when I sew them together. I do not have the space to keep them up on a design wall for years as I attempt to complete the quilt.


There's a block chart included with the DJ software by EQ and it worked for me for awhile. You scan the blocks and insert them digitally into the chart provided. Then, one day it stopped working. I just could not get it to work again, no matter how many times I tried. No suggestions worked for me. I tried EQ support and they could not help so I essentially gave up and just crossed off the blocks onto the print out as I finished. It was a lot of fun to make my own block chart, however, so I don't miss the old one.


My old block chart - too small and not very helpful.

I'm so happy to be able to view my quilt partially put together and also to see what progress I've made. At times I become discouraged because I don't seem to be making as much progress as I'd like. There are sooo many blocks left to go. (I've just completed 70, no small feat, but still . . . .)  Surprisingly, seeing the blocks laid out on the grid motivated me quite a bit and made me feel good about the progress I have  made. I am wondering if this might work for some of you and wanted to share. I know that in this day and age this is really an Old School way of doing things but, hey, it worked for me. Reminded me of school projects I worked on in the third grade, playing with poster board, cutting and pasting . . . . My husband kept laughing at how earnest I was, lining up my tiny blocks and pasting them into place.


Here's what I did.  If it helps even one Jane-crazed soul, then it was worth doing and writing about it. First, I bought a poster board, cut it into a 22"  x  22" piece, drew a grid of 1 1/2" squares to represent each block of The Quilt and labelled the rows. Then, I took photos of  all the blocks I've finished. I put them into a file and adjusted the size of each photo to be 1 1/2  inches square.  Next, I printed out the photo sheets and cut and pasted the photo squares onto the poster board. Voila! My very own DJ block chart where I can now just insert the blocks as I finish them one at a time. (If I did this digitally, by creating my own grid on the computer, I would have to print out the entire chart every time I finished a block.)


A much, much better way to view my blocks. Large enough to see the blocks but not too large to display or store.

It motivated me to keep working on the Trip Around the World motif in the quilt - diagonal rows that radiate outward and surround the center block. I can see it now! Mine is not as accurate as Jane's but similar as far as placing the pink and yellow rows. In between, there will be a brown/tan row and a blue row.  Wish I had been more careful with the reds so I'm not sure if I will do a red row. And I haven't been able to find a perfect lovely bluish-green fabric for the center block yet. But I'm looking.


Pinks for the center Trip Around the World placement.


Newly finished blocks I know I would not have attempted before starting this quilt.

This journey has been so much fun and I have become a much better quilter for it, learning patience and skills as I go along.  You cannot imagine how happy I am that I started this quilt and don't know exactly how or why it has pulled me in so deeply (along with thousands of other quilters).  I love the idea that if and when I finish it it will be a part of my legacy to my family and perhaps the quilting world someday. As well as a wonderful homage to the past.


Thursday, May 1, 2014

What Have They Done with Spring?

Will spring never get here? I know I say this every year. But this year . . .  it's all been a little too much to take at times. Maybe Mother Nature is waiting to see just how much we can take and how long we can go on complaining about the weather. We've had so much rain and cold weather here in Chicago lately. At least the trees are becoming a little green and the brown is drifting away. 


But still no flowers. Unless you count the ones I buy or receive . . . .


My husband remembered the 32nd anniversary (!) of the day we met. Well, sort of. I gave him a big hint and a little nudge. One morning last week, I woke him up and said "Happy Anniversary, Sweetie!" He looked puzzled and I could see the dusty wheels turning and imagine the sleepy thoughts churning -  "Let's see, we were married in September but it's not September yet. Oh, it must be the day we met . . . .Yeah, that's got to be it." So, for my effort, I got flowers that evening. He said he bought them because they had heart-shaped leaves and that made him think of me. I made him steak for dinner, a rarity at our house. (Last night, for instance, we had cabbage bean soup and broiled zucchini sticks sprinkled with Parmesan cheese on the side, LOL. We're getting healthier [and hungrier] by the minute. Also, older.)

If you're like me and live in an area that has seen way too much bleakness and cold this year, getting impatient for a true springtime to arrive, here's a free pattern for a cute little flower quilt that may uplift your spirits and keep you busy. I designed it for the May Quilt of the Month for my Yahoo group. I'm hoping that as soon as I finish writing this blog post the sun will miraculously come out and we'll be there already.


This little project is so cute and it's very easy to put together. I played around and made a sample block yesterday.  Just make Snowball blocks and use a different color for one square for the flower center when you put 4 blocks together. Download the pattern and you'll see directions for making the blocks in two sizes.


Sew diagonal lines onto the corner squares on the larger square. Add one corner in a different color.


Flip and press the corners.


Trim the seams.


Make four of these and sew together as seen below.


Such a cute little flower. 

Add a button. Or a stem and leaves by adding them onto a plain block. Then fill your house and thoughts with flower blocks and quilts and maybe spring will arrive here for me in Chicago. I'll keep wishing and hoping . . . .


Tuesday, April 29, 2014

Skill Building

There's always so much to learn. As a quilt designer and author of a few quilting books, I often feel that I'm expected to have excellent skills in EVERY area of quilting and to know how to navigate every technique really well. Here's the truth -  I'm just like you. I'm not a perfect quilter, I'm a work in progress. I've made some very pretty quilts but I still struggle with the same things many of you struggle with - I'm good at some things and awful at others. I don't always have the time to perfect every technique I attempt without a lot of practice.  Honestly though, I  really want to become better at some of those things. Finding time to do everything is what I struggle with the most.
 
So, every now and then I decide to take it upon myself to pick something I'm really bad at and work on becoming a little more competent at it. Build those skills. Lately, it's paper piecing, or foundation paper piecing as it's called. I resisted it for years thinking - yuck! - it's just too much trouble, fussing with that paper and flipping it all around, etc. Way too much work. Years ago, I had to learn because I wanted to make a small Crazy Quilt for my first book. That one was pretty easy to make. Mostly, though, I hated doing it. Every time I tried I made mistakes and so stopped trying for years.
 
 
 I bought books. Not even the good ones helped me.
 
I decided it was me -  I just wasn't that good at it and didn't like doing it enough to care. And, since I didn't need it for the quilts I liked to make, who cared if I knew how to do it well? I didn't.
 
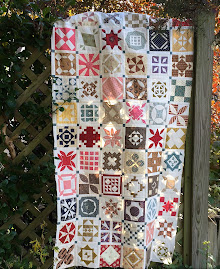
Until Dear Jane came along, that is. Making some of the Dear Jane blocks was the real motivating factor to learn paper piecing. There are too many blocks with too many tiny pieces not to use paper piecing on them. For the past couple of weeks I've been trying to knock off a few more blocks. I decided I really have to try to finish the quilt before I die . . . . A bunch of blocks sitting in a box isn't going to thrill anyone after I'm gone, despite all the hard work that went into each and every one of them.  What if they get tossed away or something?
 
 
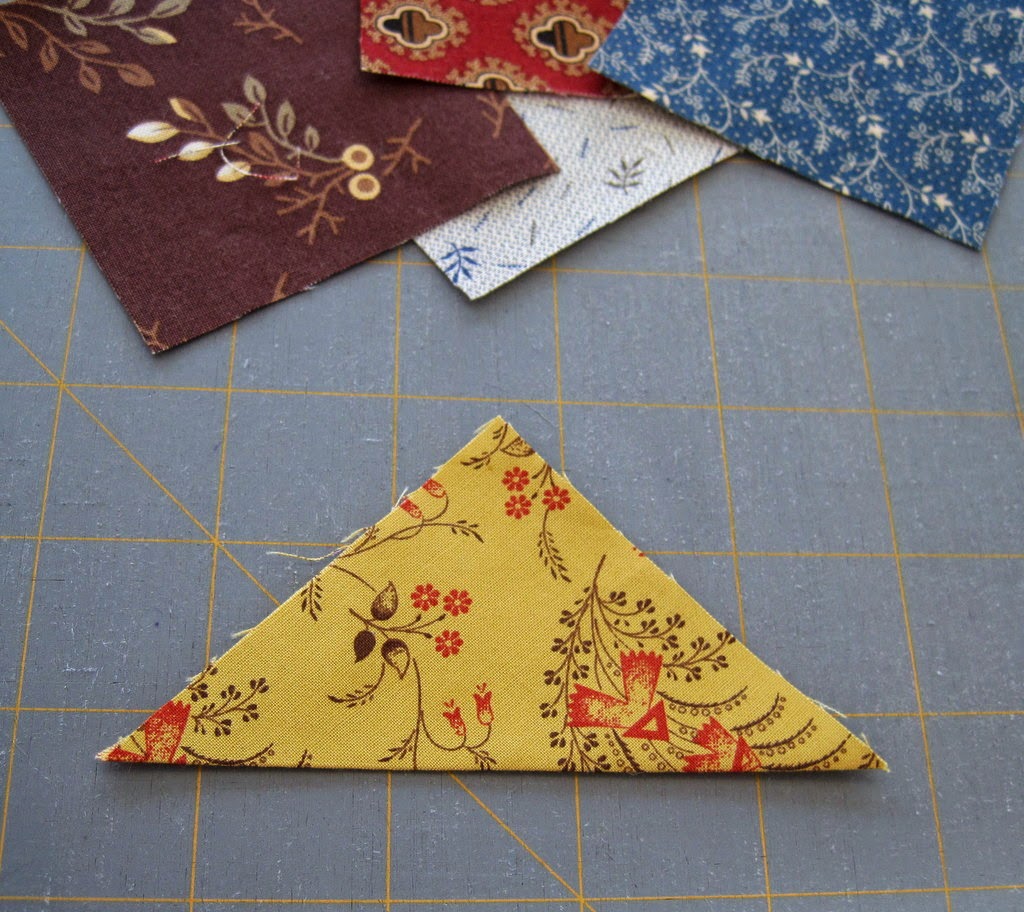
Look at how tiny some of these pieces are!
 
 
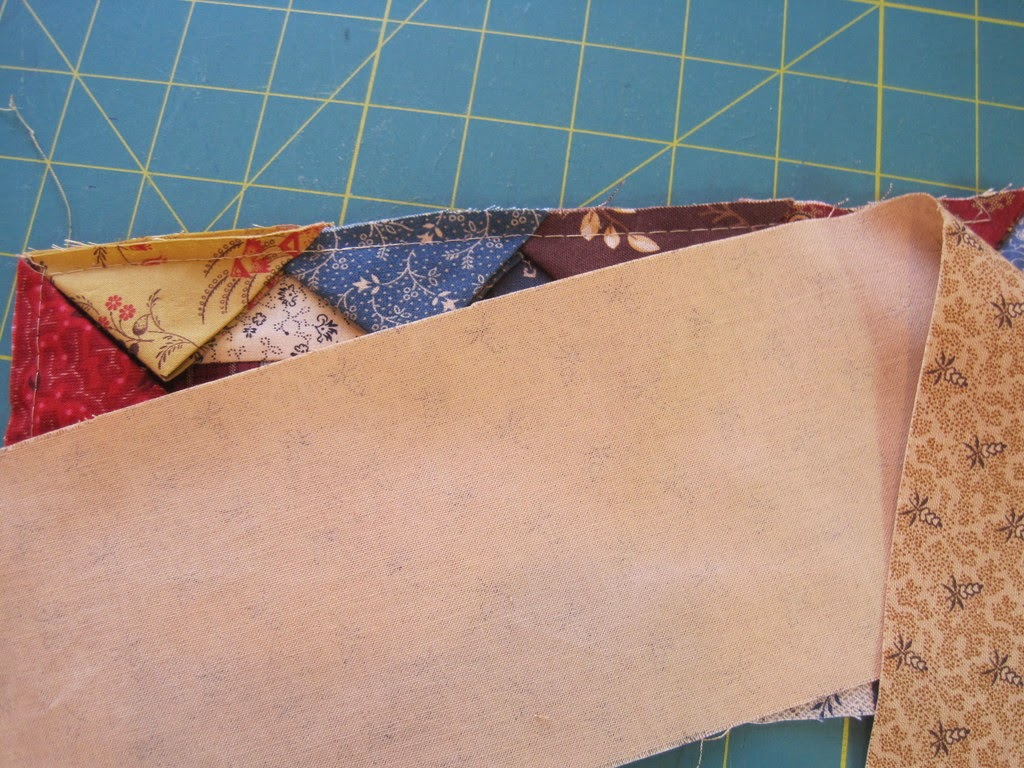
But they all came together nicely. With a little time and a lot of patience I'm learning I can conquer almost anything.
 
So I bit the bullet and decided it was now or never. I broke down and gave up avoiding it. I knew I needed to learn this skill if I was going to commit to finishing the quilt. This time, though, instead of trying to learn from a book (or a bad video; I tried lots of those) I sat down and watched a great video. I tried it again and what do you know - this time it clicked and it all suddenly became easier. Maybe it was just the right time. Or, maybe I just needed a little self-encouragement and patience on my part and the right tools. Here's the video that I hope will help you too if you struggle with this technique.  Don't be too hard on yourself if you've tried it before. Have patience and you'll succeed.


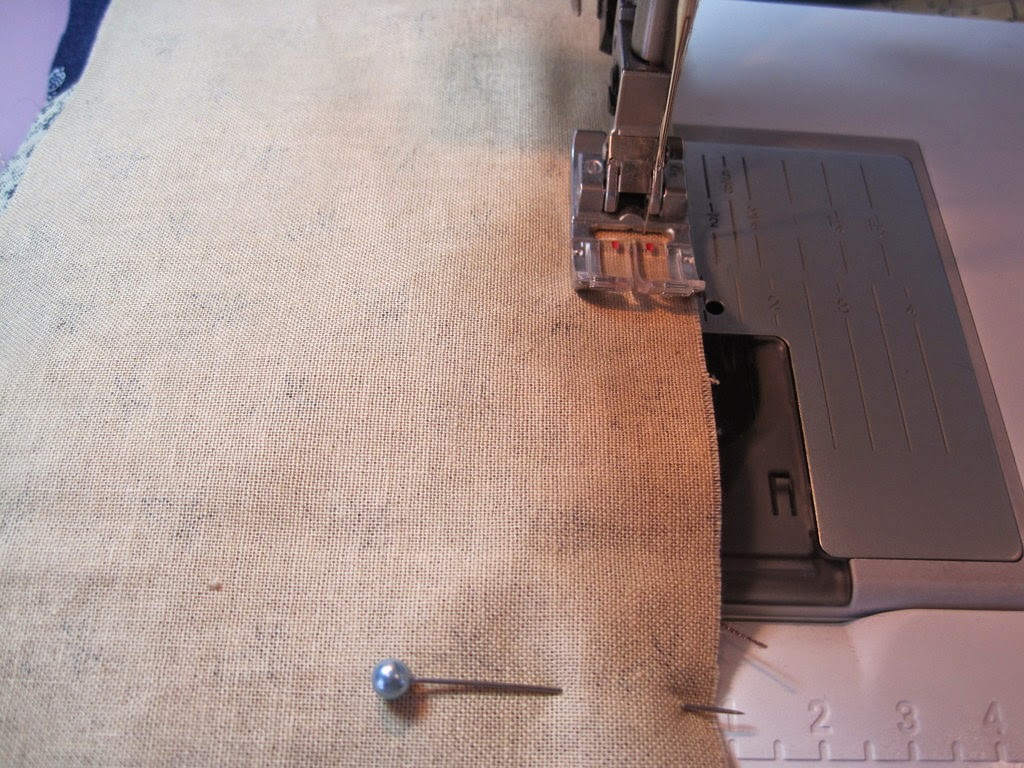
This pad of tracing paper I bought at the drugstore works well for me.
 
 
The other indispensible tools. Flat head pins, an index card. The ruler is standing in for the recommended add a quarter inch ruler. I'll have to look for that soon. This one works for now.

 
I started by making a few simple blocks so I could get the technique down. They didn't turn out half bad, if I say so myself. I haven't figured out what's different this time or why it seems to be going a lot easier.  I still can't say I love paper piecing but I can definitely tolerate it now. The best thing is - I gained a new skill and conquered my fear. And that's always worth the time and trouble.
 
Sometime in the near future I'll share with you how I conquered my fear of  applique (that nasty "A" word for so many of us).

 
I'm definitely getting better. Almost perfect Pretty good circles!


Wednesday, April 23, 2014

Prairie Points Tutorial

Making  prairie points can be a fun way to add a little pizazz to your small quilt. This month, some in my Yahoo group are making this quilt from my book Remembering Adelia that features prairie points and although the instructions in the book are pretty good, I promised a tutorial to give you a closer look


Prairie points are folded fabric triangles that are often used to embellish the edge of a quilt. The ones I used in my quilt are called "nested" prairie points since each triangle nestles into the one next to it. And I added them in between the top and the border.

1.  First, cut an assortment of squares to fit the quilt you are making. (This quilt uses 3" x 3" squares. The number of squares you should cut depends upon the size of your quilt. See rest of directions in book for making them for this particular quilt.)


2.  To make a prairie point, fold a square in half diagonally and press to make a triangle. Fold the triangle in half again and press again. (Fold TWICE.)


Fold square in half


Fold again


Make a nice assortment of prairie points from your scraps.

3.  Since I already made this quilt, instead of making a whole quilt again for this tutorial, I sewed a few blocks together to show you how to do it. Pretend this is your quilt top  : )


4.  Place the raw edges of your prairie points along the raw edge of your quilt top and tuck each one into the fold of the one next to it. Pin the points in place and machine baste them to the top using a scant 1/4 inch seam. 


Notice how I lined up the edges of the points at the corners - they should not overlap.


5.  Choose fabric for your outer border and place it on top of the quilt top just as you would if you were adding a border to any quilt.


6.  Sew the border strips in place with the basted prairie points in the middle. 


7.  You can see how the prairie points are positioned between the 2 layers.


8.  Now, press the prairie points outward  - toward the border. You may need a little shot of steam or starch to make them lie flat.


Voila! There you have it. Layer your quilt with batting and backing. Finish with some quilting, add the binding and you have a sweet addition that really makes your quilt stand out.


Have fun making these! I'll have another quilt suggestion for next month's small quilt.

Wednesday, April 16, 2014

Easter's in the Air

Despite this season of joy, I'm feeling sad because:
 
1.  It was 28 degrees outside this morning. There's still snow on the ground and everything outside is still mostly brown. What if winter lasts ALL year???
 
2.  My kids are all but grown up now and I used to love making Easter crafts and sharing traditions with them. I taught Sunday School for years and working with children (and jelly beans) around this time of the year (and, yes, making it all relevant to the season, not an easy task) gave me a lot of joy. My youngest is 20 now and several years ago she lost all desire to color Easter eggs with me. : (  But I still color the eggs all by myself anyway and will probably continue that tradition, just as my mom did.


Shhh - the real reason I color eggs? Tradition, schmadition. I just love eating egg salad sandwiches for days . . . .
 
We do have another favorite Easter tradition in our family, however,  and that's the Annual Tracy Family Easter Basket Treasure Hunt. Every year my husband hides the Easter baskets that I make for the kids and then sends them on a hunt for them  with wonderfully creative and amusing clues. One year the clues were all in Spanish - the year my son began learning Spanish in the sixth grade. (That one took forever, let me tell you. He didn't think it was funny but we found it hilarious.)  The next  year's clues for him involved NBA stats, I think; much easier.  And now he's mostly fluent in Spanish and teaches in a bilingual classroom. So the joke was on us I guess.
 
My daughter, the incredible speller and "vocabularist" (darn, that's not a real word but it should be), always got clues with BIG words even she had to look up, LOL. Or clues containing French words. Sounds like torture, I know, but, hey, they get candy in the end so what's the harm? Très fun! I often think this is actually much more fun for my husband and a real creative outlet for him so I  like to encourage it. Even though the "children" are 20 and 25, they really don't want to stop this tradition any more than I do. It's still fun to watch them race through the house like little kids, looking for their baskets full of jelly beans and chocolate bunnies and toys gift cards. Hmmm, I wonder what would happen if I made this Easter basket hunt contingent upon coloring eggs with me the night before?
 
 
*  *  *
Creating something always perks me up and brings me joy. I found this great tutorial for making pretty fabric Easter eggs and I mean to try making some today. I'll let you know how they turn out. It looks pretty easy.

Fabric Easter egg tutorial by Retro Mama
 
Easter,  the season of rebirth and renewal. 
The message is all about Hope, Love and Joyful living. 


 Have a good week and a blessed Easter holiday.