Friday, July 31, 2020

Nineteenth Century Needle Cases

A few years ago I taught at a quilting retreat and someone brought in her collection of antique sewing kits from the 19th century. I've had needle cases on my mind lately and so I thought I'd show you a few pics of the antique ones she showed the group.


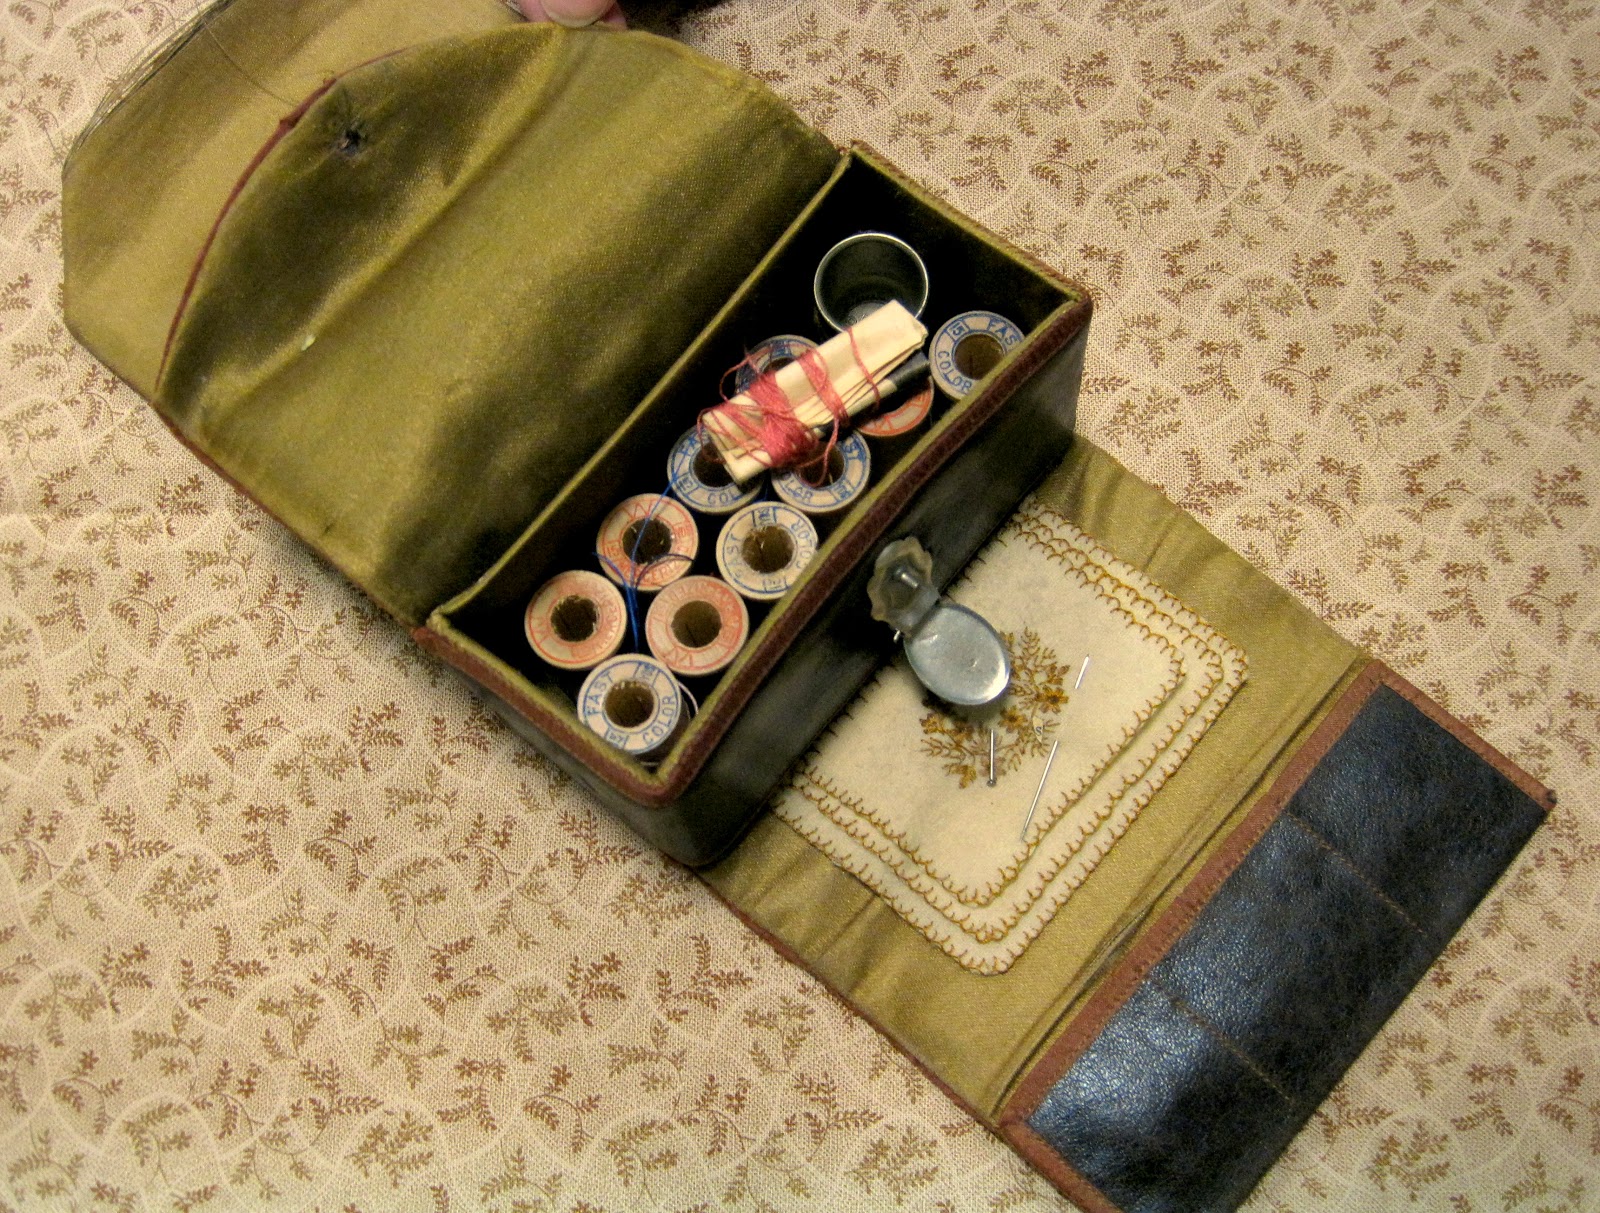
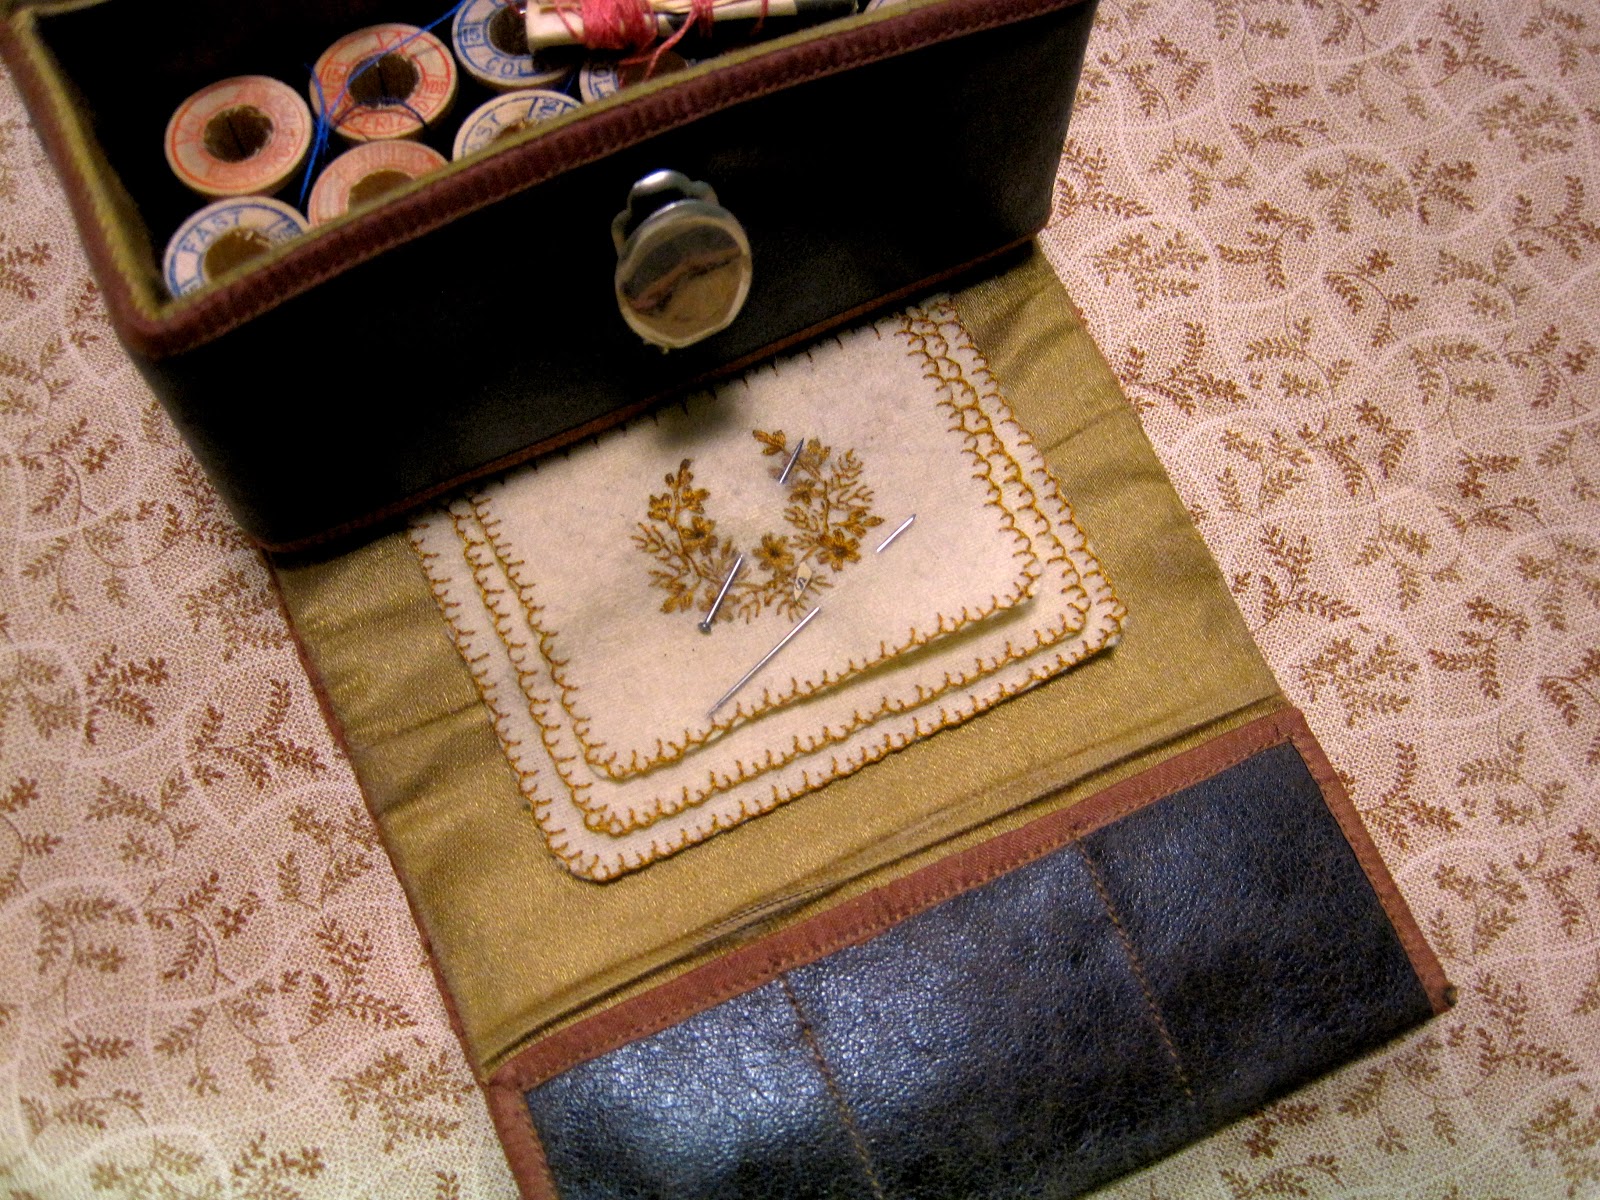
This case is made of leather with a green silk lining. Exquisite. A beautiful assortment of threads.


The needle holder on this one is embellished with a small blanket stitch and embroidered flowers. So sweet.

Since all of an Early American household's cloth items had to be sewn by hand, hand sewing was an important skill for most females in the 1800s and earlier. These skills were of necessity passed down from mother to daughter at a very early age. Thus, young girls (some as young as twelve) were often very accomplished at needlework. In addition to sewing and mending garments for the family,  we can see many of their skills evidenced in needlepoint samplers of the time period and other fancy work such as embroidery.


Sewing kits were often very personal items and women took care with their contents. Needles, pins and scissors had to be carefully wrapped to protect against rust. Sometimes women ran their needles through the natural oils in their hair to protect them and make them easier to pass through fabric. (We wash our hair much more often than women did in earlier days so I don't think that would work well today!)


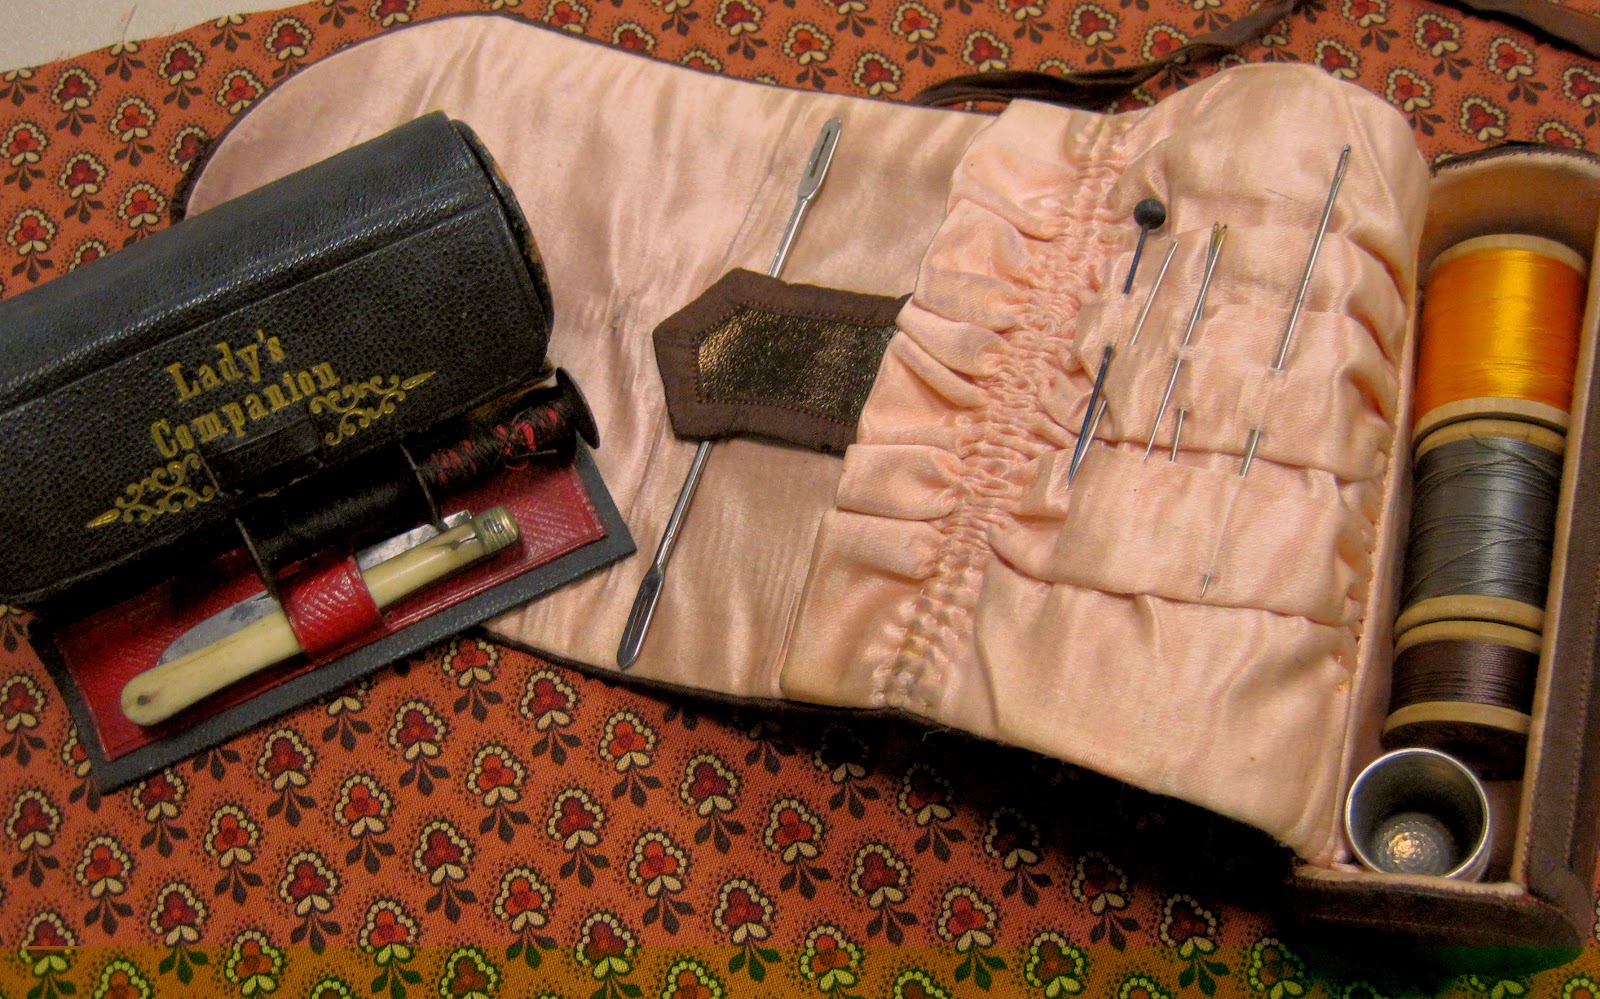
This small case is called a Lady's Companion and the other one next to it is also lined in silk. Some of the kits contained bone crochet hooks and stilettos and even a tiny pocket knife.


This purple case came with a note saying "Made by Miss Abby Buckingham and given to me by my mother - 1839." Made of purple velvet and silk with a patent leather outer case.


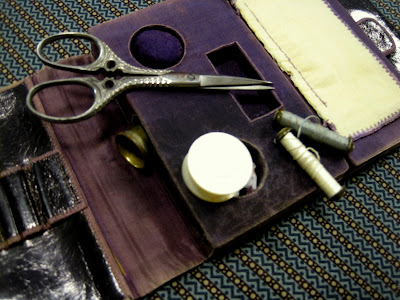
See the tiny hiding place for the thimble?


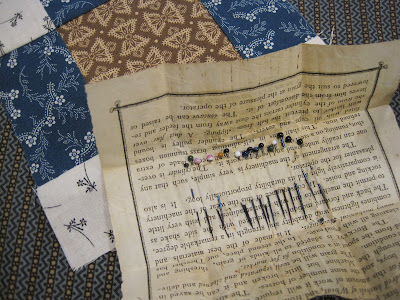
Here's a page from an old newspaper folded up into a small packet, unfolded to display some pretty antique glass head pins.


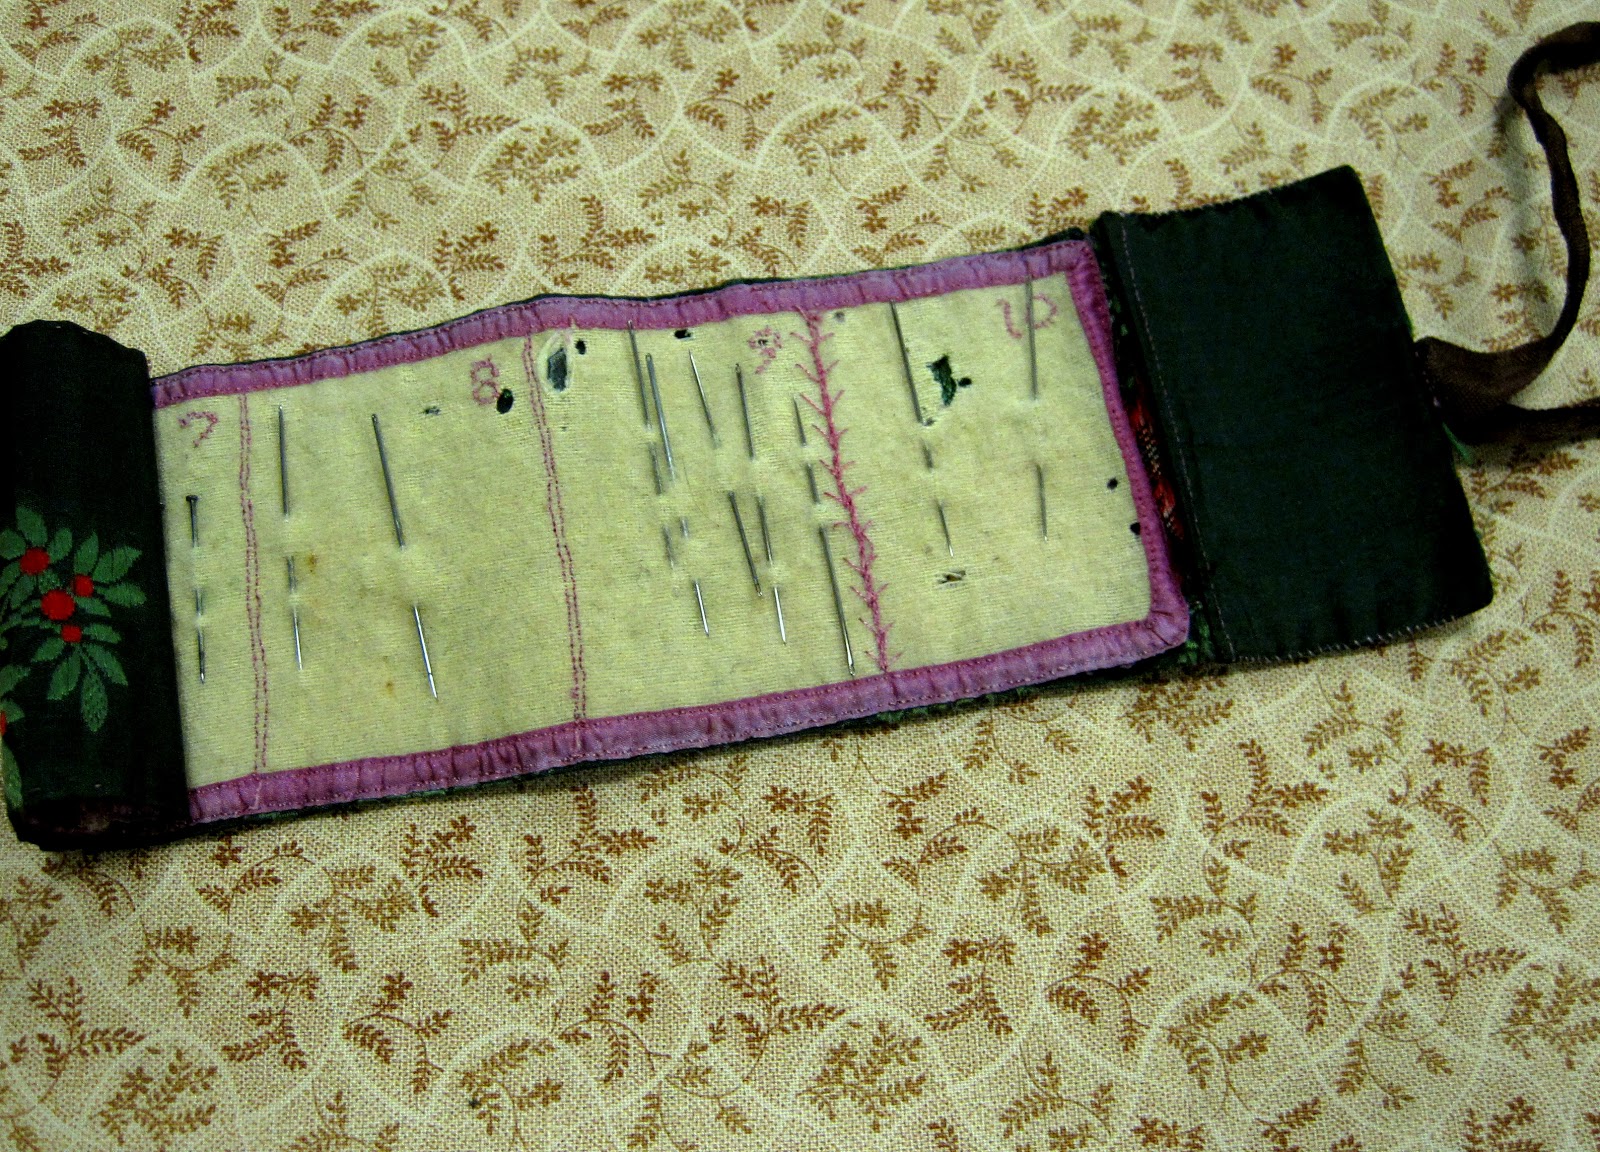
This sewing roll-up contained needles organized by size. Numbers are embroidered in the different sections so every needle has a place. What an organized sewer!

It would be fun to collect some of these antique sewing kits, wouldn't it?  For now, I'll just have to content myself with making sewing kits of my own to cherish and perhaps one day they will be passed along and kept among someone else's treasured possessions. 

After looking at these pictures, I pulled out a few of the needle cases I've made for myself and friends over the years. FYI - There's a cool pattern for a "huswife" needlecase in my book Remembering Adelia. 


There are some simple fabric envelopes in The Civil War Sewing Circle book that you can make to hold sewing things.


 There's even a pattern for a small needle book in my first book American Doll Quilts.


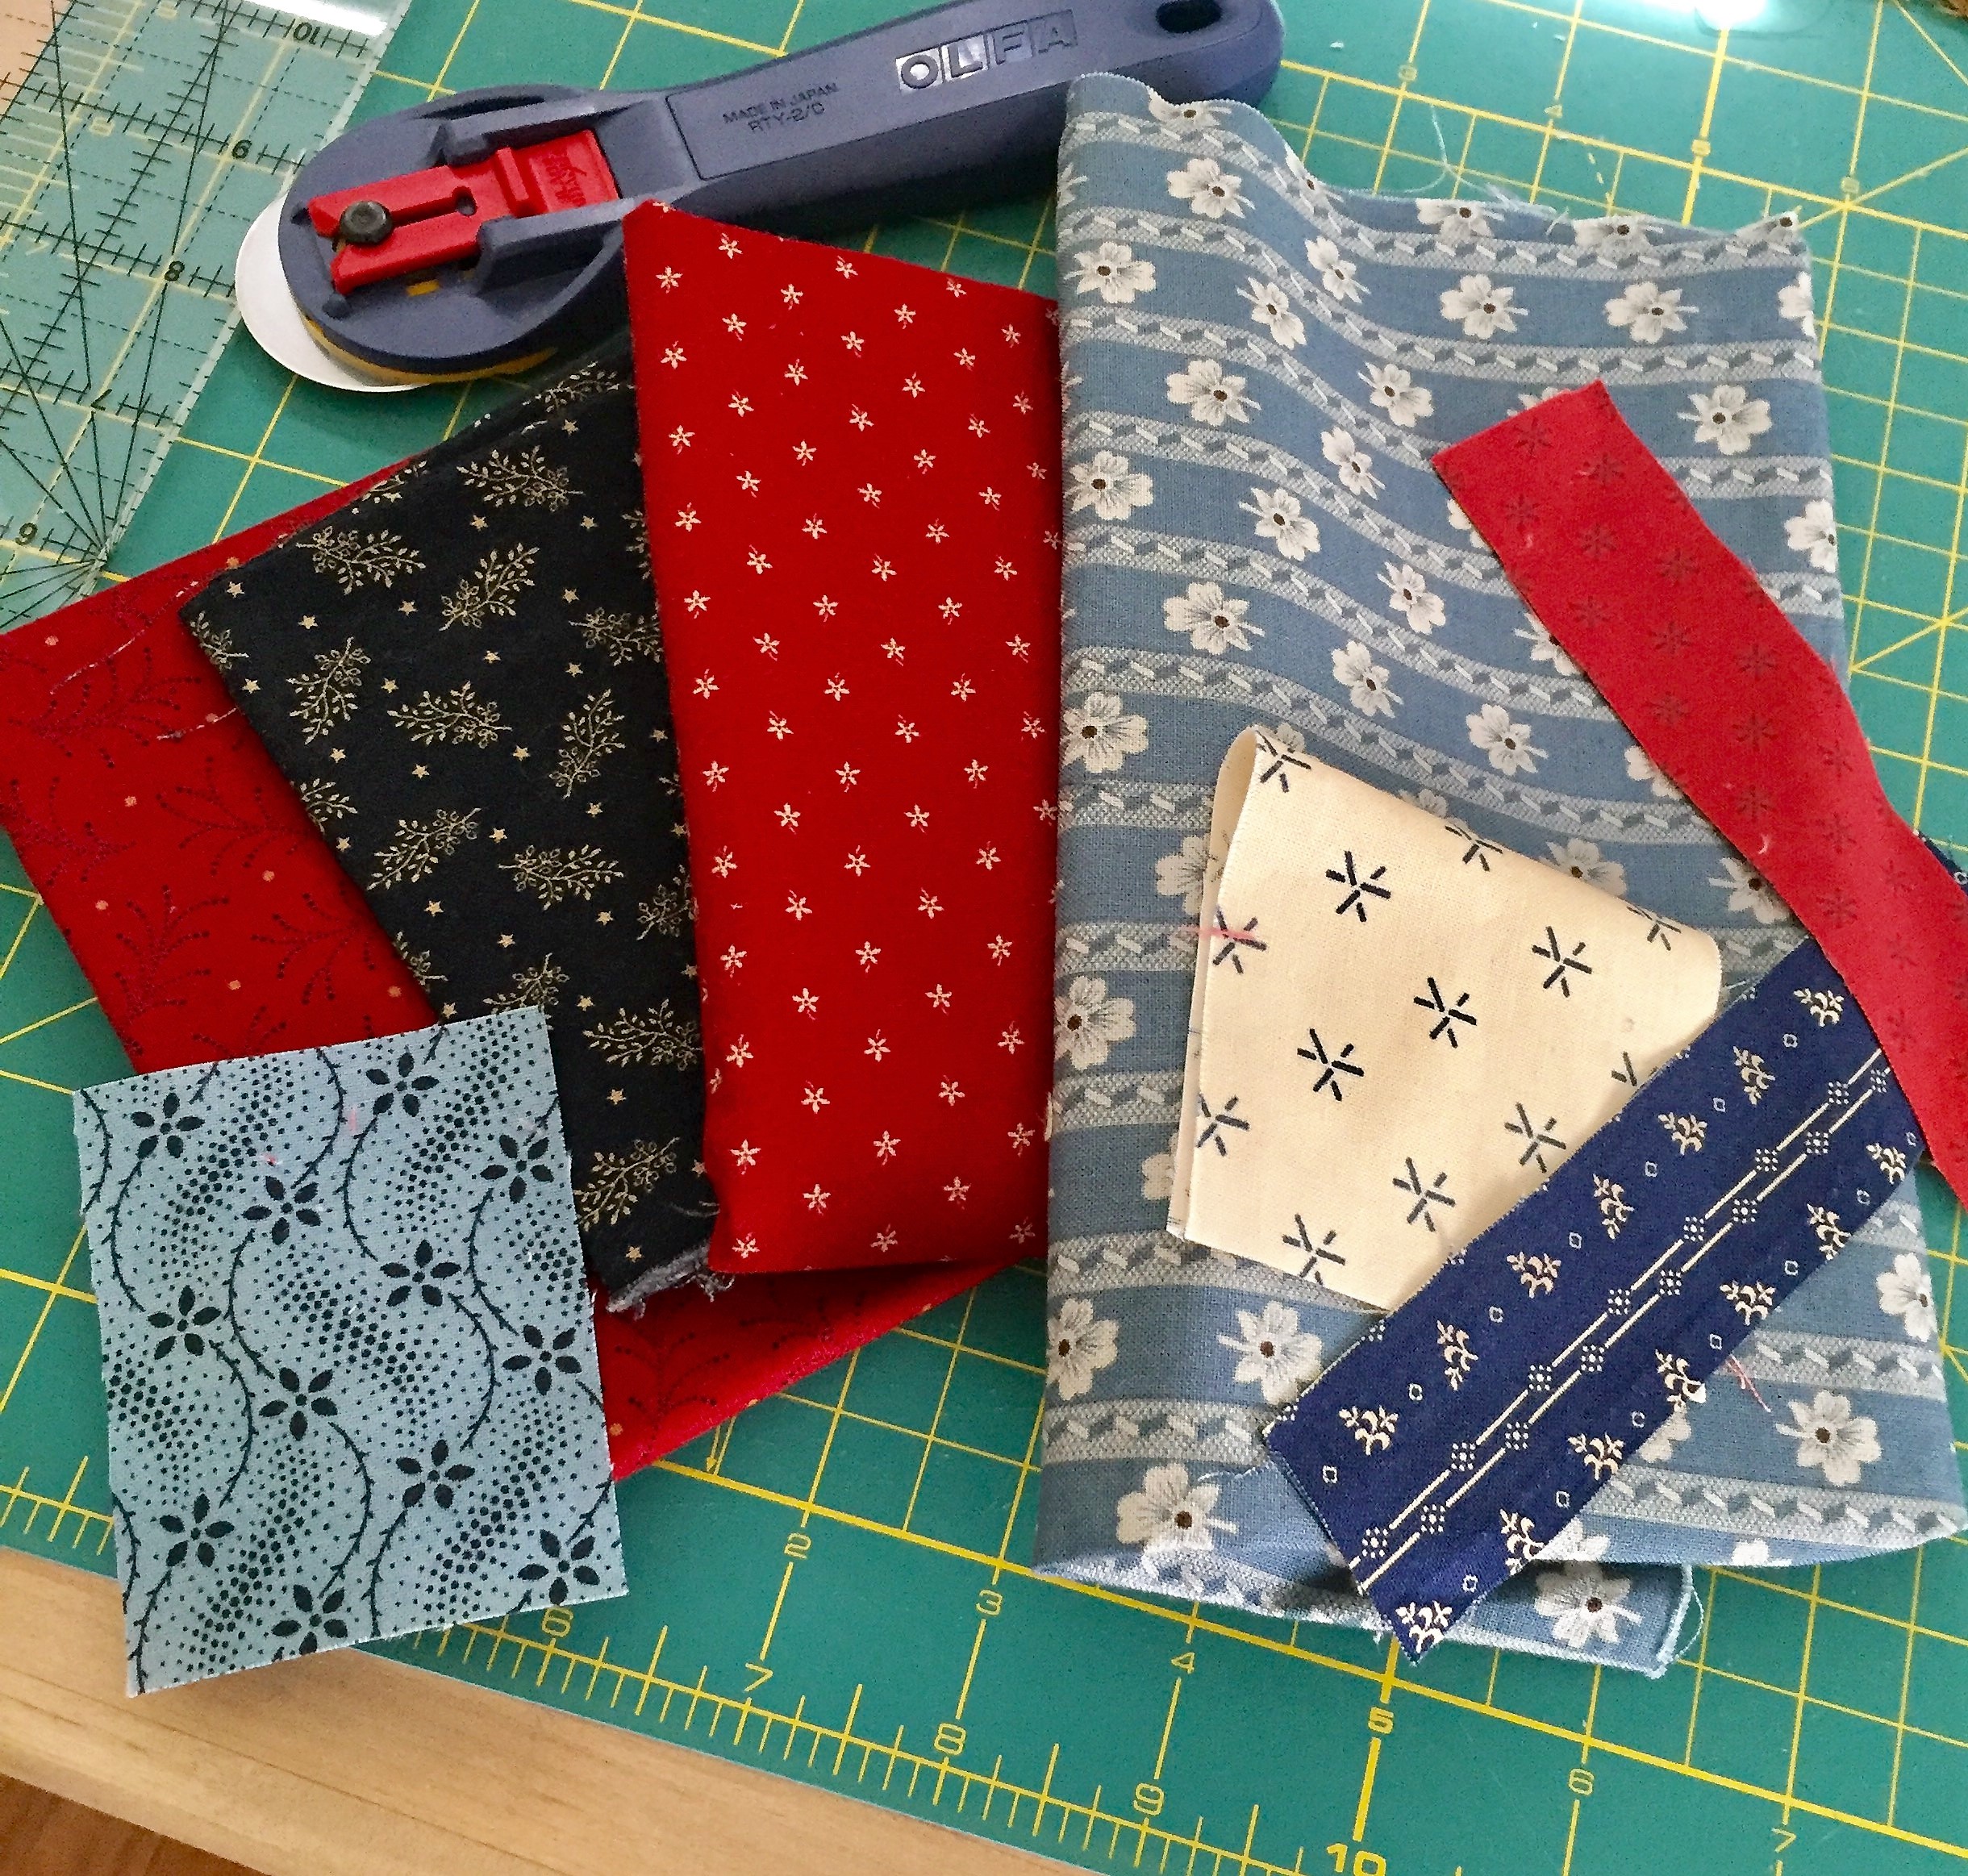
After looking through some of these I decided I wanted to make a roll up sewing kit. After a little experimenting, I came up with this - The Civil War Ladies' Sewing Case. 


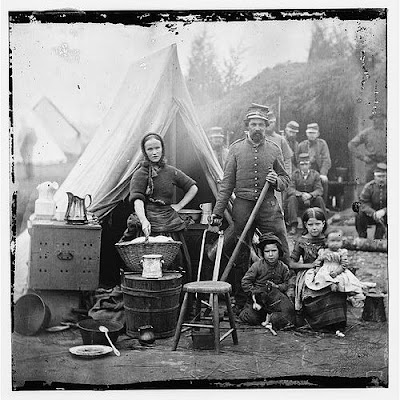
During the 18th and 19th centuries, these needle cases or sewing kits with pockets were called "huswifes" or housewives. Used to hold needles, scissors, buttons, thread, they were the essential ladies' home accessory. Soldiers carried them in their knapsacks during the Civil War in order to quickly mend their uniforms or sew on a lost button at camp. 


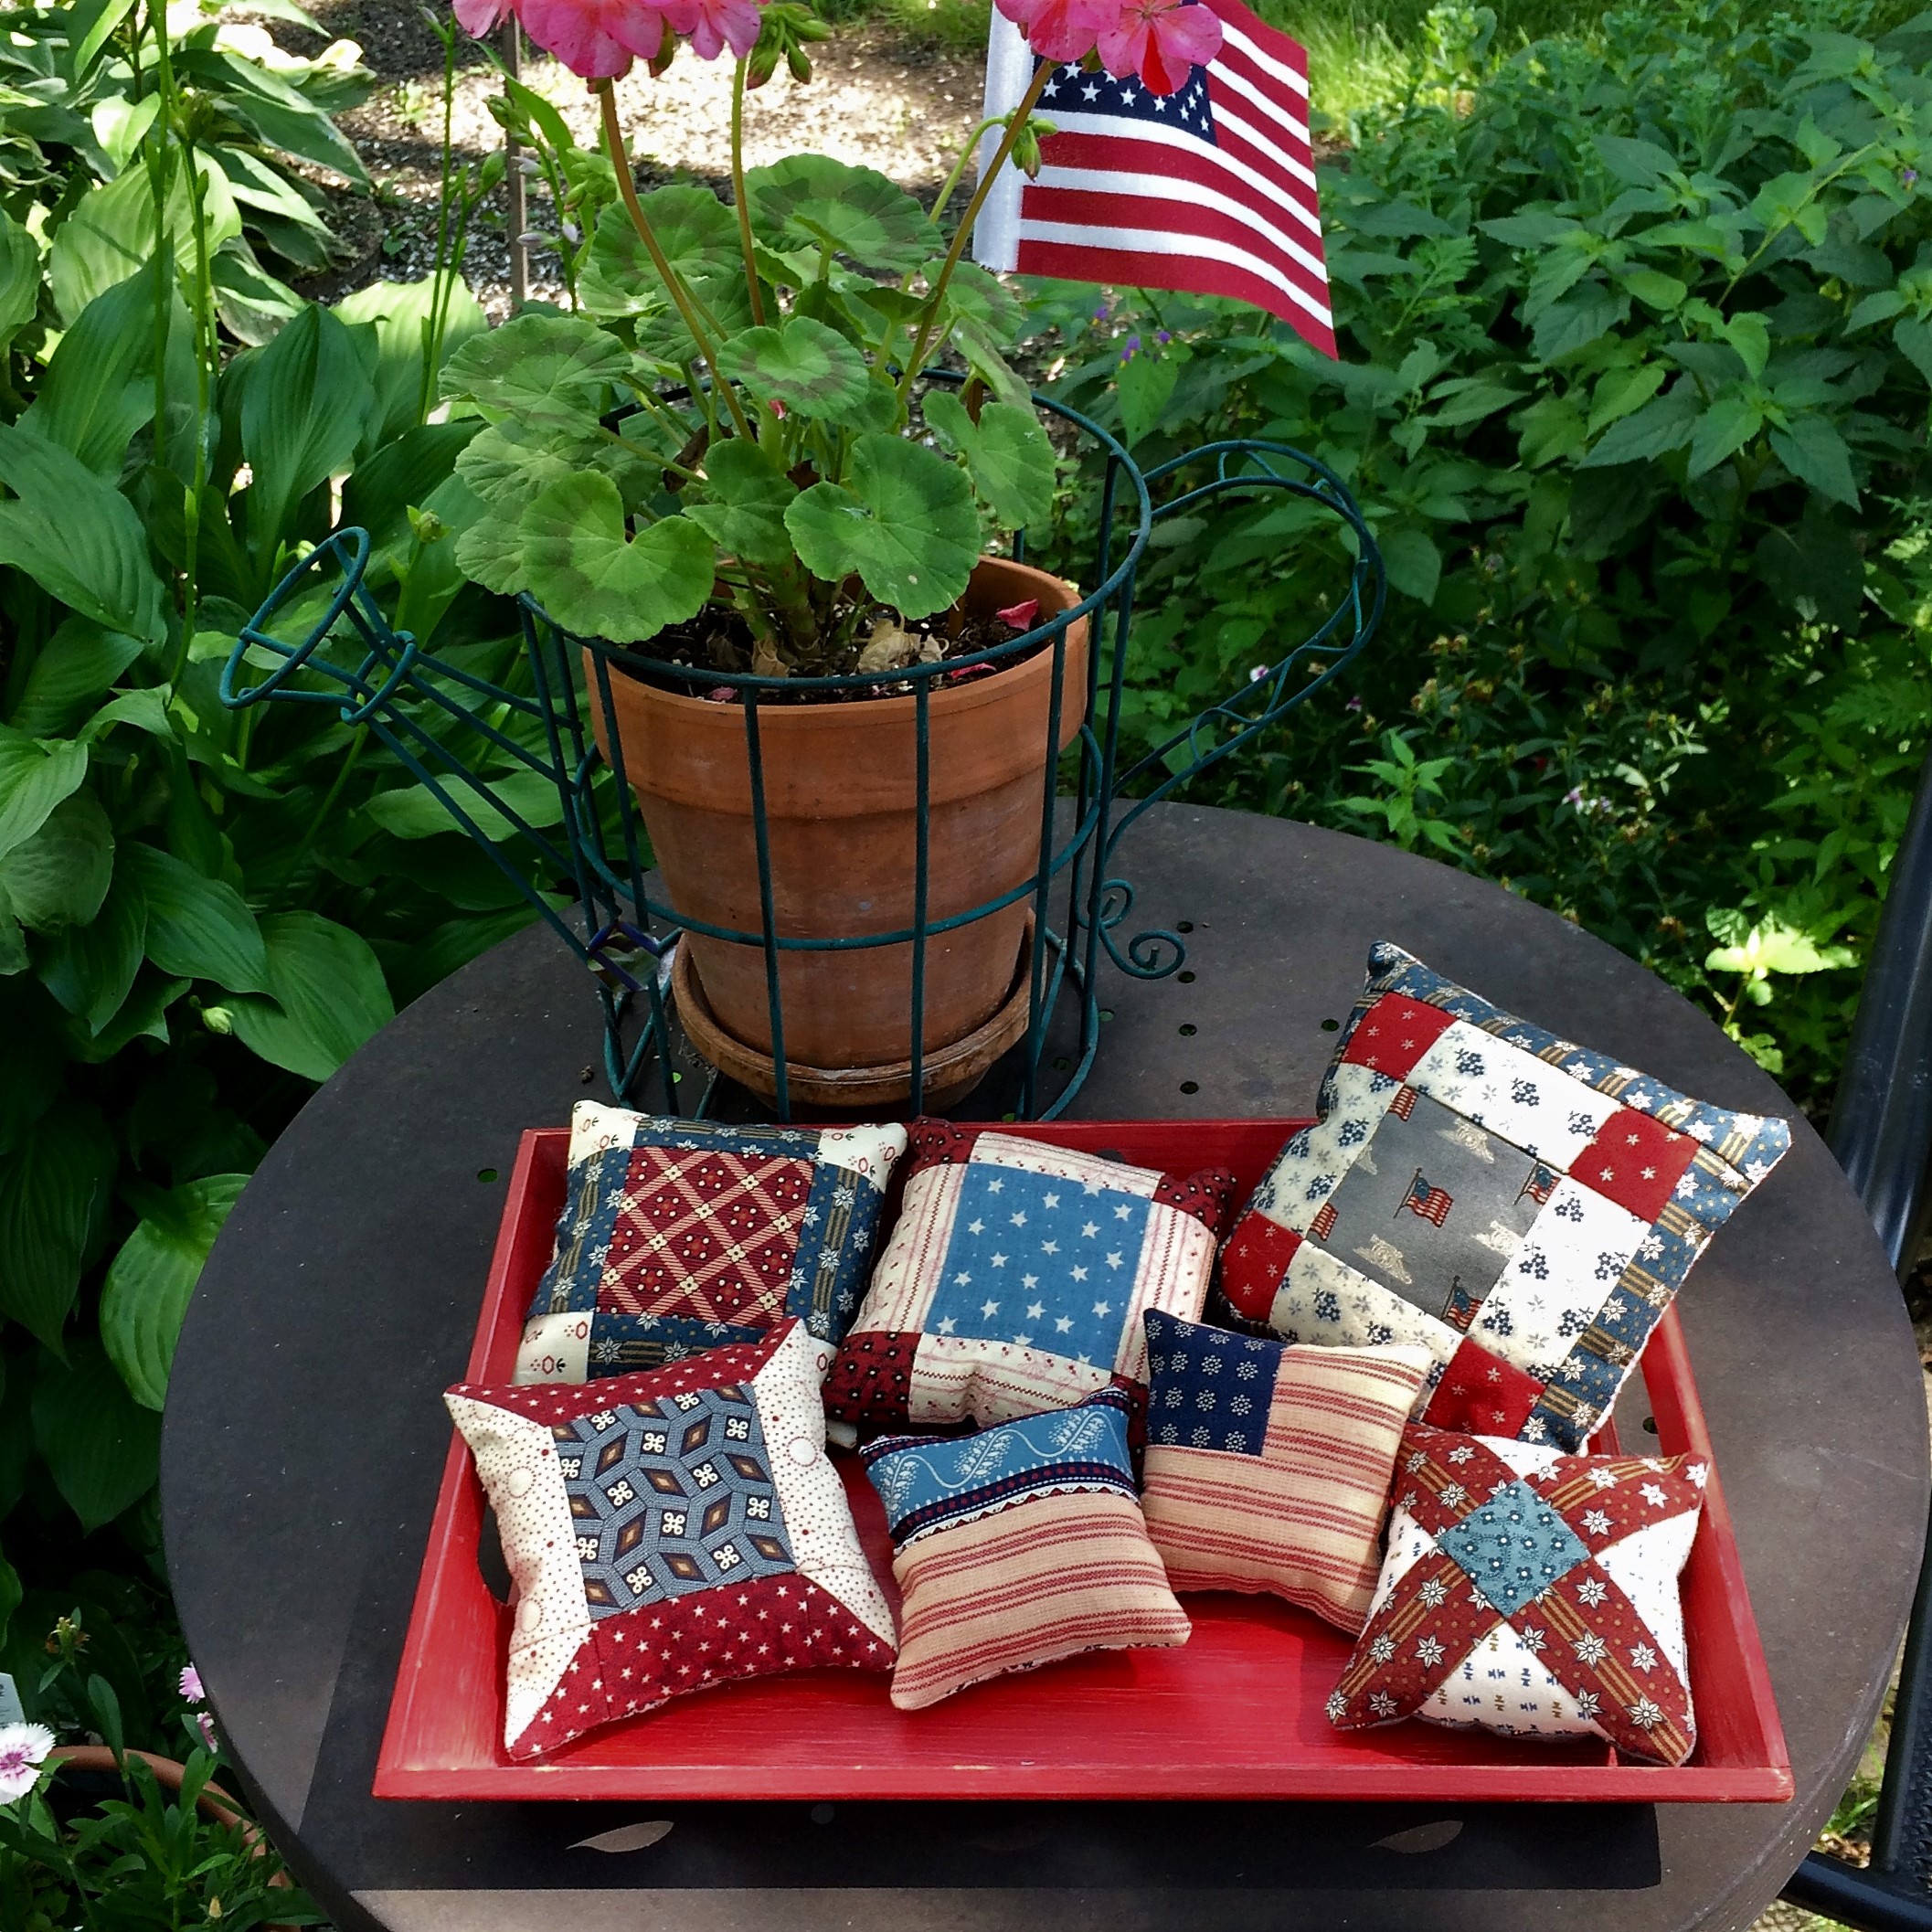
If you're interested in making one of these roll up needle cases, I just listed this as a pattern in my Etsy shop. There are a few kits available as well in a separate listing. I have lots of patterns but limited kits in several different colors to choose from. All are made with assorted reproduction fabrics. The listing on Etsy shows more pictures and gives a description of the kits. E-mail me if you have any questions. (My e-mail is in my Blogger profile.)

A reminder that my older books are out of print now but you can purchase an e-book of any one of  them through my publisher, Martingale/That Patchwork Place. Some quilters print them out themselves at a place like Staples or other office supply store from the downloadable .pdf file.

Have a nice weekend!


Friday, July 3, 2020

Make a Fabric Pinwheel

Do you remember playing with pinwheels as a child? They always remind me of summer and picnics and the Fourth of July. Not many picnics happening this year I'm afraid . . . .  
 

I've made a few pinwheel blocks and quilts in my day. There's just something I love about them.


Today I'm going to show you how to create a Fabric Pinwheel.  These are soo easy to make and may be just the crafty project for you to make this holiday weekend.  


Here's what you'll need:

Fabric Scraps
Fusible web (Wonder-Under, Steam-a-Seam, Heat 'n Bond, etc.)
Glue stick, hot glue or needle and  thread
Buttons


1.  Pick two pieces of coordinating fabric for each pinwheel. I cut each square 3 1/2"  x   3 1/2" but you can make them smaller or larger. Each pair needs to be the same size. Cut a piece of fusible web the same size as the squares. 


2.  Press the fusible web to the wrong side of one fabric square. Allow it to cool and then peel off  the paper backing. Line up your fused square with the remaining fabric square and iron the sticky fusible web side to the wrong side of that square. Press for about 10 seconds or follow directions for the fusible product you are using.

IMPORTANT: Try not to get the sticky part on your iron. I use an old pressing cloth or the piece of paper the fusible web was attached to and place it on top of the second square of fabric when I'm pressing.

3.    Now you should have fabric fused on both sides. Trim the edges of your square just a bit. If your fabric starts to fray, you could try dabbing a little Fray Check along the edges.

4.  Next, decide which print you want to use as the background (or inside) and place that side up.   Cut each corner of the square on the diagonal  - but stop halfway to the center.


5.  Fold the 4 corners of the pinwheel blades toward the center and stitch or glue them down one at a time. Gluing is faster. Just sayin'.


6.  Sew a cute matching or contrasting button and that's it, you're done.


Some of you might remember that I made these a few years ago. 


This year, I tried making some in red, white and blue for the Fourth of July. Took me less than an hour.  It will be fun to use these new ones on a wreath, don't you think?


If you intend to use these to decorate a vase or flower pot, buy a couple of thin wooden dowels at a craft store and then use some hot glue to stick them onto the back of each pinwheel. If you're feeling particularly lazy (like me) you can also use a hot glue gun to attach the buttons. 

To make smaller pinwheels, just cut your squares a little smaller. Likewise, larger squares make larger pinwheels. 
 
To me, the hardest part of this whole thing is finding just the right button for each center. It's fun to act like a child again and I had a good time playing around with fabric and digging in my old button jar. Working on a simple project like this can make all my stress disappear. Just looking at them makes me smile. 

If you're in my Facebook group, don't forget to make a pincushion for the Patriotic Pincushion Parade tomorrow and post a picture. 


Saturday, June 27, 2020

Red, White and Blue Season

Summer is here and we're coming up on July. For some of us, that means it's red, white and blue season. I do love the look of quilts made with red, white and blue fabrics. And I am always on the lookout for some pretty prints that combine both red and blue. Especially those with a reproduction theme.


Stars in RWB are always a popular design.


I know some of you decorate with red, white and blue all year long. I've made more than a few of these kinds of small quilts over the years and enjoy displaying some of them around the house in the summer more than any other time of year. 


American Crossroads,from my last book, A Prairie Journey 


Little Red Schoolhouse from Prairie Children & Their Quilts


Union Stars from The Civil War Sewing Circle


Gameboard quilt from Prairie Children & Their Quilts


This one is an oldie  : ) from my first book. 

*  *  *

I pulled some fabrics last week for our Patriotic Pincushion Parade coming up in my Facebook and online groups on the 4th of July. This weekend I'm playing around with the fabric and seeing what I can come up with for a design. Small quilt blocks like the ones we've used in our Mystery quilts or Challenges make cute pincushions. Just sayin' . . . . And, come October, you will have some wonderful blocks to choose from when my new book comes out. Schoolgirl Sampler is LOADED with 4" x 4"  blocks.


Check out my Etsy shop for a Patriotic Pincushions pattern. Some of you asked me for a pattern and now, a year later, I am finally delivering,  LOL. 


Patriotic Pincushions Pattern image 0          


If you don't have any red, white and blue or red, tan and blue in your own collection of little quilts, maybe this weekend is the time to do something about that. Get out your scraps and play around with some simple blocks until something comes to you. It almost always does if you play hard enough, ha ha. And if quilters don't play then they don't really get anything done, right?

Have a good weekend - Looking forward to seeing some of your pincushions in our FB and other online groups!